
Blue Yeti Review (2026): Clear, Simple, And Still Worth It?
Greetings mate and Welcome aboard. Stuart Charles here, HomeStudioBasics.com helping YOU make sound decisions leading to a beautiful audio experience that will make you fall in love with music (NOT gear) all over again, so…
Mic Shootout
Here’s an oldie-but-goodie video I did comparing the Yeti to a couple of XLR mics.
The Blue Yeti is still one of the most popular USB microphones for beginners, podcasters, streamers, and anyone who wants better vocal quality without buying an audio interface.
In this review, I’ll cover the original Blue Yeti Blackout Edition, compare it with the Blue Yeti Nano, and break down features, setup, ease of use, sound quality, and vocal samples from both microphones.
I’ve owned the original Yeti since 2017, so this review is based on long-term use – not just a quick demo.
Actual Yeti^
By the end, you’ll know which version makes more sense for your needs and whether the Yeti is still worth buying today!
All specs, box contents, and pricing toward the end.
Build & Design

Blue Microphones (which stands for Baltic Latvian Universal Electronics) was bought by Logitech in 2018 for around 117 million.
You can still purchase the Yeti online, but Logitech now sells them under the “Logitech G gaming brand.”
That said, having owned the Original since February 7th, 2017, I’ve been through quite a lot with it, and it’s held up remarkably well over the years.
For the longest time, I thought it was pretty standard in size judging from online pictures, but boy was I ever wrong.
I would always read reviews to the effect of, “Yeah it stands about a foot tall on your desk.”
I suppose I never really thought about just how massive that is for a microphone.
Believe me, this thing has some serious girth, and it’s rock solid.
Attached to its stand, it weighs about as much as a small elephant.
Without it, the mic is still fairly solid but doesn’t feel nearly as impressive. This is something I was fairly taken aback by when I started using it with a separate boom arm that I purchased from InnoGear.
The good news is that I’ve had no issues, and it still functions flawlessly.
Construction

While the stand is incredibly durable, the way they decided to attach it to the mic is rather suspect in today’s fast-paced world.
In other words, there are around 10 washers and bushings you must contend with, and let me tell you right now: it’s a huge pain in the ass.
If you keep it married to the stand, no big deal. But if you decide to mount it on a separate stand, good luck.
The Yeti Nano is much easier in this regard, but we’ll get into that more later.
Features
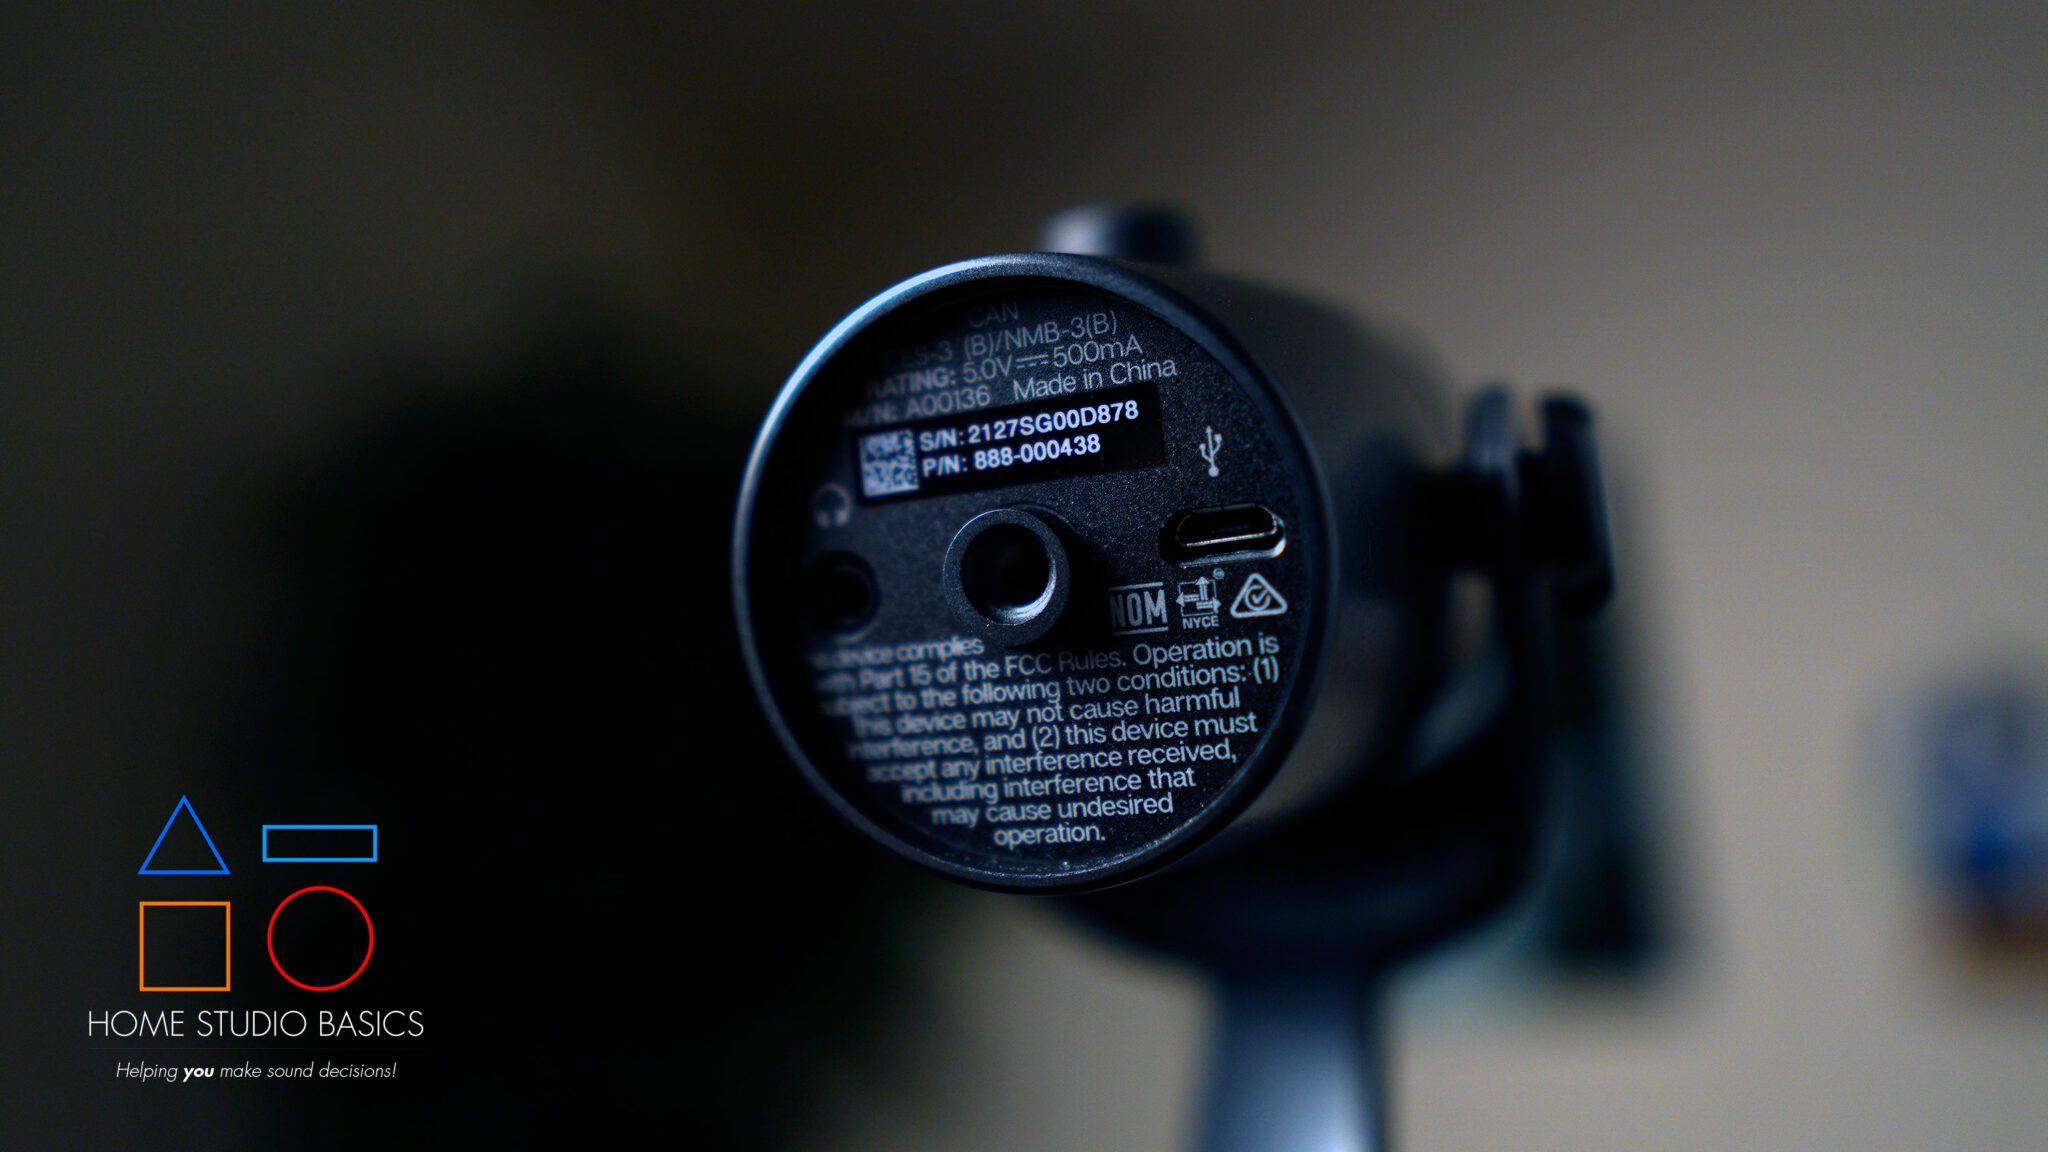
The Blue Yeti is a USB plug-and-play condenser microphone and doesn’t require phantom power, an XLR cable, or an audio interface. It also doesn’t require any software.
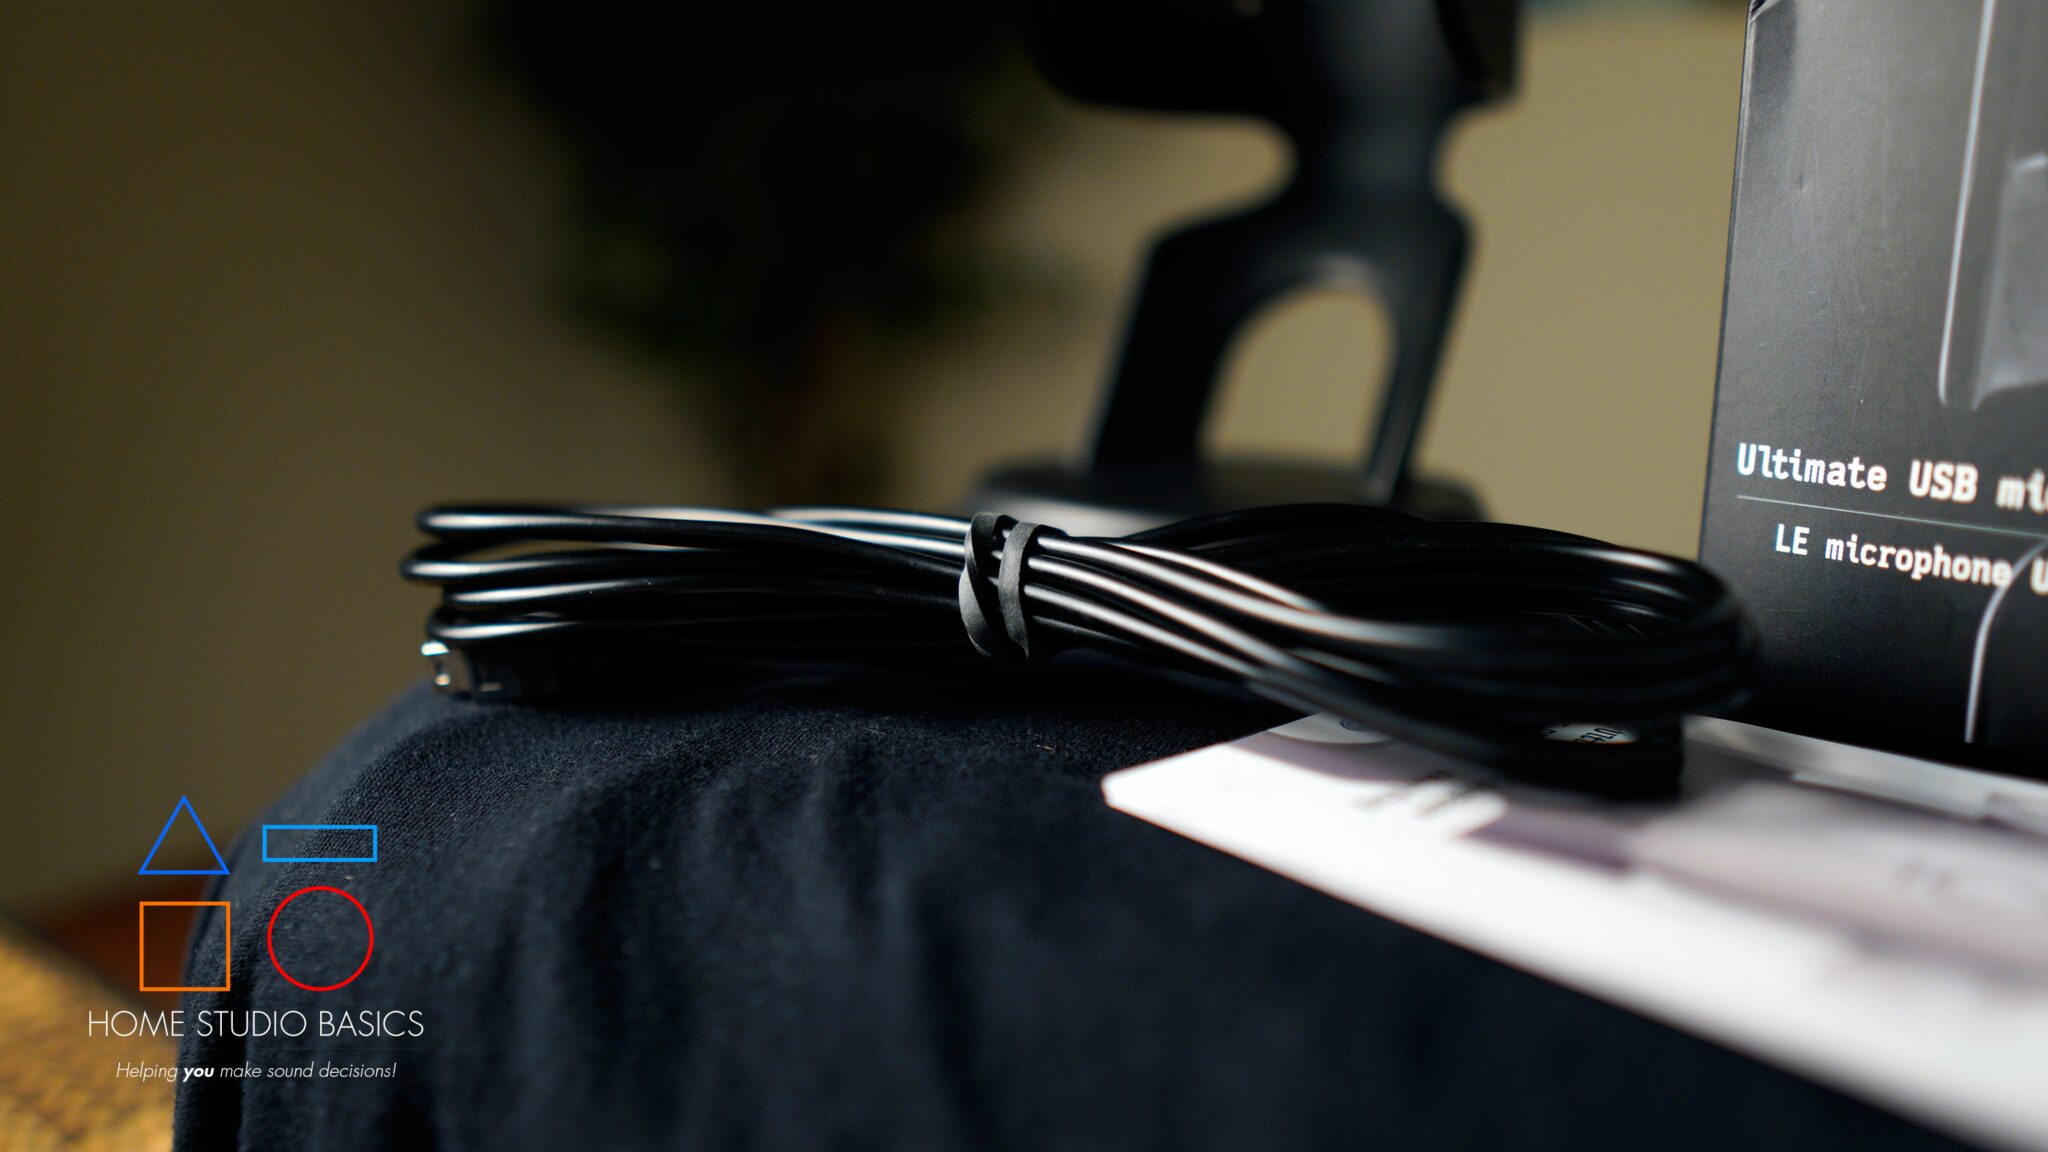
The convenience of it is quite lovely, but I’ll caution you upfront: the original cable that came with the unit broke after a few years, and I had to purchase this replacement in 2021.
Not a huge deal in the grand scheme of things I suppose, but it’s definitely something to keep in mind.
Why is the Blue Yeti so popular?
The main draw for the Yeti has always been how versatile it is.
You can use it in many different scenarios, as it comes with a gain knob, mute button, volume control w/ headphone jack for no latency monitoring, and 4 different polar patterns/modes:

Cardioid
This picks up sound from the front while rejecting side and rear noise.
Great for general voiceover, vocals, rap, podcasts, etc.
Stereo
This mode pans your voice and say, an acoustic guitar right and left, providing a nice sense of space and depth for you to work with (easy to EQ, sounds crisp and professional given the price).
Omni-Directional
This essentially picks up sound from all directions and is good for ambient-type sounds, nature, etc.
In 2018, I set the mic on an open windowsill in the spring and used Omni to record a bunch of nature sounds, ambience, birds, etc.
This mode is also good for conference recording or ASMR.
Figure 8
This is great if you’re doing a podcast with another person, as you don’t necessarily need 2 mics.
Let’s briefly discuss the onboard features before getting into sound.
- Volume Dial. Used to monitor the volume of your headphones, but doesn’t affect the volume of the recorded audio.
- Headphone Jack. Allows you to monitor your voice in real-time via the no latency feature. Works as intended if you prefer to monitor your vocals.
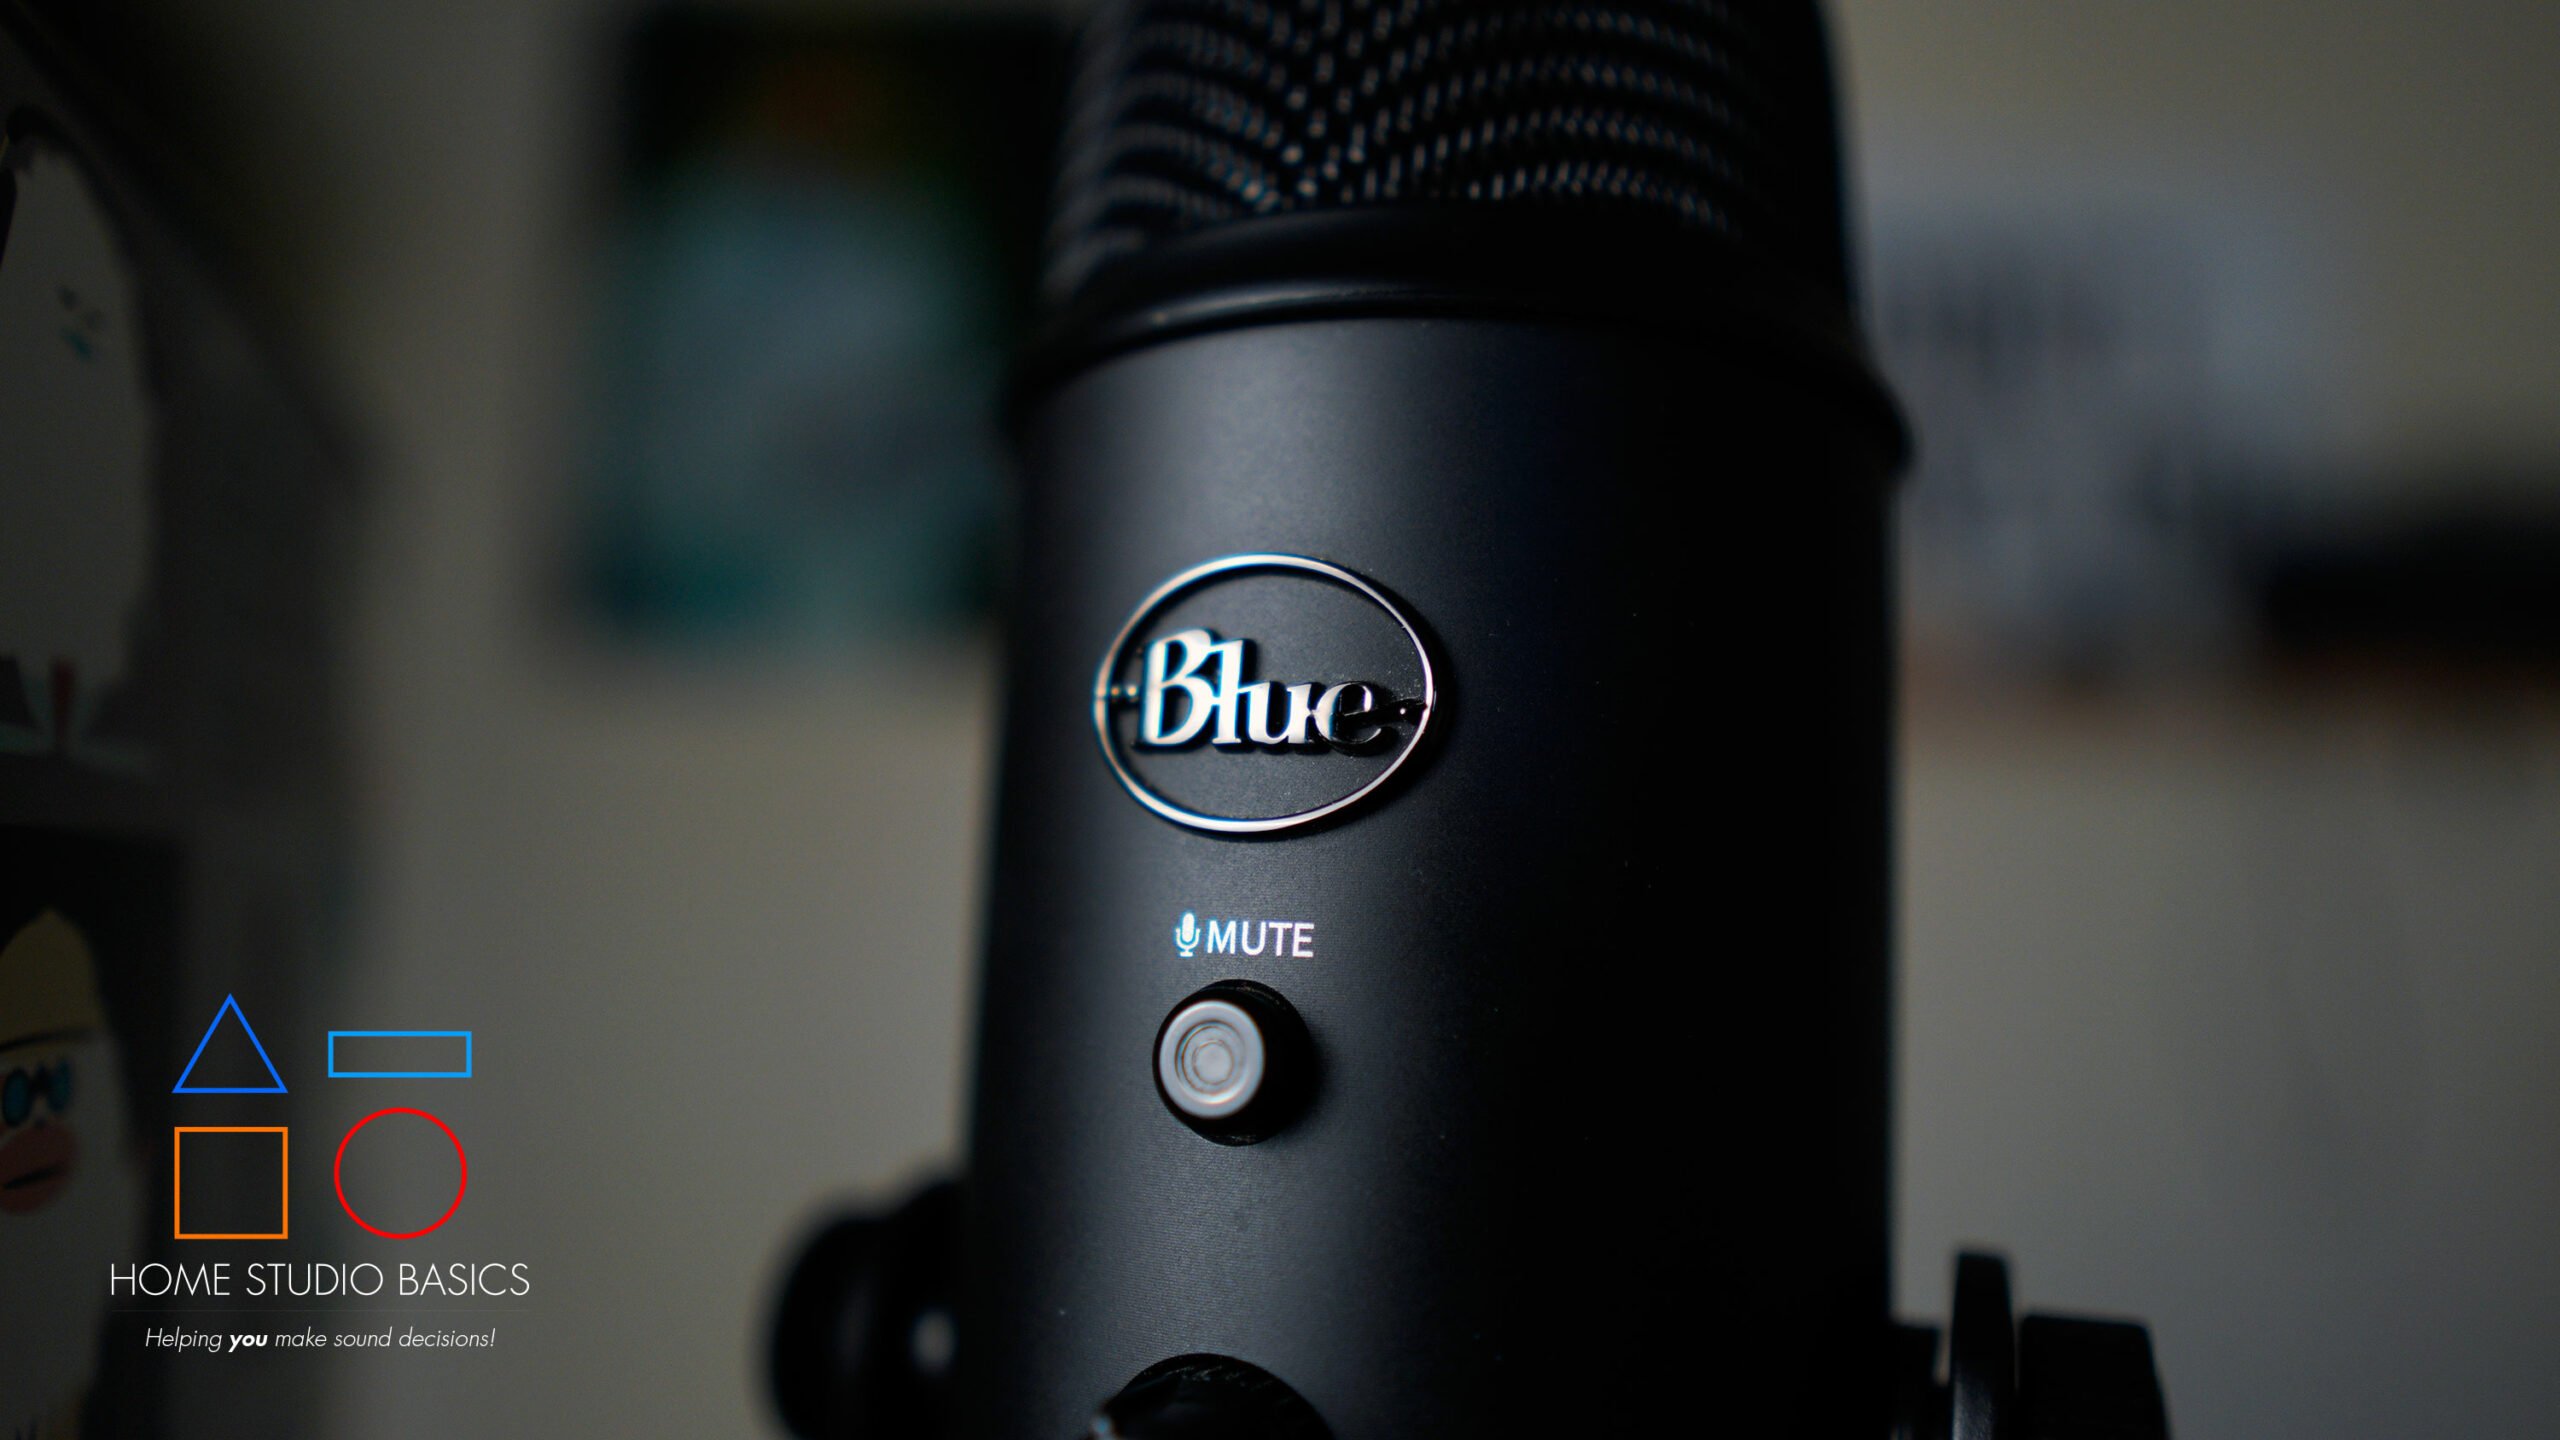
- Mute Button. Pretty self-explanatory. Press it once and it flashes; indicating the mic is muted. Press it again to unmute.
- Gain. A very useful feature and the same concept as gain on an audio interface. It adjusts the sensitivity of the mic, and I mostly kept it around 50%. Tip: It’s always better to err on the side of quieter as you can always boost the gain in post if needed. If you record too loud, it’s much harder to fix.
Sound

I guess now would be a good time to discuss the Yeti’s sound profile and also touch on some caveats.
Overall, it’s an incredibly clear, clean, and somewhat sterile/cold presentation with plenty of air. It opts for clarity above all, but doesn’t sound perfect by any means. It’s decent for podcasting and YouTube, but I don’t personally use one for my videos anymore.
One reason for this is that it does tend to pick up quite a bit of background noise, and thus isn’t nearly as professional-sounding as a true cardioid condenser mic like, say, the MXL 990, 770, or V67G.
Those mics require phantom power and an XLR cable connected to an Audio Interface, Mixer, Preamp, etc., but they do tend to reject ambiance and the like a lot better than the Yeti.
The rap I did at the end was also recorded with a Yeti.
To get the best sound out of this microphone, situate your mouth around 5-6 inches away and use a pop filter or windscreen. For podcasting nd singing/rapping, set it to cardioid. This ensures it’s picking up sound from the front.
What You’ll Need
Pop Filter/Windscreen
I would highly advise a pop filter or windscreen to reduce the plosives and popping sounds you’ll inevitably face.
I bought one of these mic condoms in 2021 and don’t regret my purchase in the slightest.
Remember: Practice safe microphone recording; use a microphone condom.
Microphone Stand


This is kind of optional, but the versatility of something like a Boom Arm w/ the Yeti is priceless as you have complete control over angle, height, distance, general positioning, etc.
In case you’re wondering, the Yeti’s thread mount works with any standard/universal microphone stand.
For example, in the video above, I used my old Desktop Stand just to demonstrate that it theoretically works, but I ended up selling it because it was simply too bulky for my setup.
As mentioned previously, it does come with its own stand, but using it that way doesn’t exactly yield the best mic positioning.
Like me, you’ll find yourself leaning over to get close enough for a good take and it can be a bit awkward to record with at times.
Acoustic Sound Treatment
We’re really getting in the trenches here, but it’s always good practice to at least make the effort to improve your recording space.
In the image above, my studio was in my bedroom and I decided to move it to the dining room in 2023:

This area is much more open, conducive to mixing/recording, and also irregularly shaped.
Instead of being boxed into a 4 corner bedroom, the sound has some space to travel instead of bouncing around.
I also employed some acoustic panels (and have since added more), and while not perfect, it’s light years better than my previous space and looks like an actual studio.
The point is that with a mic like the Yeti (and any mic, really) you’ll want to try and deaden the sound as much as possible while also minimizing ambiance and miscellaneous unwanted artifacts.
Recording Software
Can’t record without it!
I use FL Studio, Audacity, and Reaper, but for beginners, I’d recommend the free Audacity until you get a good handle on recording.
Who benefits?

Endorsed for all of the following:
- Skype
- iChat
- Voice recognition software
- Voice acting/Voice-over
- Video conferencing
- Gaming
- Podcasts/YouTube
- Instruments/Vocals/Rap
- Recording videos or animations
In the interest of transparency, the Yeti was my primary YouTube mic from 2017 to around 2022. Since then, I’ve purchased a Sony A6400 and find the convenience of using the on-board mic invaluable.
That said, the Yeti is a solid investment and I still keep one around.
Just know what you’re getting into beforehand as we’ve discussed in this article.
Blue Yeti vs. Blue Yeti Nano
In this section, we’ll go over features, ease of use, and take a listen to some sound clips.


Ease Of Use
Recently I decided on a whim to buy a Yeti Nano because I was curious about how it compared with the original.
If you’ll recall, removing the original Yeti from its stand was rather simple, but getting it back in?
Hoo boy, GOOD LUCK.
The reason is that it came with like, a bajillion washers, and fitting it back in while trying to screw everything together was a colossal pain in the ass.
The Nano?
It’s 2 screws.
Super easy to assemble and disassemble.
Take a look at the image below if you don’t believe me.
This is all for YOU, dear reader.
That’s right, I’m going to take the original Yeti apart just so I can show you how ridiculous it is.


Which one of these looks easier to put back together? I’ll give you a hint: it AIN’T the first image. Lol.
Whoever thought it was a good idea to include 10 washers/bushings better not still be working for Blue Microphones. xD
Why does this matter?
Well, if you’re anything like me, you may prefer a scissor arm instead of the supplied desktop stand.
In this case, it’s super easy to disassemble and reassemble the Nano from its stand.
As far as scissor arms, it’s much easier to record a guitar/vocal take at the same time instead of having to try and record with it on your desk.
A scissor arm is also super convenient. Just push it out of the way when you’re not recording.
- Helpful Tip: Position the Nano roughly halfway between your guitar and mouth, angling it slightly downward. Now sit away from the mic around 10-12 inches. You can play around with this, but this placement will give you a super great recording with minimal post-processing required.
In any event, let’s take a look at Nano’s features.
Blue Yeti Nano: Features
Admittedly, it’s not quite as versatile as the original, and I’m not entirely sure why they didn’t include some more polar patterns since the Nano is essentially the same price as the Yeti (around $100).
The Yeti had 4:
- Cardioid
- Stereo
- Omnidirectional
- Figure 8
The Yeti also had a gain knob on the back, which was super useful when trying to achieve proper levels.

The Nano does have a gain function, but you’ll have to use their Sherpa app which may be a bit of an annoyance depending on who you are.
Still, you can always adjust the levels inside your DAW (I use FL Studio, Reaper, and Audacity).
That said, you’re still getting Cardioid Mode and Omnidirectional, and instead of a Volume Dial + Mute Button on the front, they’ve opted for an all-in-one button this time around.
Adjust the volume with the dial, and press it to mute (Red).
The underside of the unit contains your micro-USB jack and 3.5mm headphone jack for live no latency monitoring.
Rounding out the package is some literature as well as a thread mount.
This is a great benefit for those, like me, who have random scissor arms lying around.
Just screw the adapter on the arm and then screw the Nano onto the adapter.
Doesn’t get much easier!


Blue Yeti vs. Nano: Sound Comparison
This is where things get rather interesting.
The sound of the original Yeti was super clean and sterile. It sounded fantastic but had a couple of caveats:
- It picked up quite a bit of ambient/background noise.
- It leaned a tad too sterile in some instances and could come across as a bit cold and empty/hollow sounding.
You’ll be able to hear this in the recordings below, but what I found with the Nano is that it rectifies these issues.
It’s still super clear and articulate but has just a smidgen of warmth and body that enables it to sound a little more natural and less cold.
So in my estimation, it adds a bit of low end while also smoothing out the voice a tad and giving it some radio broadcast warmth.
I find it to be a fantastic compromise.

The other cool thing about the Nano is that it records simultaneous vocal/acoustic takes with ease.
I was able to get a really good recording with it using the tips I shared earlier.
I was shocked at how well both came through, and I didn’t have to use a windscreen either.
Yeah, there were a couple of pops that I cleaned up in post, and I certainly did EQ out some unnecessary low-end from the acoustic (something you should do anyway) while also giving it some presence in the mids and a bit of air up top.
But for $100?
The sound here is rather remarkable.
Blue Yeti Nano: Sound Recordings
No Windscreen, No gain, and no post-processing
Windscreen Used, No gain, and no post-processing
Here is the Windscreen I have.
Windscreen, Omnidirectional Mode, No gain and no post-processing
Blue Yeti (Original): Recordings
No Windscreen, No gain, and no post-processing
Windscreen Used, No gain, and no post-processing
Stereo Mode – Windscreen used, no gain and no post-processing
Figure 8 Mode – Windscreen used, no gain and no post-processing
Omnidirectional Mode – Windscreen used, no gain and no post-processing
Final Verdict
The features alone make this mic a vast improvement over other similar USB mics in its class.
The Yeti was truly a remarkable investment for me and I refuse to sell it because you just never know when it may come in handy.
It has a proven track record as far as sound, durability, and longevity, and it’s always given me the results that I’m looking for.
That said, the Blue Yeti Nano is a welcome upgrade from the original.
Its tight, compact package is much easier to use in the studio, and I appreciate the fact that Blue rectified the design flaw inherent in the original.
No longer will you be fiddling with washers trying to screw it back onto its original stand, and the sound, to my ears, is an improved, refined version of its predecessor – it adds a touch of broadcast warmth without sacrificing that wonderful sense of clarity and articulation.
Not many other microphones in this category that I’ve tried compare to the crisp, clean, detailed sound you’re getting here.
For that, and everything else we’ve discussed today, I think it’s a rather easy purchase, and a mic I would personally buy over the original if I had to do it all over again.
Learn More:
Blue Yeti
Price: Check Amazon! | Check Sweetwater! | Check B&H! | Check eBay! | Check Newegg!
In The Box

Blue Yeti USB Microphone (Blackout)
USB Cable
Stand
Limited 2-Year Warranty

Specifications
- Microphone Type: Condenser.
- Polar Patterns: Cardioid, Omni-directional, Stereo, and Figure 8.
- Frequency Response: 20Hz – 20kHz
- Max SPL: 120dB SPL. What is SPL?
- Signal-to-noise ratio: 100dB
- Colors: Many, varies.
- Connector: USB.
- Weight: 1.2 lb. 2.2 with the stand.
- Impedance: 16 Ohm
- Sample Rate: 48 kHz. Bit depth vs. sample rate.
Well that’s about it for today my friend! I hope you’ve gotten some valuable information out of my Blue Microphones Yeti Review!!
What do you think about the Yeti? Are you likely to take the plunge? A step out in faith? I would love to hear from you.
If you have any other questions or feel I’ve missed the mark on something, please contact me!
I very much look forward to speaking with you…
All the best and God bless,
-Stu
Be sure to check out my Reviews and Resources page for more helpful and informative articles!
Photo Gallery


Blue Yeti

Pros
- Versatile
- Flexible
- Clear sound
- Durable
- Features
Cons
- No On/Off
- Background noise


Hey there Stu,
First off great site. I’m a recording musician myself and its just a coincidence that you have the Yeti up for review. I just happen to be starting a stream on teaching guitar and this is the Mic I have been looking at. You answered every question I can think of. I had no idea this mic doesn’t have an on/off switch, that is always a good thing to know and not really a big deal. I love how it sounds and thank you for sharing the sound bytes. I have bookmarked you site for future reference, and when it comes time to buy the mic I will definitely be getting it through you.
Hey Jon!
Yeah it’s a great mic. Solid as a rock with loads of features. Let me know how you like it whenever that time comes!! I appreciate your support!
-Stu
Really helpful! Question: I would like to conduct oral history projects using my iPhone for video. Are they compatible? What adapter or additional cables would I need? Also, headset that is really good price/value?
Yes they are compatible 🙂 https://www.labnol.org/gadgets/connect-usb-mic-to-ipad/28683/
As for a good value headset, go with the Sony MDR-V6. Here is my review: Sony MDR V6 Review
I read your blog. Having very use full information help me a lot. I will read more articles on your blog.
Thanks, Yekase!
nice article!
Neha,
Thank you! Hope it helped. Let me know if you need a hand.
-Stu