Acoustic Sound Treatment For Microphones: Tips For Optimal Recording
Introduction
Greetings, mate, and welcome aboard! Stuart Charles here, HomeStudioBasics.com, helping YOU make sound decisions for a beautiful audio experience that will make you fall in love with music (NOT gear) all over again.
I’ve done a lot of microphone comparison reviews, but I’ve never had an article specifically on Acoustic Sound Treatment—until now!
This is a topic that comes up a lot, so today, I want to cover techniques you can use to get the best possible sound from any microphone you own.
What You’ll Learn in This Article
- Why sound treatment matters
- Key techniques to improve your mic’s sound
- Video examples to demonstrate concepts
So, grab a snack, sit back, and relax because…
You’ve come to the right place!
Understanding Acoustic Sound Treatment
When I first started building my home studio, I was overwhelmed by the concept of sound treatment.
“Sound treatment?! That must cost thousands!”
LOL. (Okay, maybe I’m exaggerating, but you get the idea.)
I was convinced I’d need to spend a fortune, but the truth is, great sound treatment doesn’t have to break the bank. You just need to focus on key fundamentals to create an optimal recording environment.
Essential Techniques for Better Sound

To ensure your mic captures the best possible sound, focus on these key areas:
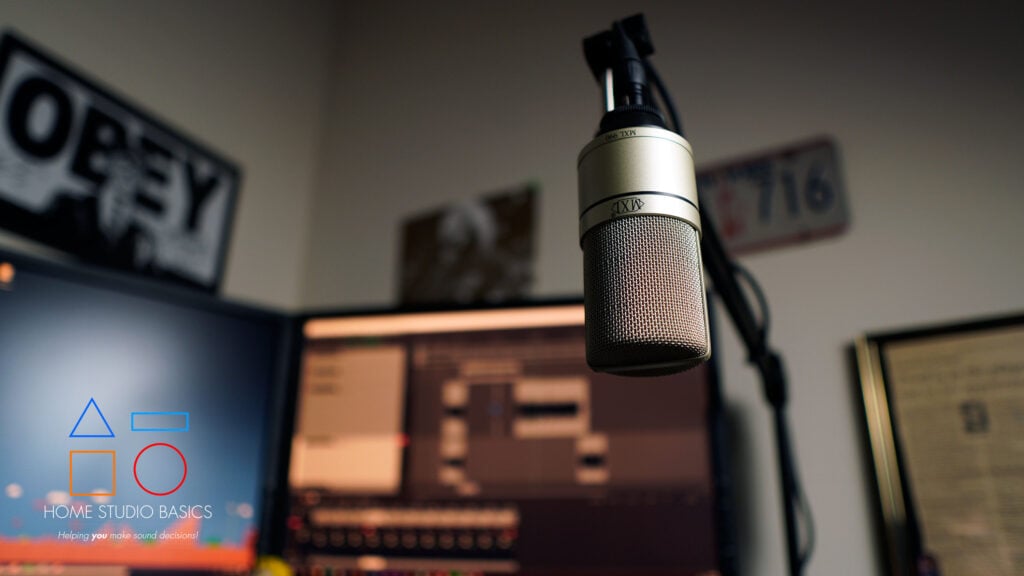
1. Proper Mic Placement
A lot of mics sound best when placed in a specific way. Experiment with positioning:
- Try standing at different distances from the mic.
- Adjust the angle slightly to see how it affects sound pickup.
- Test placement within your recording space—some spots will naturally sound better than others.
You’ll know when you find the sweet spot. That “aha” moment when you listen back and say, “That’s it right there!”
2. Managing Room Reflections (Without Over-Deadening)
Treating your recording space is important, but too much absorption can hurt your sound.
🔴 Why Over-Deadening is a Problem:
- Loss of Liveliness – Too much absorption removes natural reflections, making recordings sound dull and lifeless.
- Unbalanced Frequency Response – Many absorptive materials kill high frequencies but do little for bass, creating an uneven sound.
- Performance Challenges – Musicians and vocalists often rely on natural reflections for monitoring. A completely dead space can make it harder to perform naturally.
- Poor Mix Translation – In mixing or mastering environments, a lack of reflections can make it hard to judge your mix, leading to tracks that don’t sound right in real-world settings.
- Increased Ear Fatigue – A completely dead space can be uncomfortable for long sessions, making the sound less engaging.
✅ The Solution? Balance Absorption and Diffusion!
A well-treated room should control reflections without eliminating them entirely.
3. Good XLR Cables Matter!
Many people overlook cable quality, but it directly affects your sound. Cheap XLR cables can introduce:
- Unwanted noise (hiss, interference, hum)
- Signal degradation
- Durability issues
A high-quality XLR cable ensures a clean and reliable connection. If you’re curious about why cable quality is so important, check out my XLR Cable Guide.
4. Essential Accessories for Better Sound
📌 Pop Filter – Reduces plosives (harsh “P” and “S” sounds) and protects your mic from moisture and dirt.
📌 Shock Mount – Helps isolate the mic from vibrations, preventing unwanted handling noise from reaching the recording.
📌 Acoustic Treatment for Walls – Reduces unwanted reflections and echo in your recordings.
Building a Simple Home Vocal Booth
If you’re dealing with background noise, these DIY solutions can help:
✔️ Easy Sound Treatment Options:
- Bass traps (especially in corners)
- Acoustic foam panels on walls. I use these, and they work incredibly well
- Heavy blankets or comforters (a budget-friendly alternative)
- An isolation shield (great for small spaces)
🚨 Avoid common mistakes! While closets may seem like a great idea, they can sometimes make your recordings sound boxy or unnatural due to their small, enclosed space.
👉 Pro Tip: If all else fails, you can even record under a blanket—it sounds crazy, but it works!
Closing Thoughts

I hope you’ve gotten some valuable information out of this article on Acoustic Sound Treatment.
If you have further questions, need some recommendations, or think I left something out, let me know! Leave a comment below or contact me! I look forward to hearing from you…
All the best and God bless,
-Stu
[Xtr@Ba$eHitZ] > Now AudioFiles Anonymous
Be sure to check out my Reviews and Resources page for more helpful and informative articles!

