How To Sample In FL Studio – A Complete Guide [Part I/Setup]
Greetings bass head and welcome aboard!
In this guide, I’ll be going over a few different ways to sample inside of FL Studio and part 1 will also cover How to set up a MIDI Keyboard as well as how to install sound packs.
There is more than one way to skin a dog, but nowadays it’s easier than ever.
We’ll take into account pairing your device, audio settings, the FPC, the Fruity Slicer, Edison, Slicex, and much more.
This protocol has worked for me for many years, but I needed a refresher course after a long hiatus from making beats.
Now that I’m back in black like AC/DC, I wanted to share with you the process from A-Z.
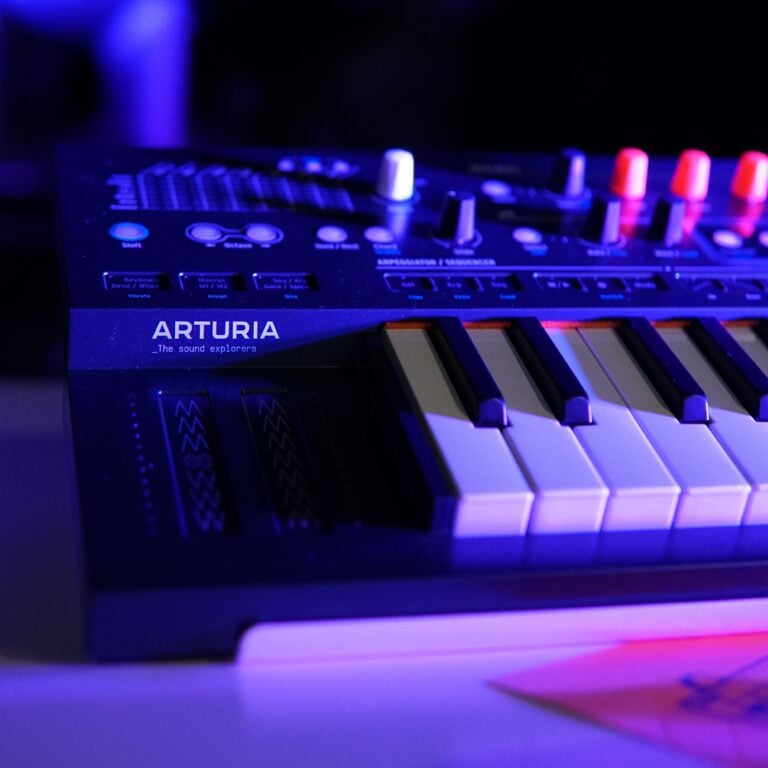
For this demo, I’ll be using my first love: the KORG padKONTROL as well as the Novation FL Key Mini that I just picked up.
*Hint hint* you should get the FL Key as it was made for FL Studio and is a breeze to use.
We’ll pair it with FL Studio 21 but don’t fret. If you haven’t purchased it yet, the FL Key comes with a 6-month trial that you can use to get your feet wet.
I bought the Producer Edition for $199 and I believe it’s worth every penny – especially considering you’ll receive free lifetime updates.
After you read through this guide, you should be ready to lay down some sick chops and make a dope beat!
Let’s start from the beginning. This guide assumes you are brand new!
Step 1: Pairing Your Device

Connect your drum pad to your PC or laptop via the USB cable. Both the padKONTROL and FL Key utilize Type-B.
Turn the unit on and fire up FL Studio.
For the FL Key, do keep in mind you’ll need to register your device through Novation first.
Simply follow the steps sent to your email and you should be good to go.
Once that’s complete, go to OPTIONS > MIDI SETTINGS. Alternatively, you can press F10 as well.
- Related: What is MIDI? [Beginner’s Guide]
If your pad isn’t visible, click “Refresh Device List” at the bottom. You should see the pad appear.
Now click the “Enable” button and you’re ready.
You can also look for yours in the drop-down menu where it says “Controller type”, but generally speaking it should just appear under Input.
This is especially true for the FL Key. I didn’t have to go looking for it at all. It simply appeared and was ready to go.
Step 2: Configure Your Audio Settings

Go to OPTIONS > AUDIO SETTINGS, and under the drop-down menu find whatever you’re using and click on it.
I would highly advise using ASIO4ALL with your interface/studio monitors if you’re on Windows as it makes things a whole heck of a lot easier.
- Recommended Reading: What Is ASIO 4 ALL? Unleashing Low-Latency Audio For Music Production
Step 3: Importing VSTs
Import some soundpacks, VSTs, etc.
For my drum sounds, I’ve been using the same Soundkit for years and love it. I would share it but I can’t remember where I got it from as it was so long ago.
There’s a plethora of different kicks, snares, hi-hats, etc. You can also make your own packs, which I will do for my readers!
If you need some sounds, just do a Google search for some free sound packs to get you started. You can also use the ones inside FL Studio.
Most sound packs and VSTs come in a zipped folder. Just make sure to extract the files before importing.
To import, go to OPTIONS > FILE SETTINGS.
Now just click on one of the folders and browse your PC for the packs you’d like to import.
Installing VSTs is a slightly different process:
- Recommended: How To Install VST Plugins In FL Studio
Now we’re ready to sample. This is where you get creative.
If you’re interested in my favorite turntable for sampling and chopping, check out my Audio Technica AT-LP60 review!
I’ve had it since 2014 and it’s still going strong!

You’ll basically be using the USB turntable to record the vinyl into a program like Audacity, saving it as a .WAV on your PC, and then chopping it up with Edison or Slicex.
Speaking of Edison, let’s dive in and see how it works.


Hi Stu, you manage to made an easy step by step method on how to sample in FL studio. Although it doesn’t look easy, but I believe if we follow the steps you’ve provided, it can probably be done easily like you just shown. Thank you very much Stu!
dlansing
Thanks D! I appreciate your comment! I was just thinking that same thing after I re-read it. LOL. It is very easy but I guess writing it all out makes it seem longer. It’s really a quick process.
-Stu
Hey Stu great job even a complete dunce like me can follow your instructions. You have given simple step by step instructions to carry out what I think is a very hard and complicated process. Well done great job.
Thanks Thomas! Yeah it’s really fun and easy. I appreciate you stopping by!
-Stu
I have played with apps before just to see what I could do….sounded really bad lol This breaks it down in great steps to be more successful and maybe have a chance of something sounding good 🙂
Nichole
Thanks Nichole! Give it a try sometime!
-Stu
Thanks, Stu! I believe with your help we could all become master DJs! Keep up the awesome information.
Matt
Thanks for stopping by Matt!
-Stu
Very nice step by step tutorial… very useful information. Thanks!
Thanks Marco! Much appreciated
-Stu
Very cool and helpful Stu, I dont know much around production but I am slowly getting there, and I always wanted simple steps on how to go about it, which I feel like you’ve done a good job in explaining in this post.
Thanks Bassam. Keep at it and drop by in the future for more how to and tips!
-Stu
Hi Stu, nice post. It looks so easy to follow your step by step process. I will keep coming back for more and more awesome tips!
Thanks Demi! I appreciate you stopping by!
-Stu