
Novation FL Key Mini Review: The Answer To Most Of Your Prayers
Greetings mate and Welcome aboard! Stuart Charles here, HomeStudioBasics.com helping YOU make sound decisions, so…
Video Review
Leave me some love and subscribe! <3
If you can believe it, I started making beats in 2007.
Back then you had to, you know, actually walk into a store to buy something. Crazy, right?
All I knew was that I wanted to make beats. Tru beats.
“Yeah, but those TruBeats. You’ll get oxidation problems.”
Share if you caught the reference.
In all seriousness, I made the trek down Capital Blvd. in North Carolina to Sam Ashe, waltzed up to the salesman, and exclaimed loudly: “I WANNA MAKE BEATS!”
Just kidding I didn’t do that.
My love for instrumentals dates back as long as I can remember, and the idea of making my own was perhaps the most excited I’ve ever been regarding anything music-related.
If you’re brand new and reading this, it’s absolutely worth it to buy some equipment. The sheer joy that emanates from playing around with samples and instruments is indescribable.
Indescribably good, like a Big Zax Snack. You remember your business partner, BigZaxSnack, don’t you?
Seriously though, those sounds that you make are yours forever. No one can take that creativity away from you. Describing the feeling of making music cannot adequately be put into words. It has to be felt. If you know, you know.
If you don’t know, you should know. And that’s why I’m here, BRO.
For many years I used a Korg padKONTROL (and an AKAI MPD18 for a brief time), and as much as I enjoyed my time with the former, it’s outdated now. I don’t need it anymore. Plus, it was a pain to use with FL Studio.
The Novation FL Key Mini? It was made specifically for FL Studio, and that’s why I invested in one.
So you shouldn’t just consider it; you should absolutely stop everything you’re doing and purchase one now. Don’t even read the rest of this article.
I’m sort of kidding, but let’s dive into the FL Key Mini Review and quell every doubt you may have that this is the best product on the market for producers working in FL Studio.
By the end, you’ll know it’s right for you, and if it’s not, I’ll eat my sock.
Ready?
All specs, box contents, photo gallery, and pricing towards the end!
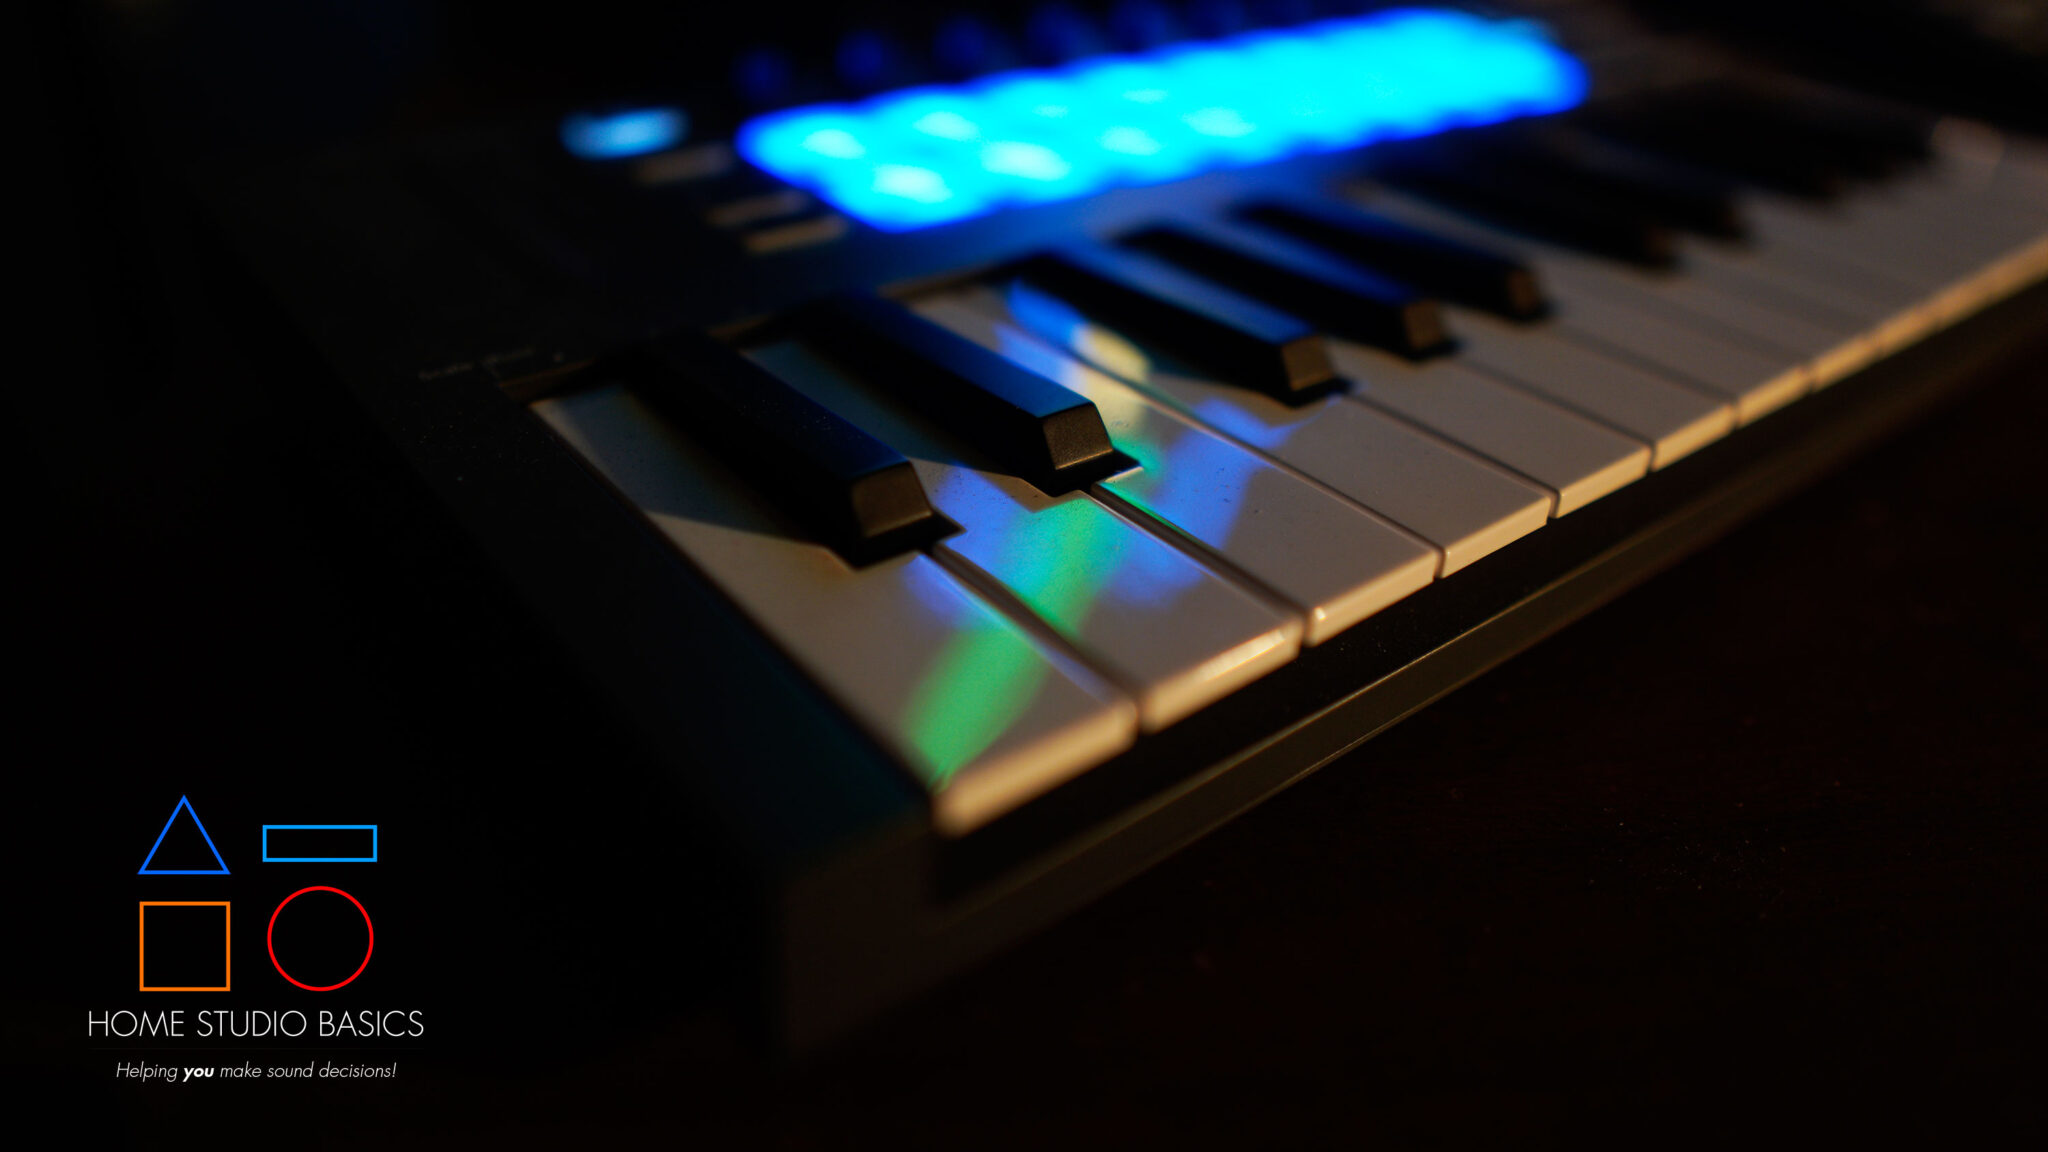
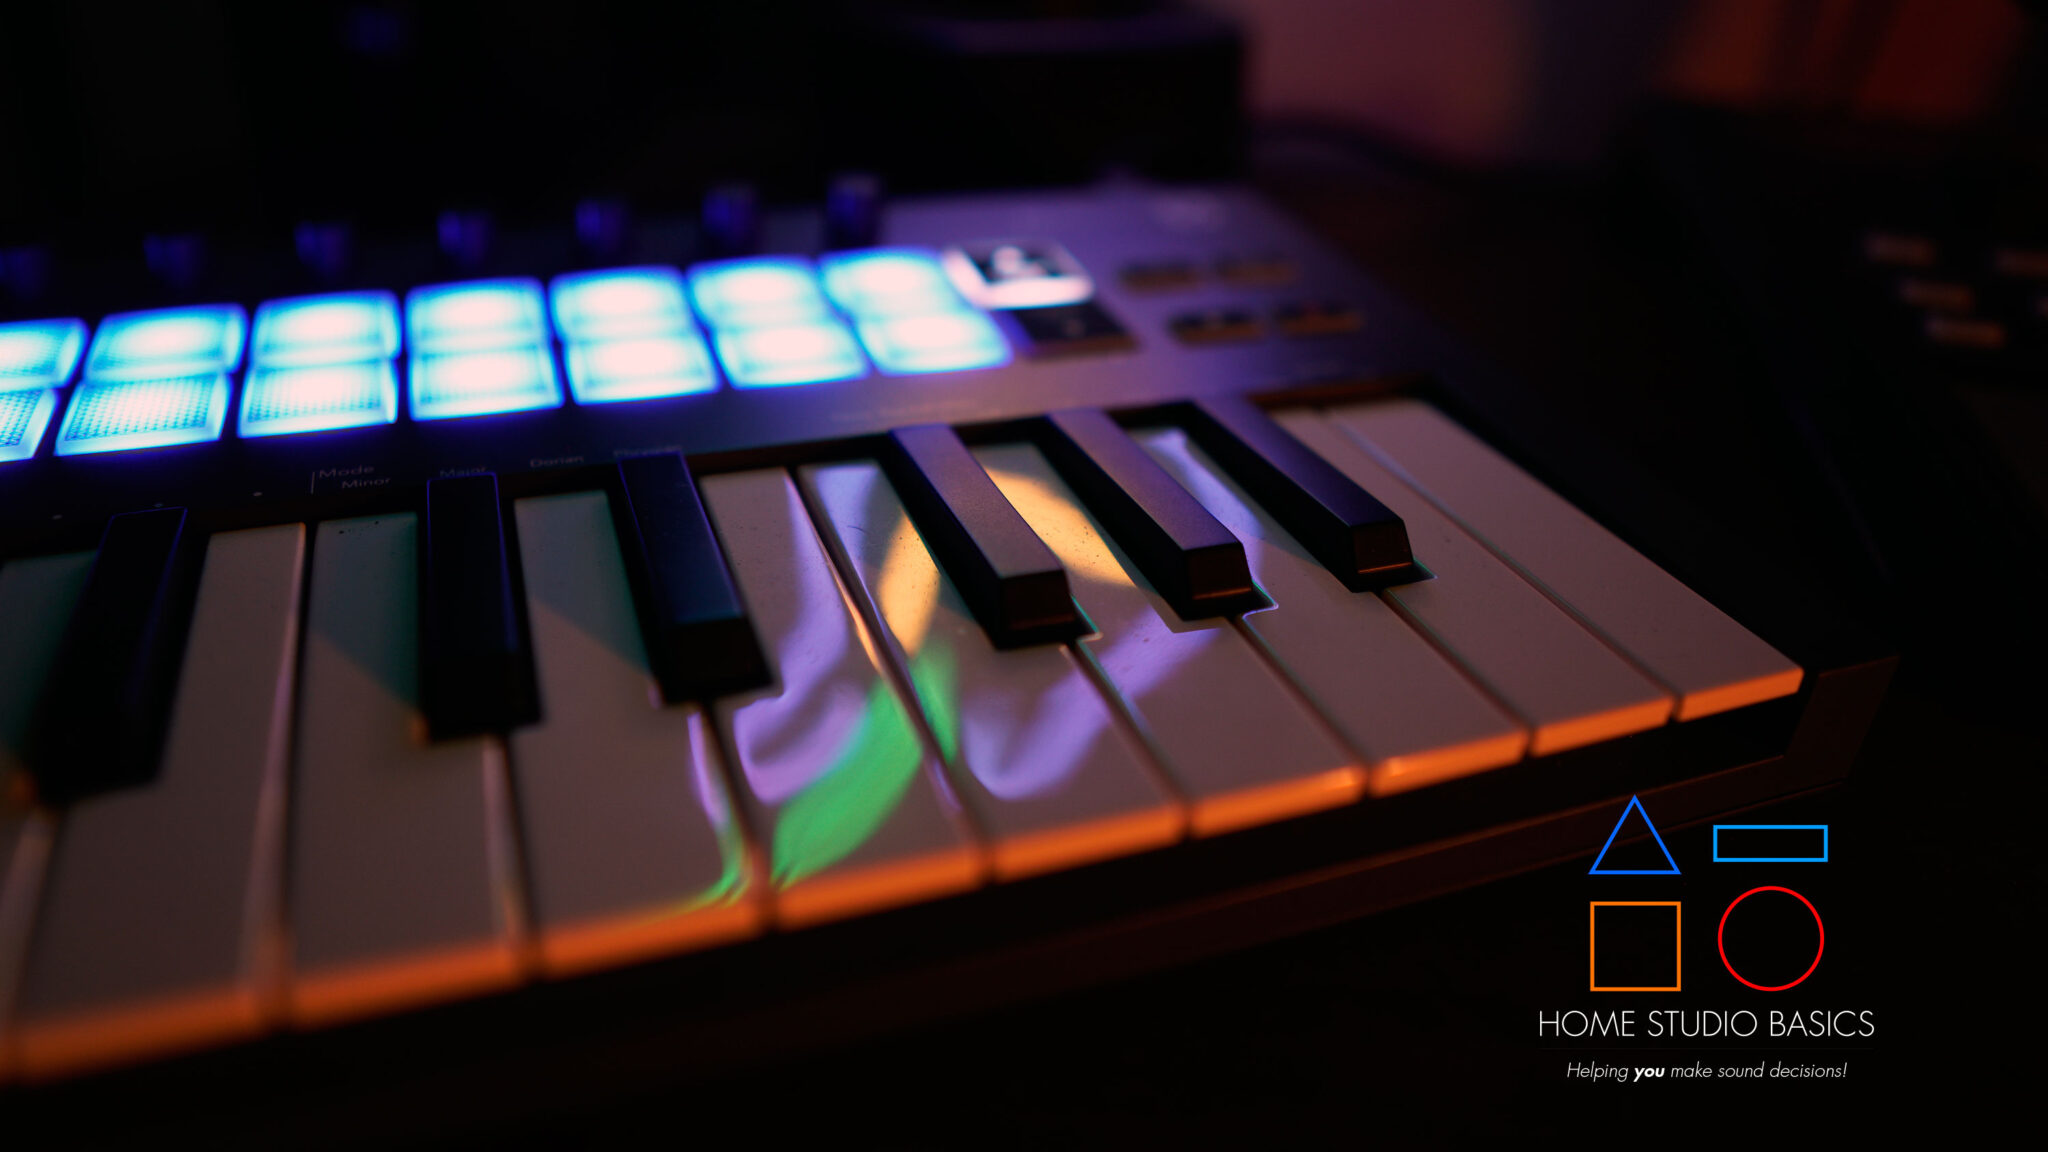
Build & Aesthetic

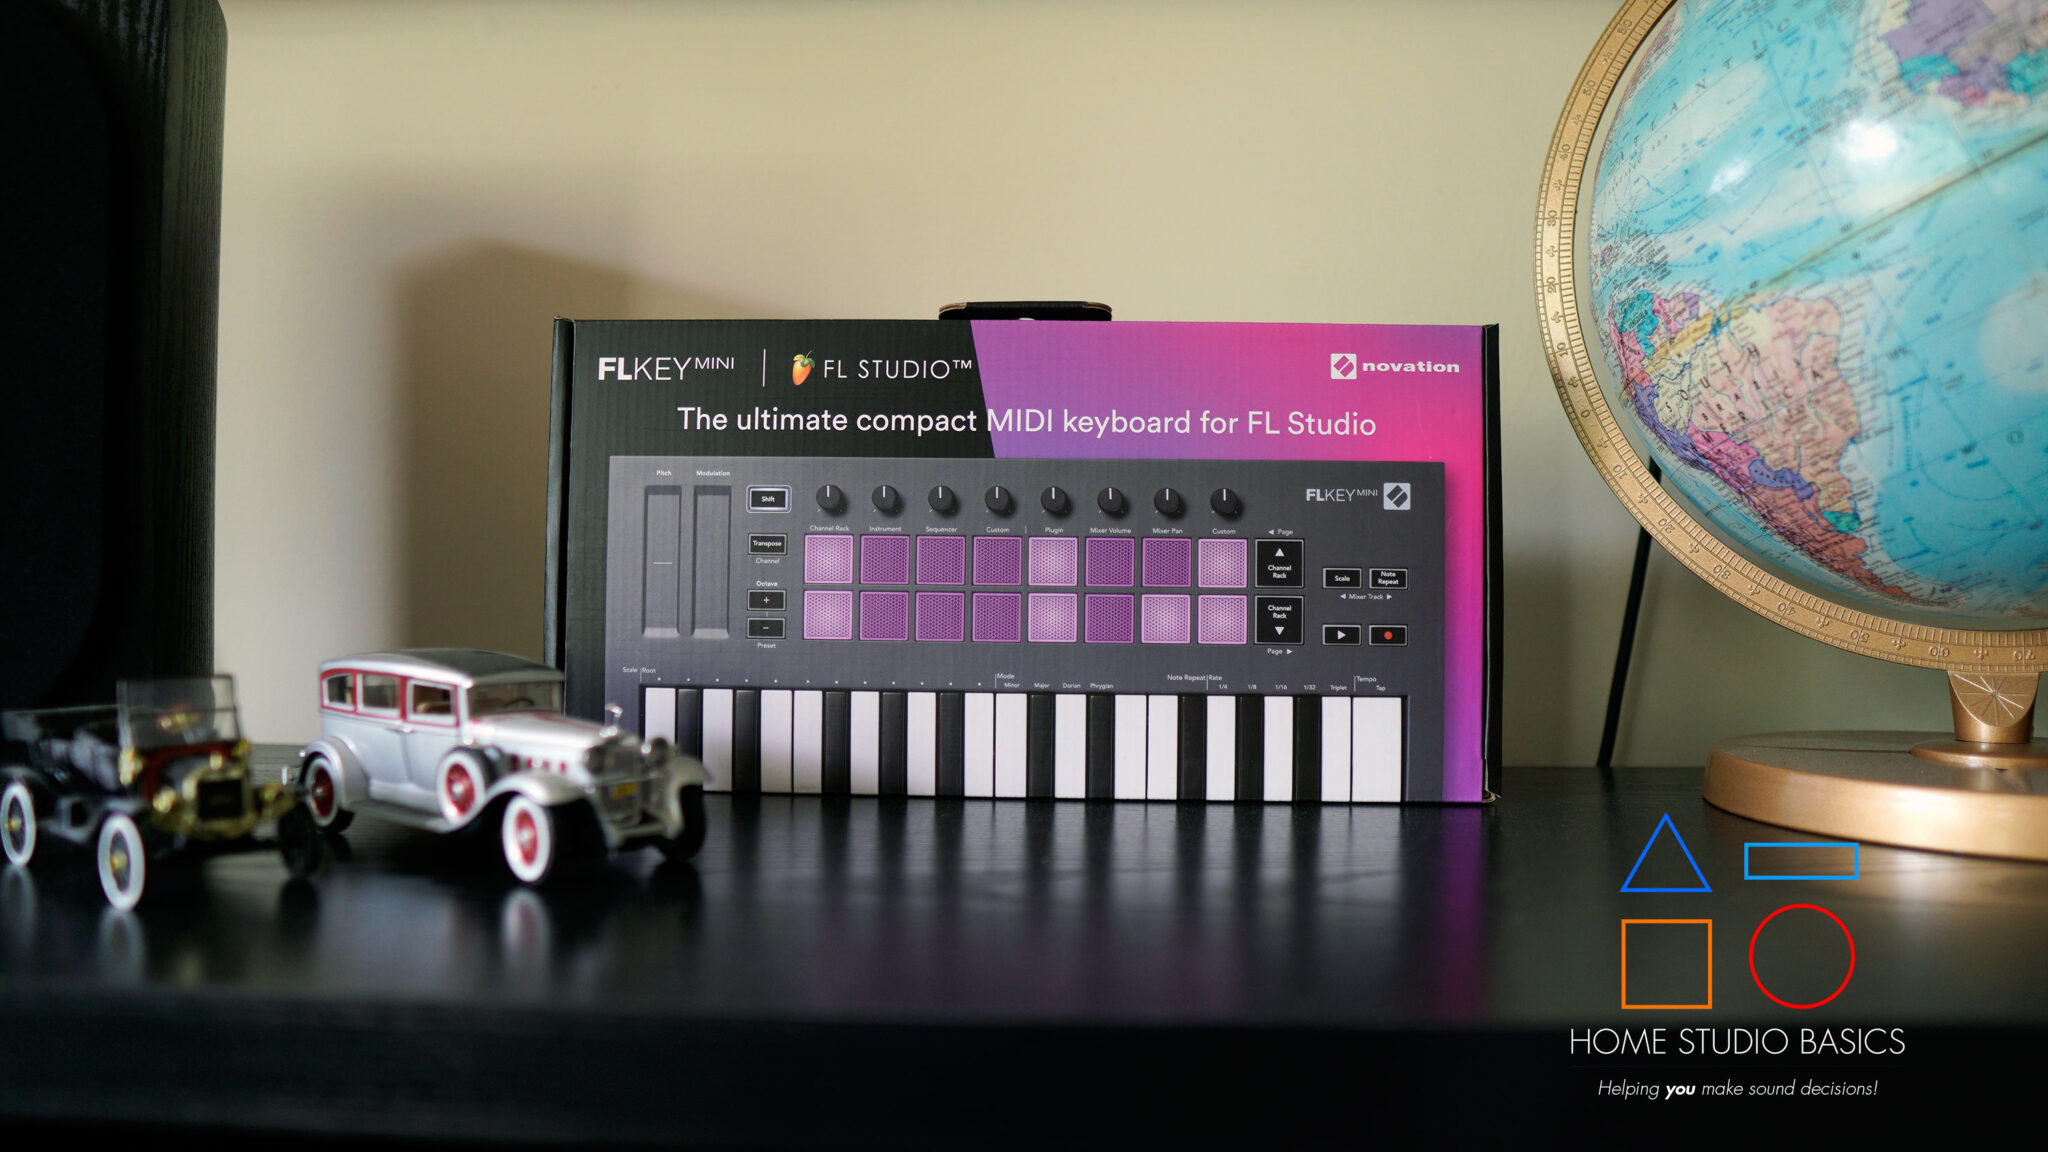
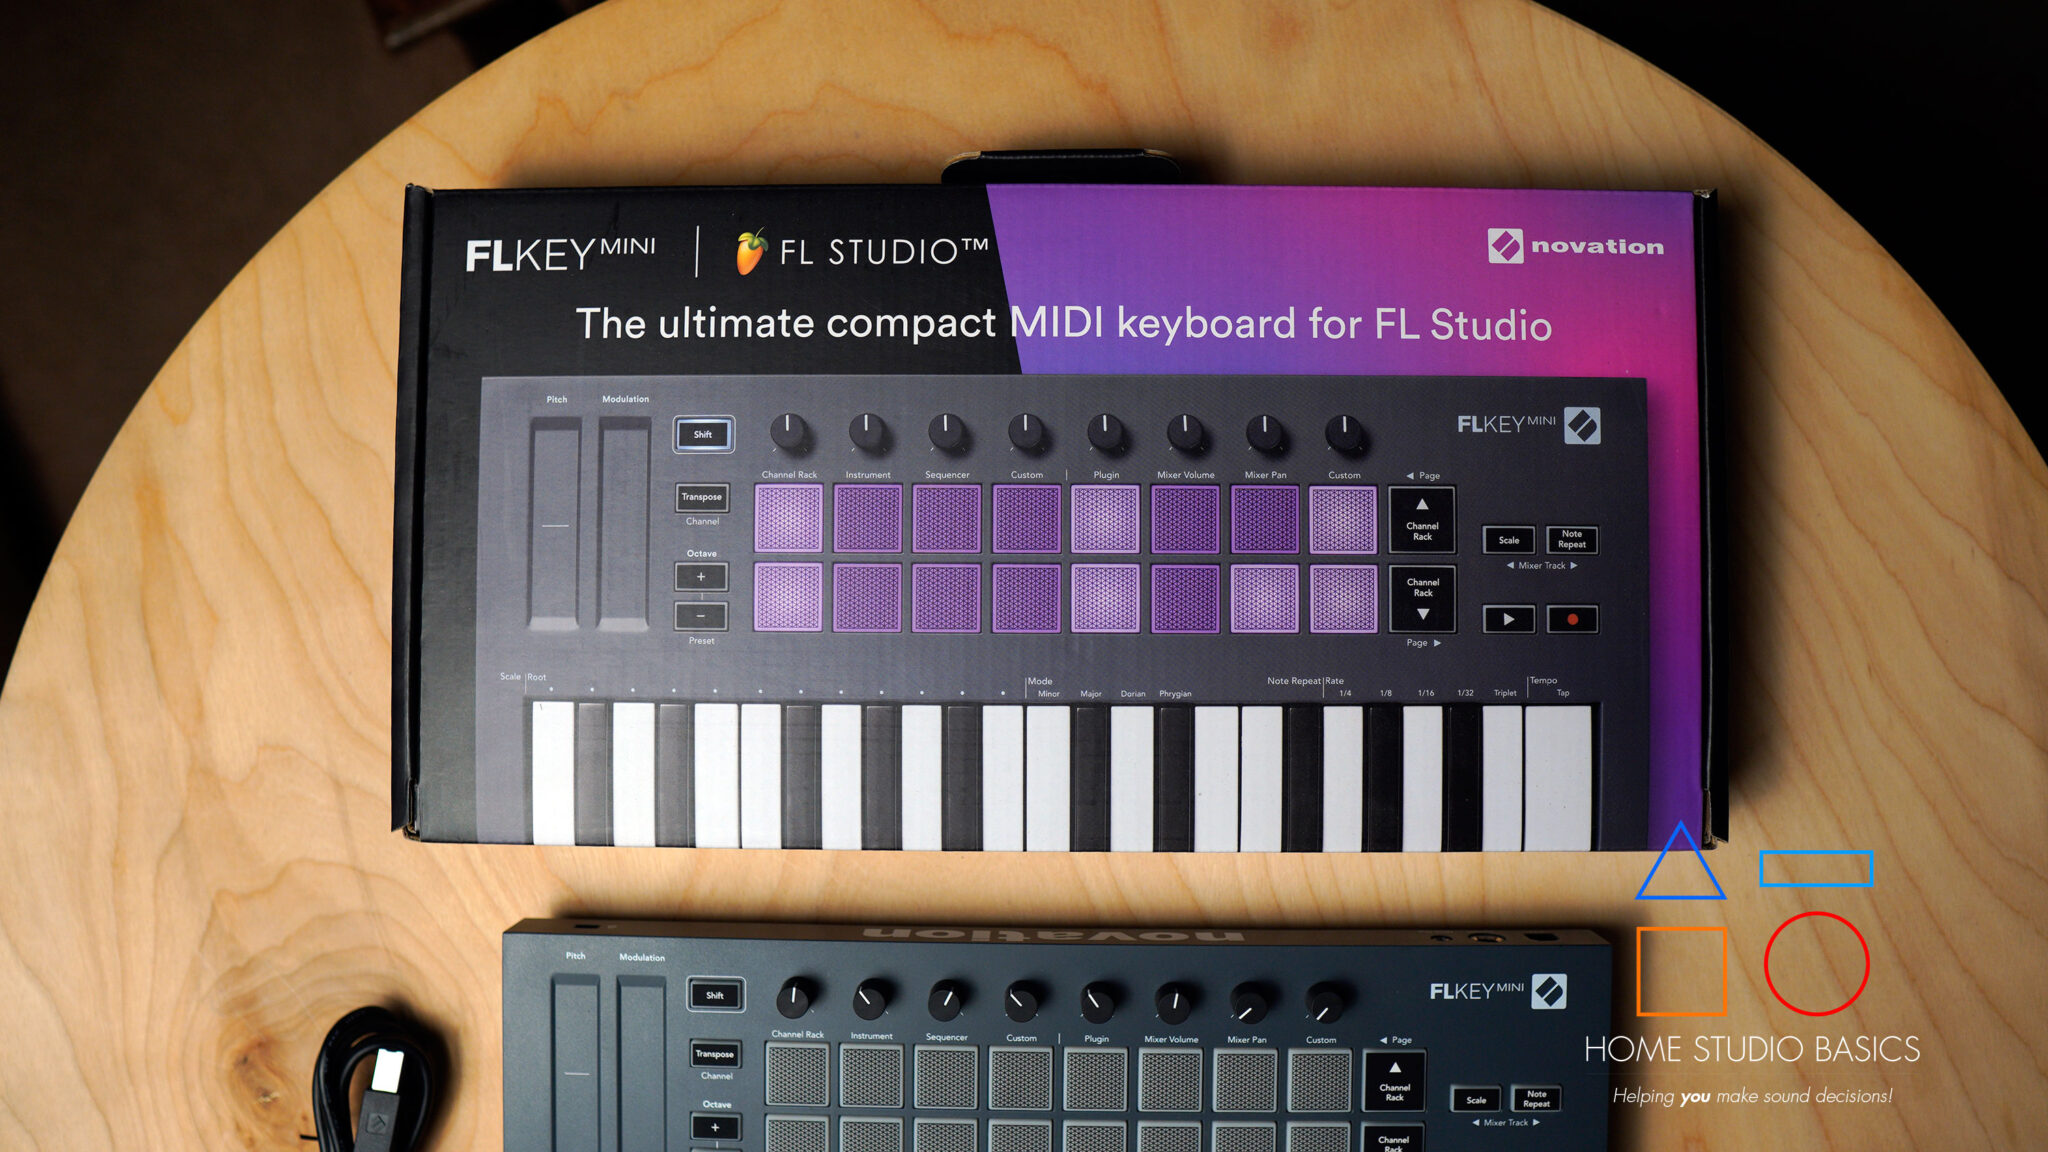
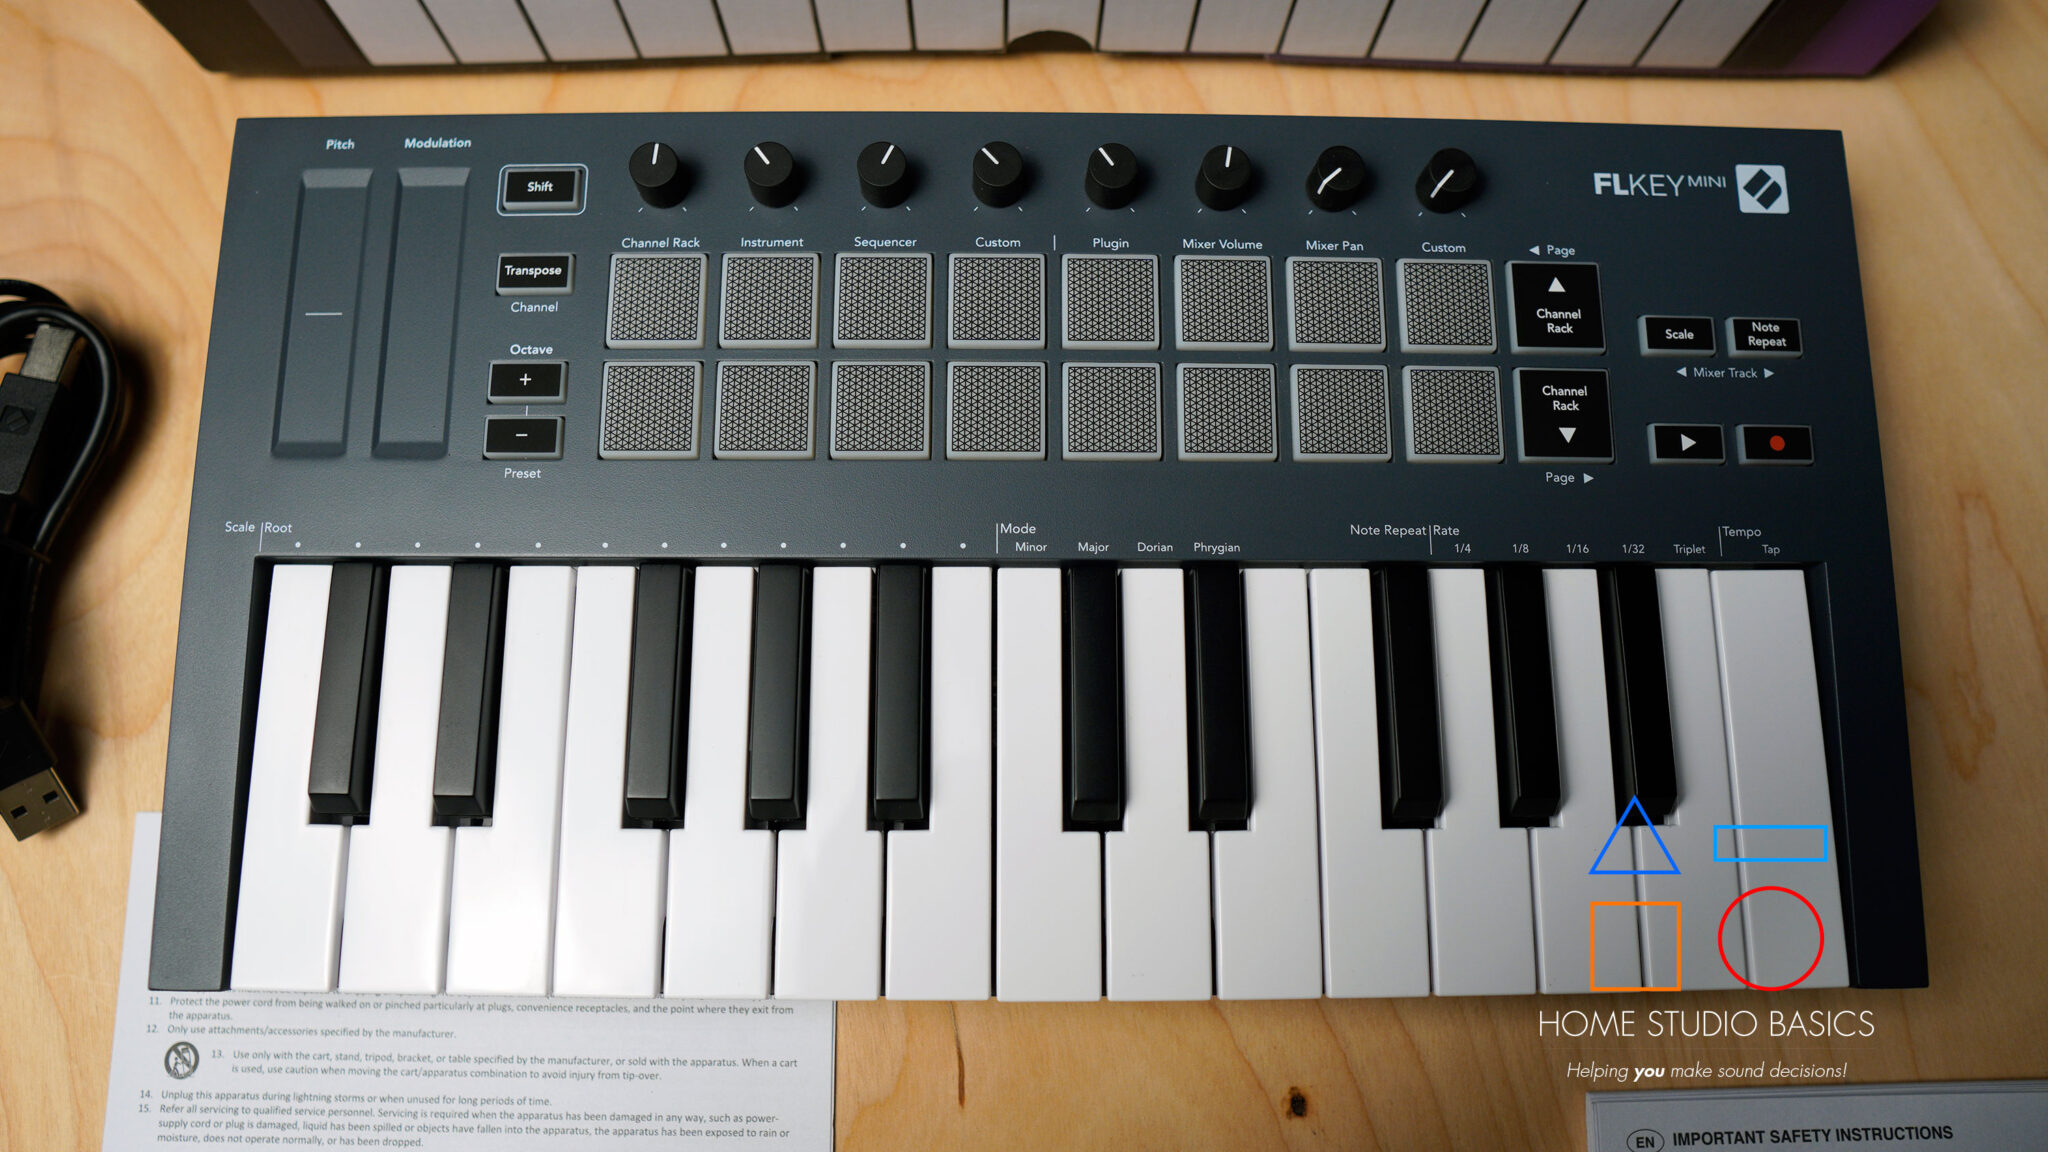
Kicking things off, the Novation FL Key comes in a few different sizes: 25 Keys (this review), 37, 49, and 61.
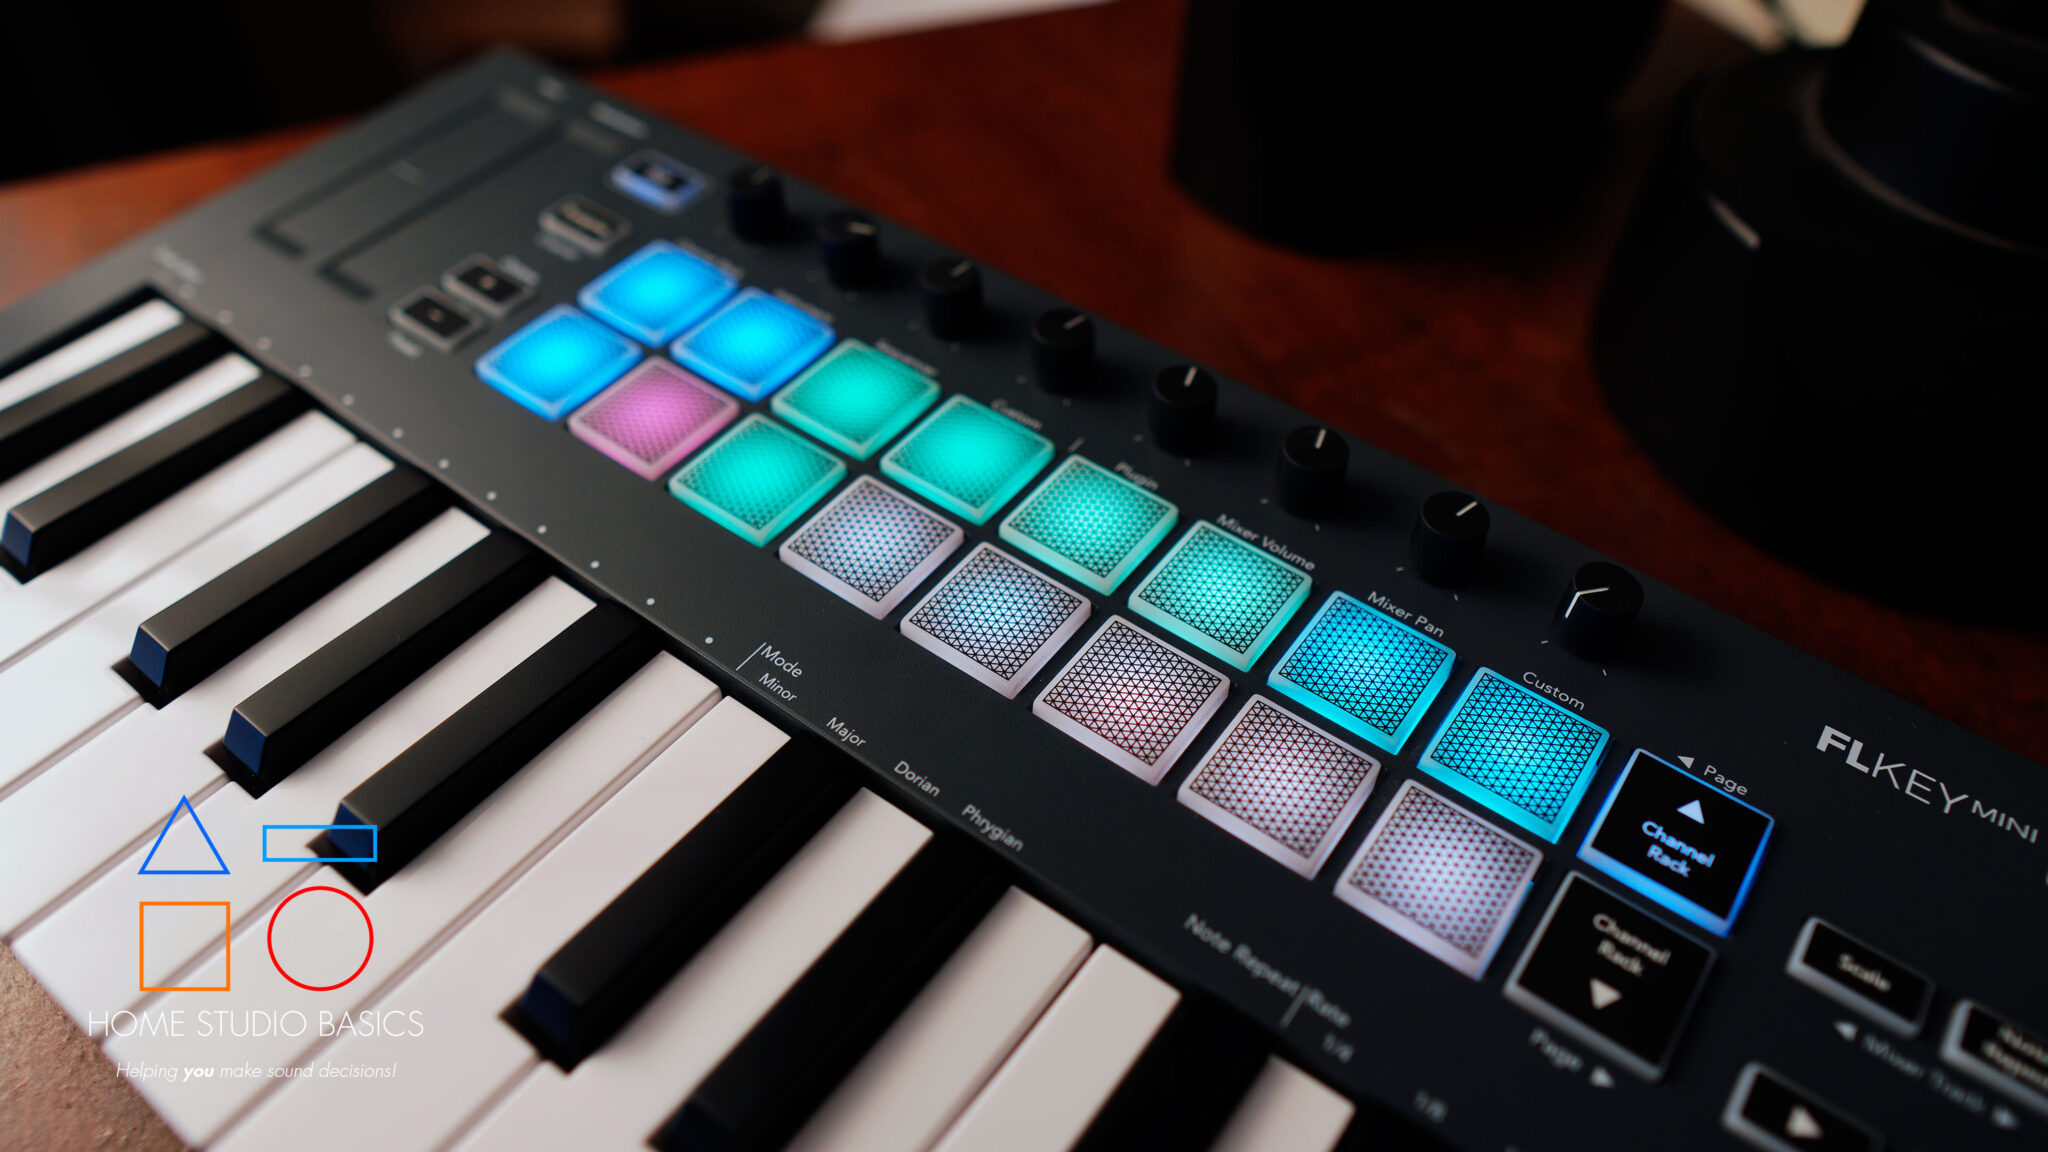
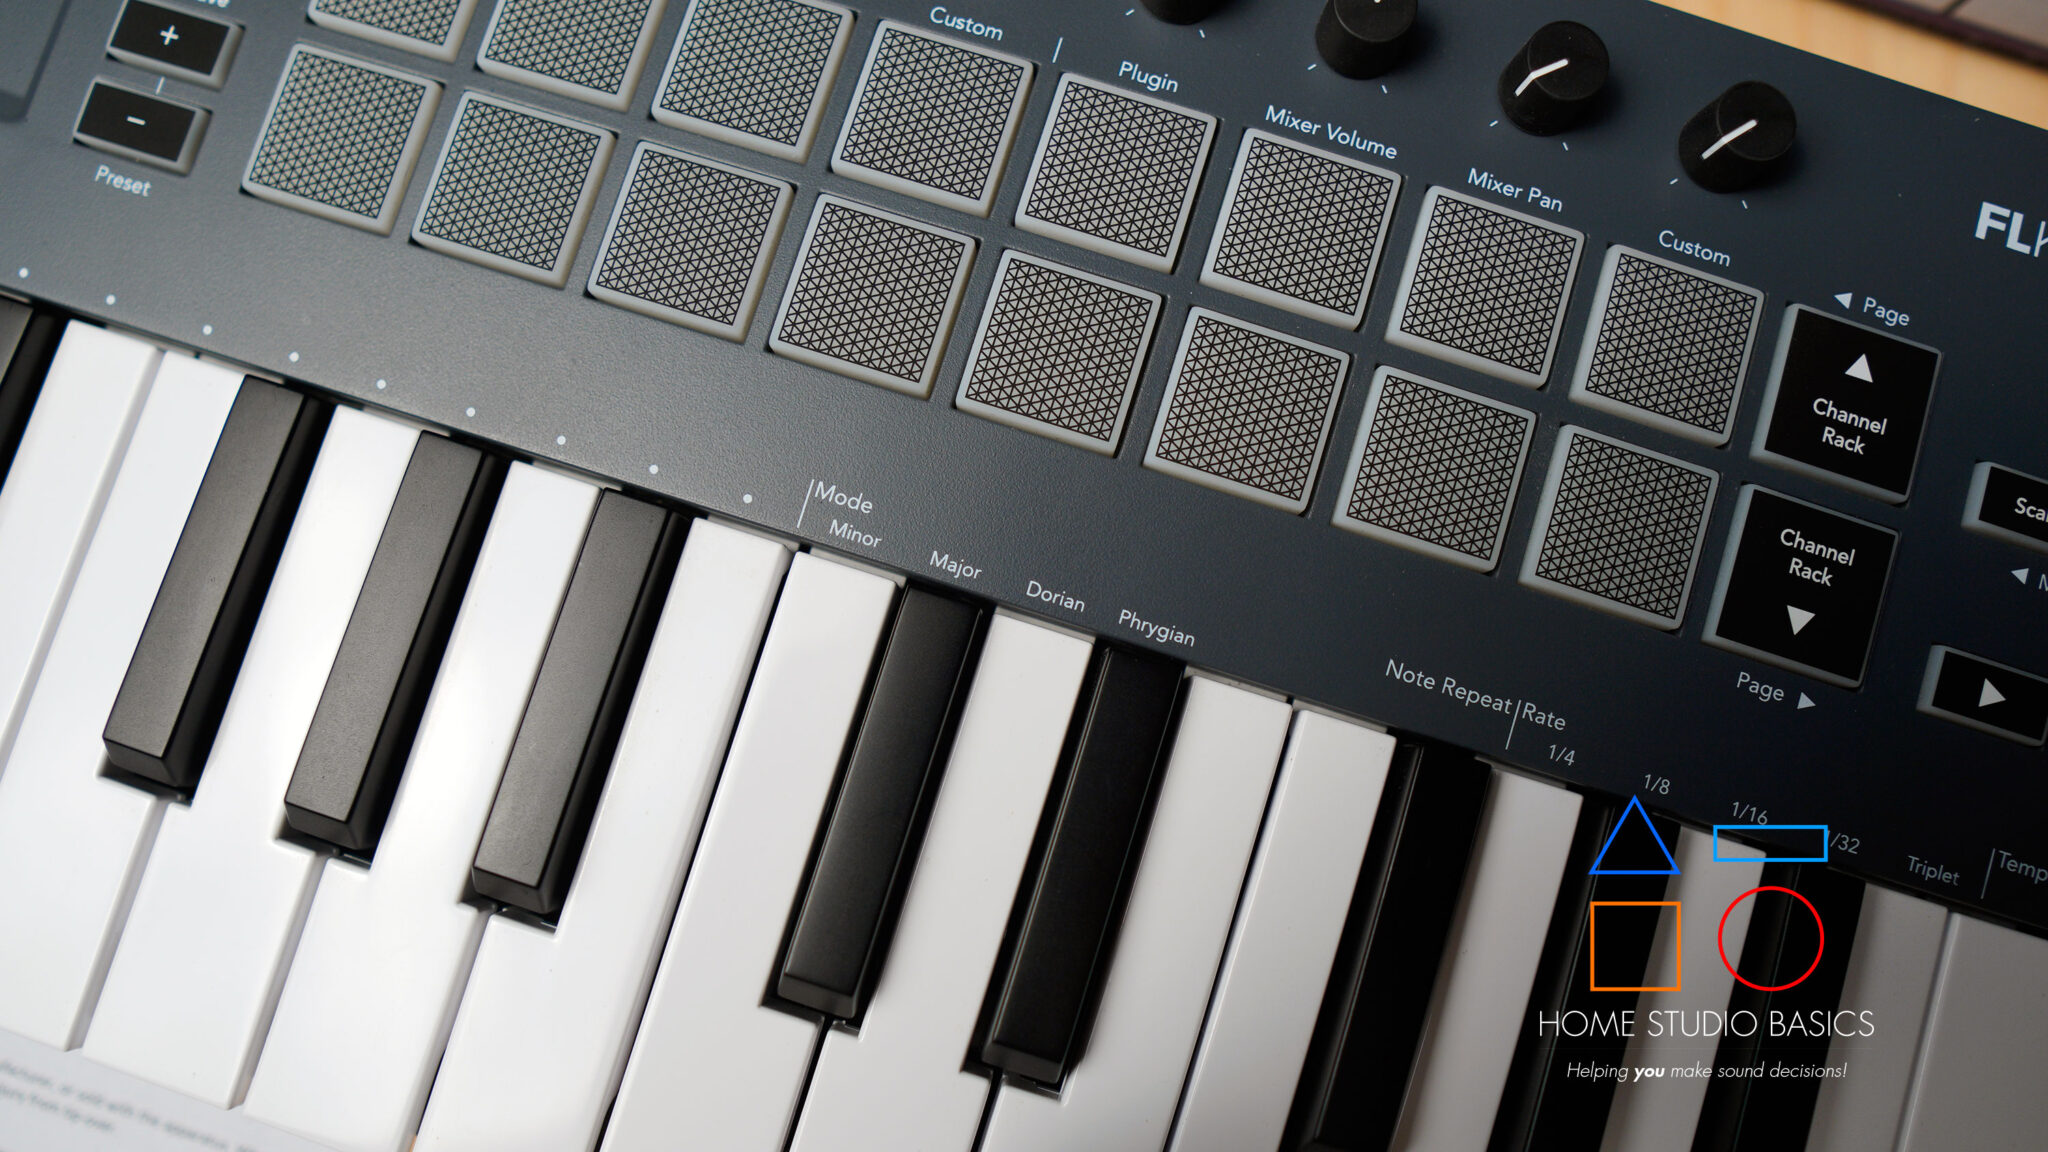
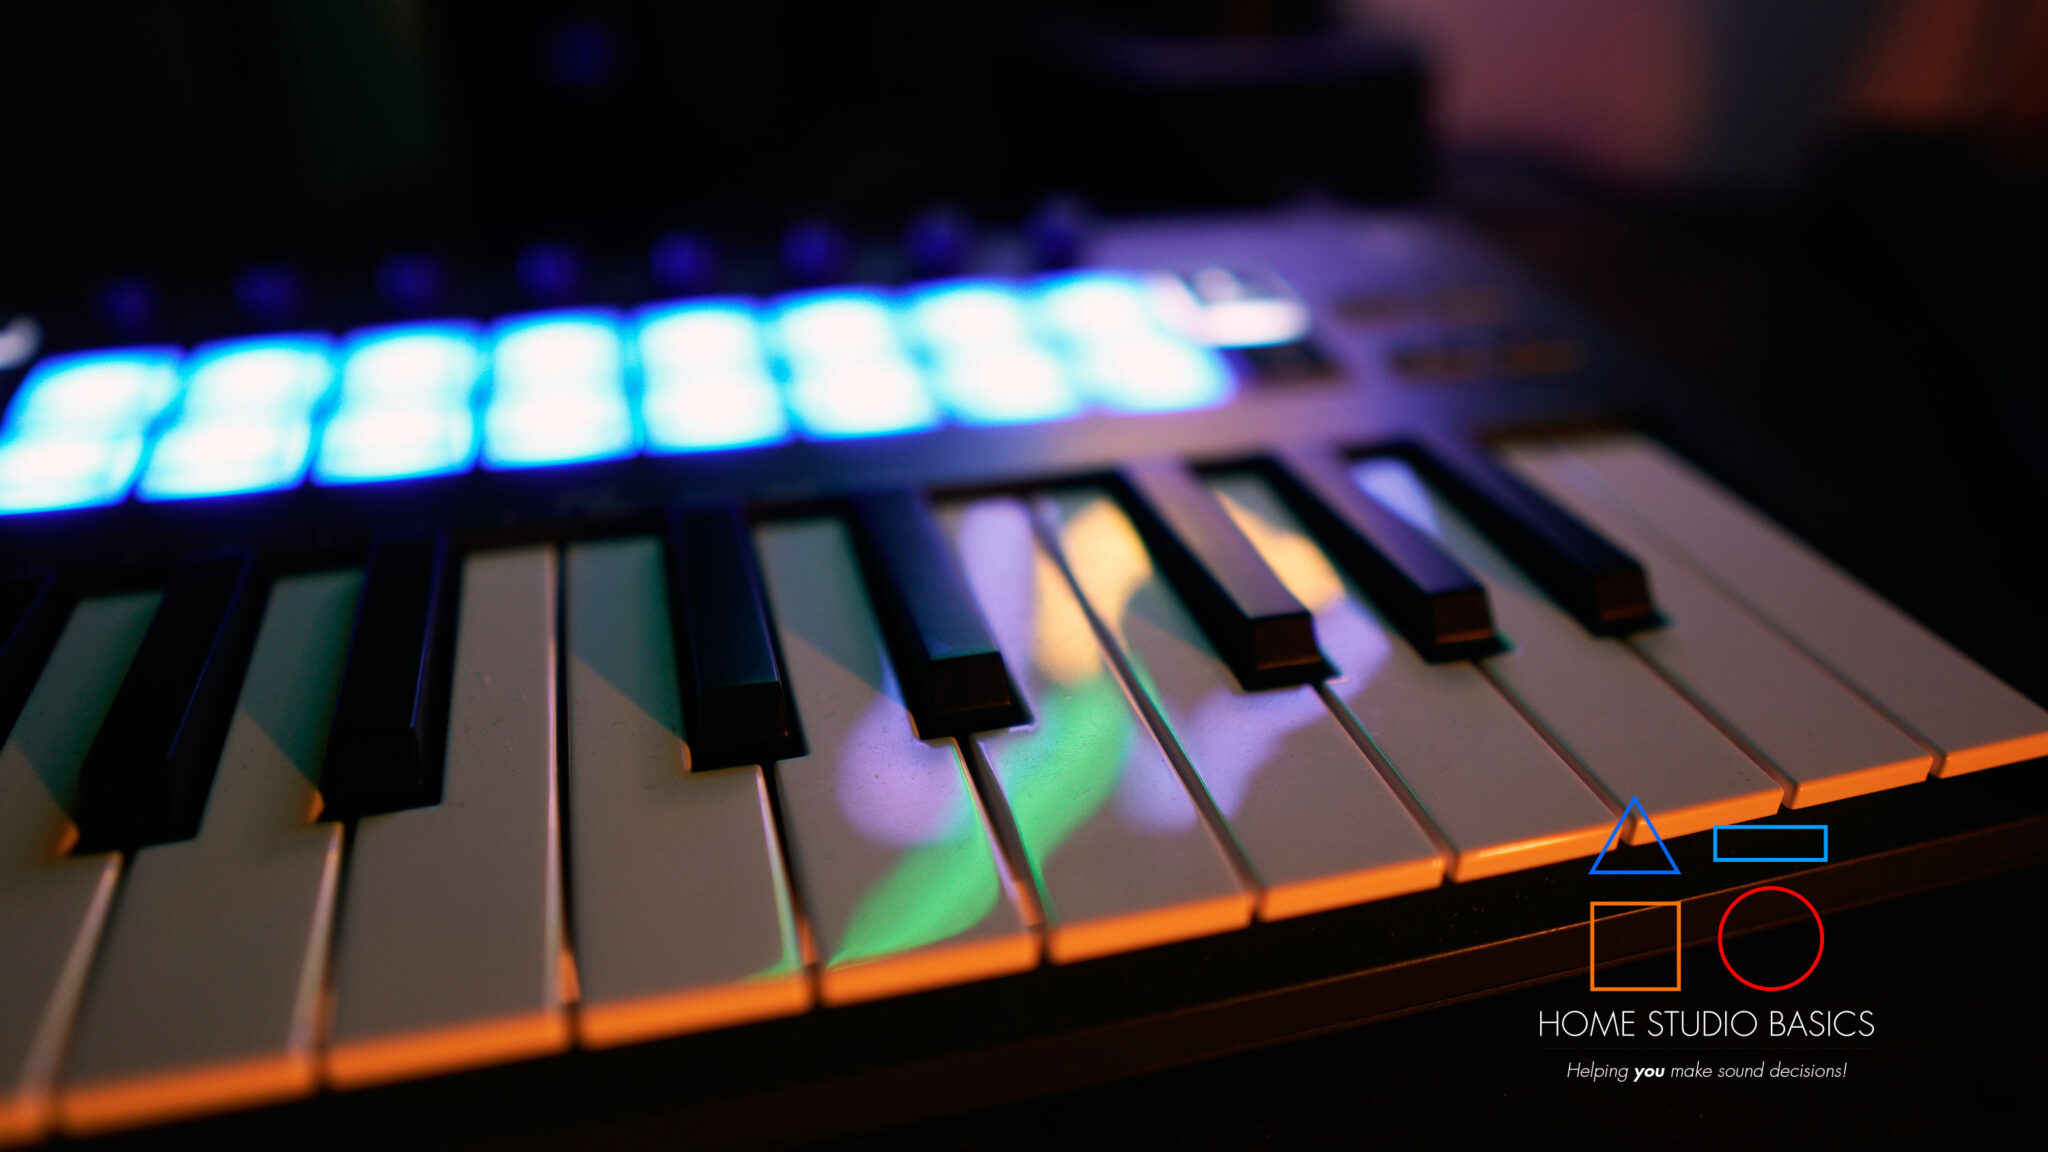
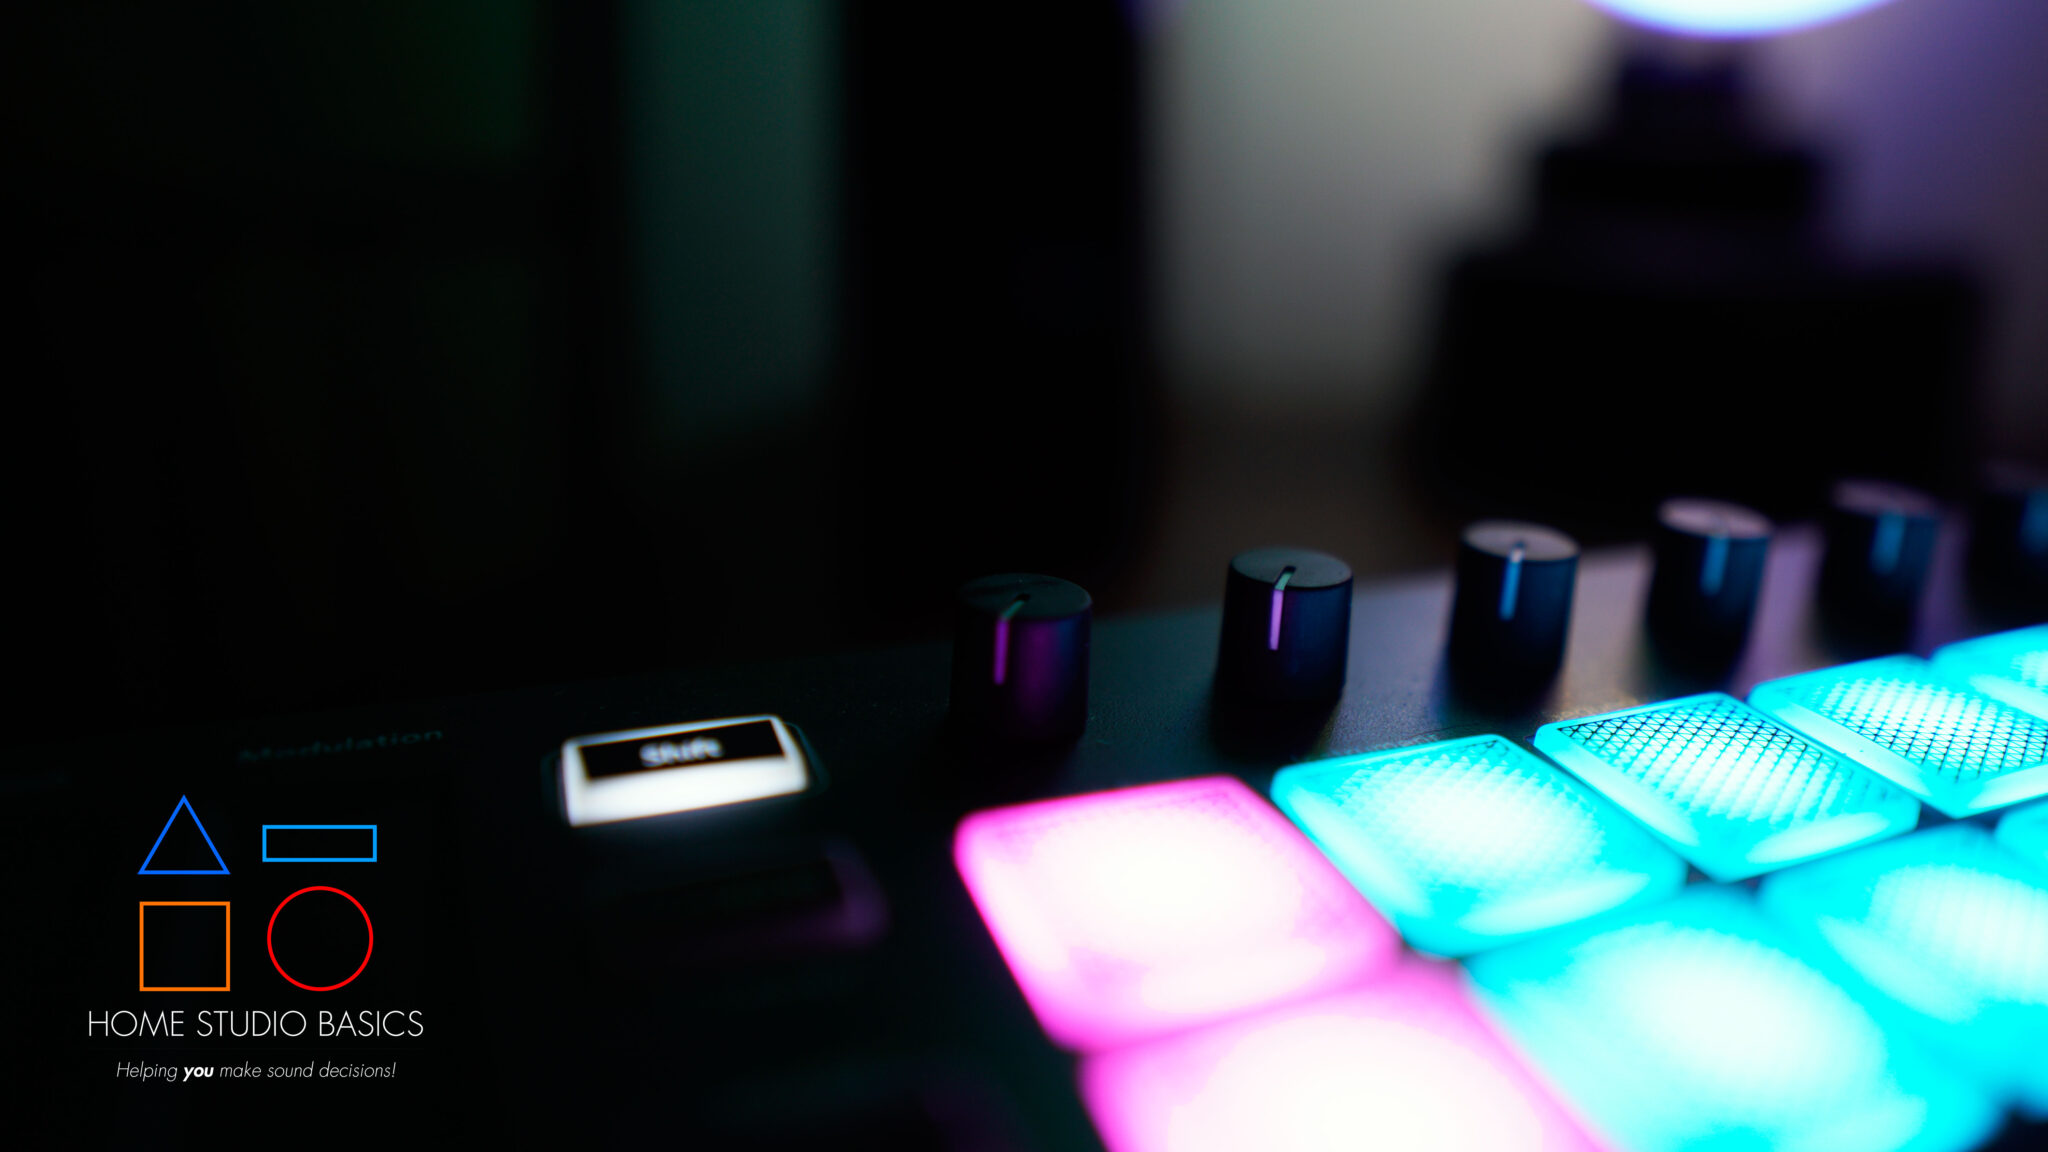
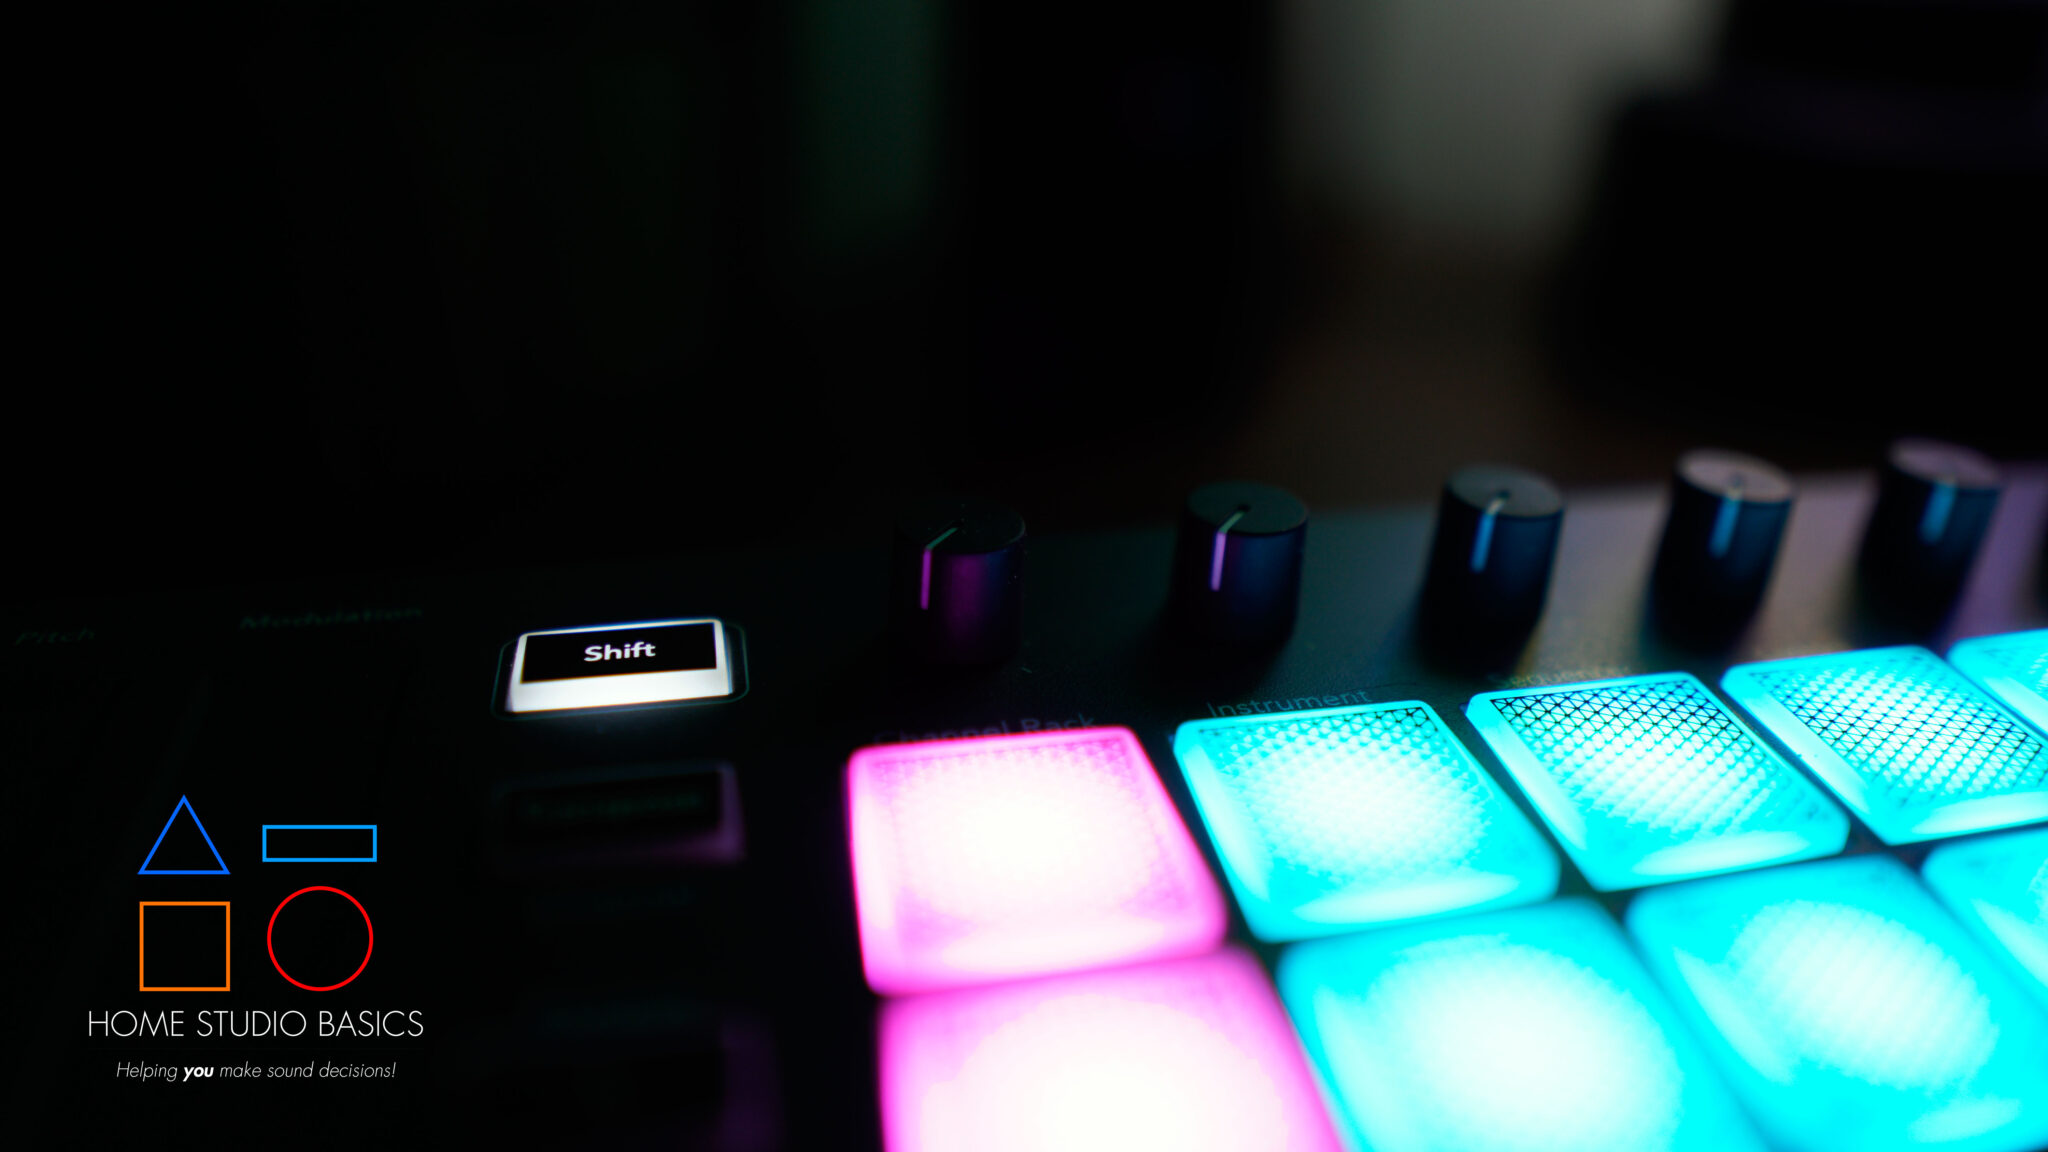
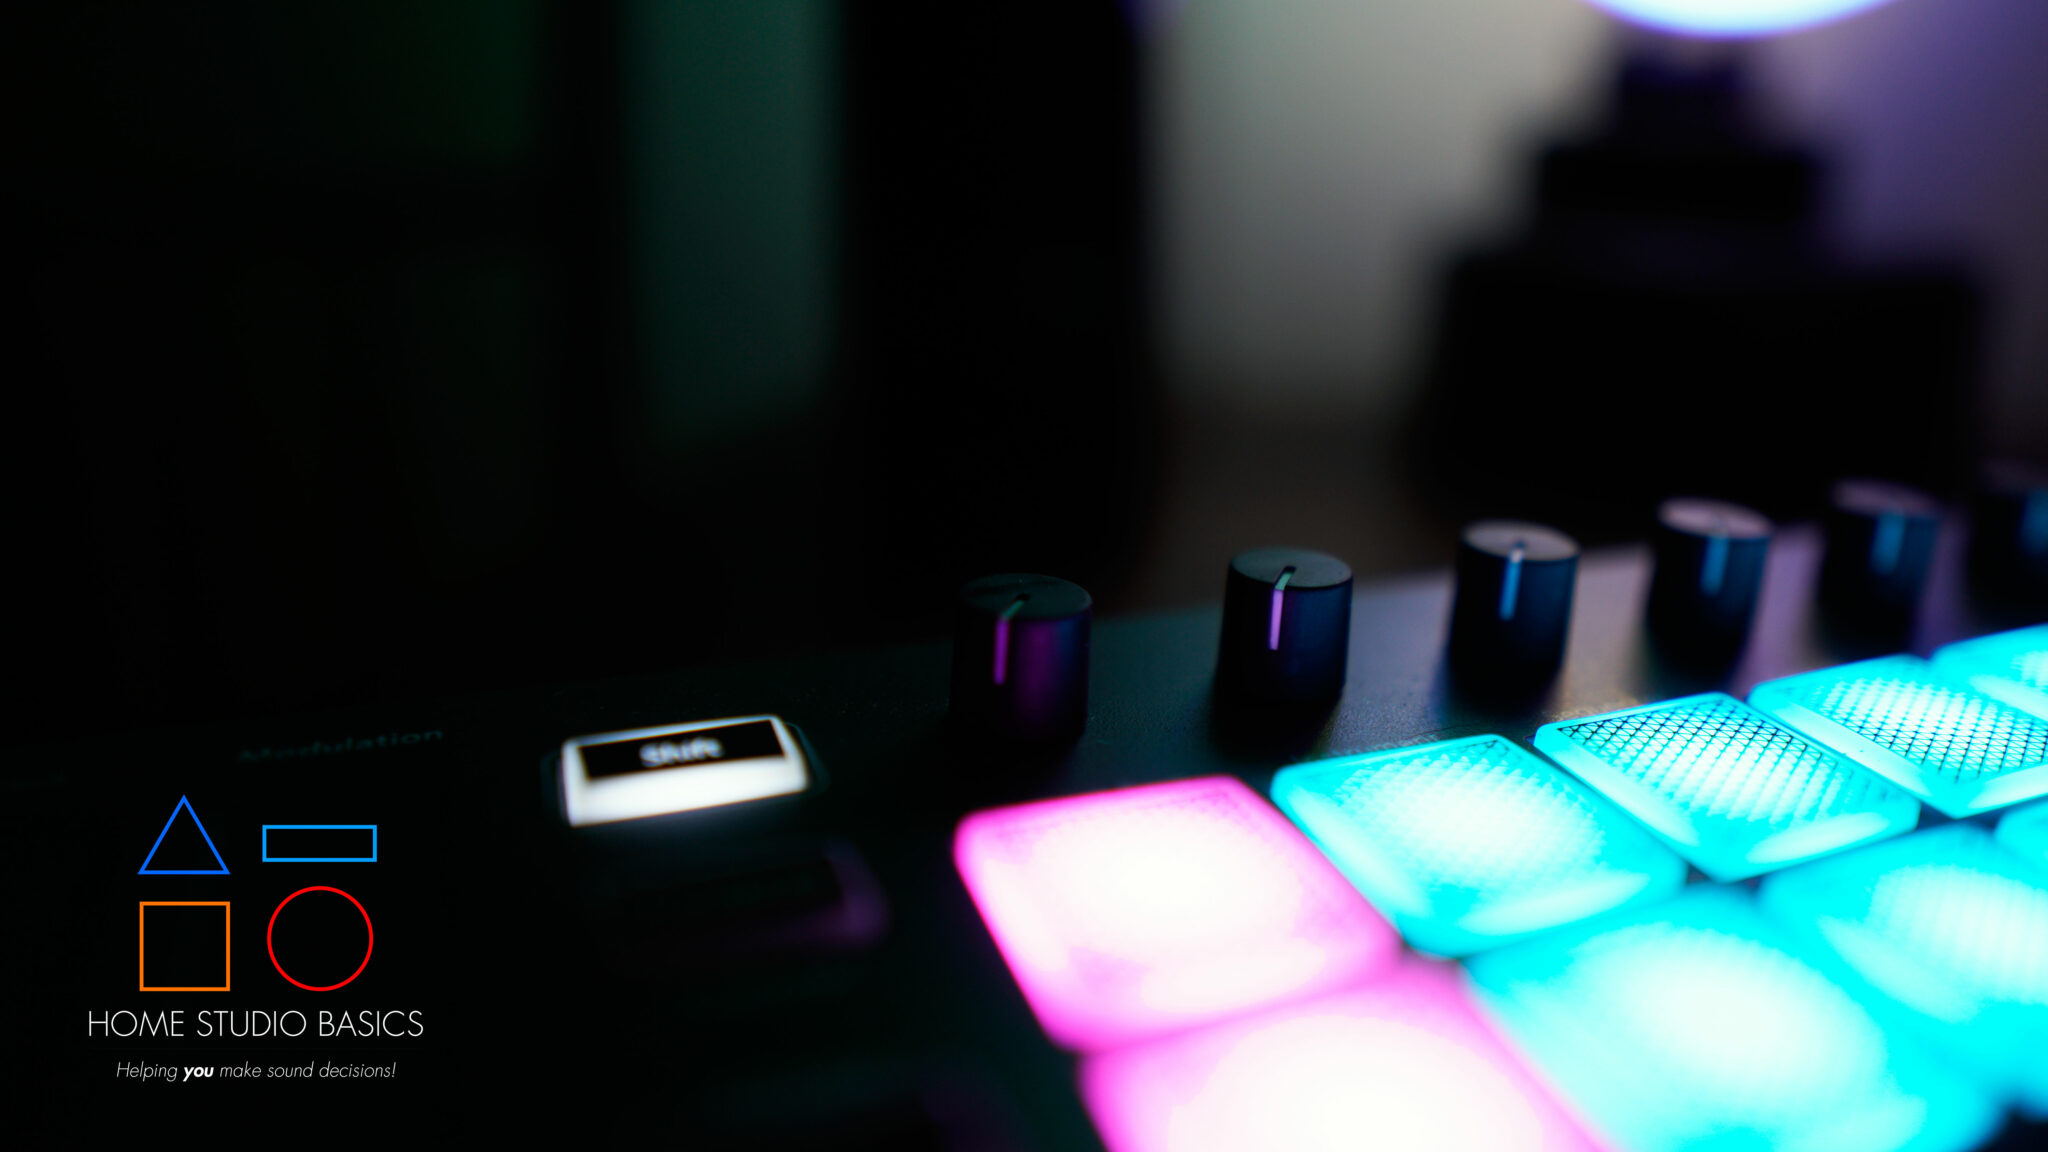
The 25-Key version contains roughly 2 Octaves worth of keys, 16 touch-sensitive pads, 8 rotary encoders, DAW transport controls, as well as touch-sensitive pitch and modulation controls. If you need to move up and down Octaves, don’t… fret. There are buttons for that.
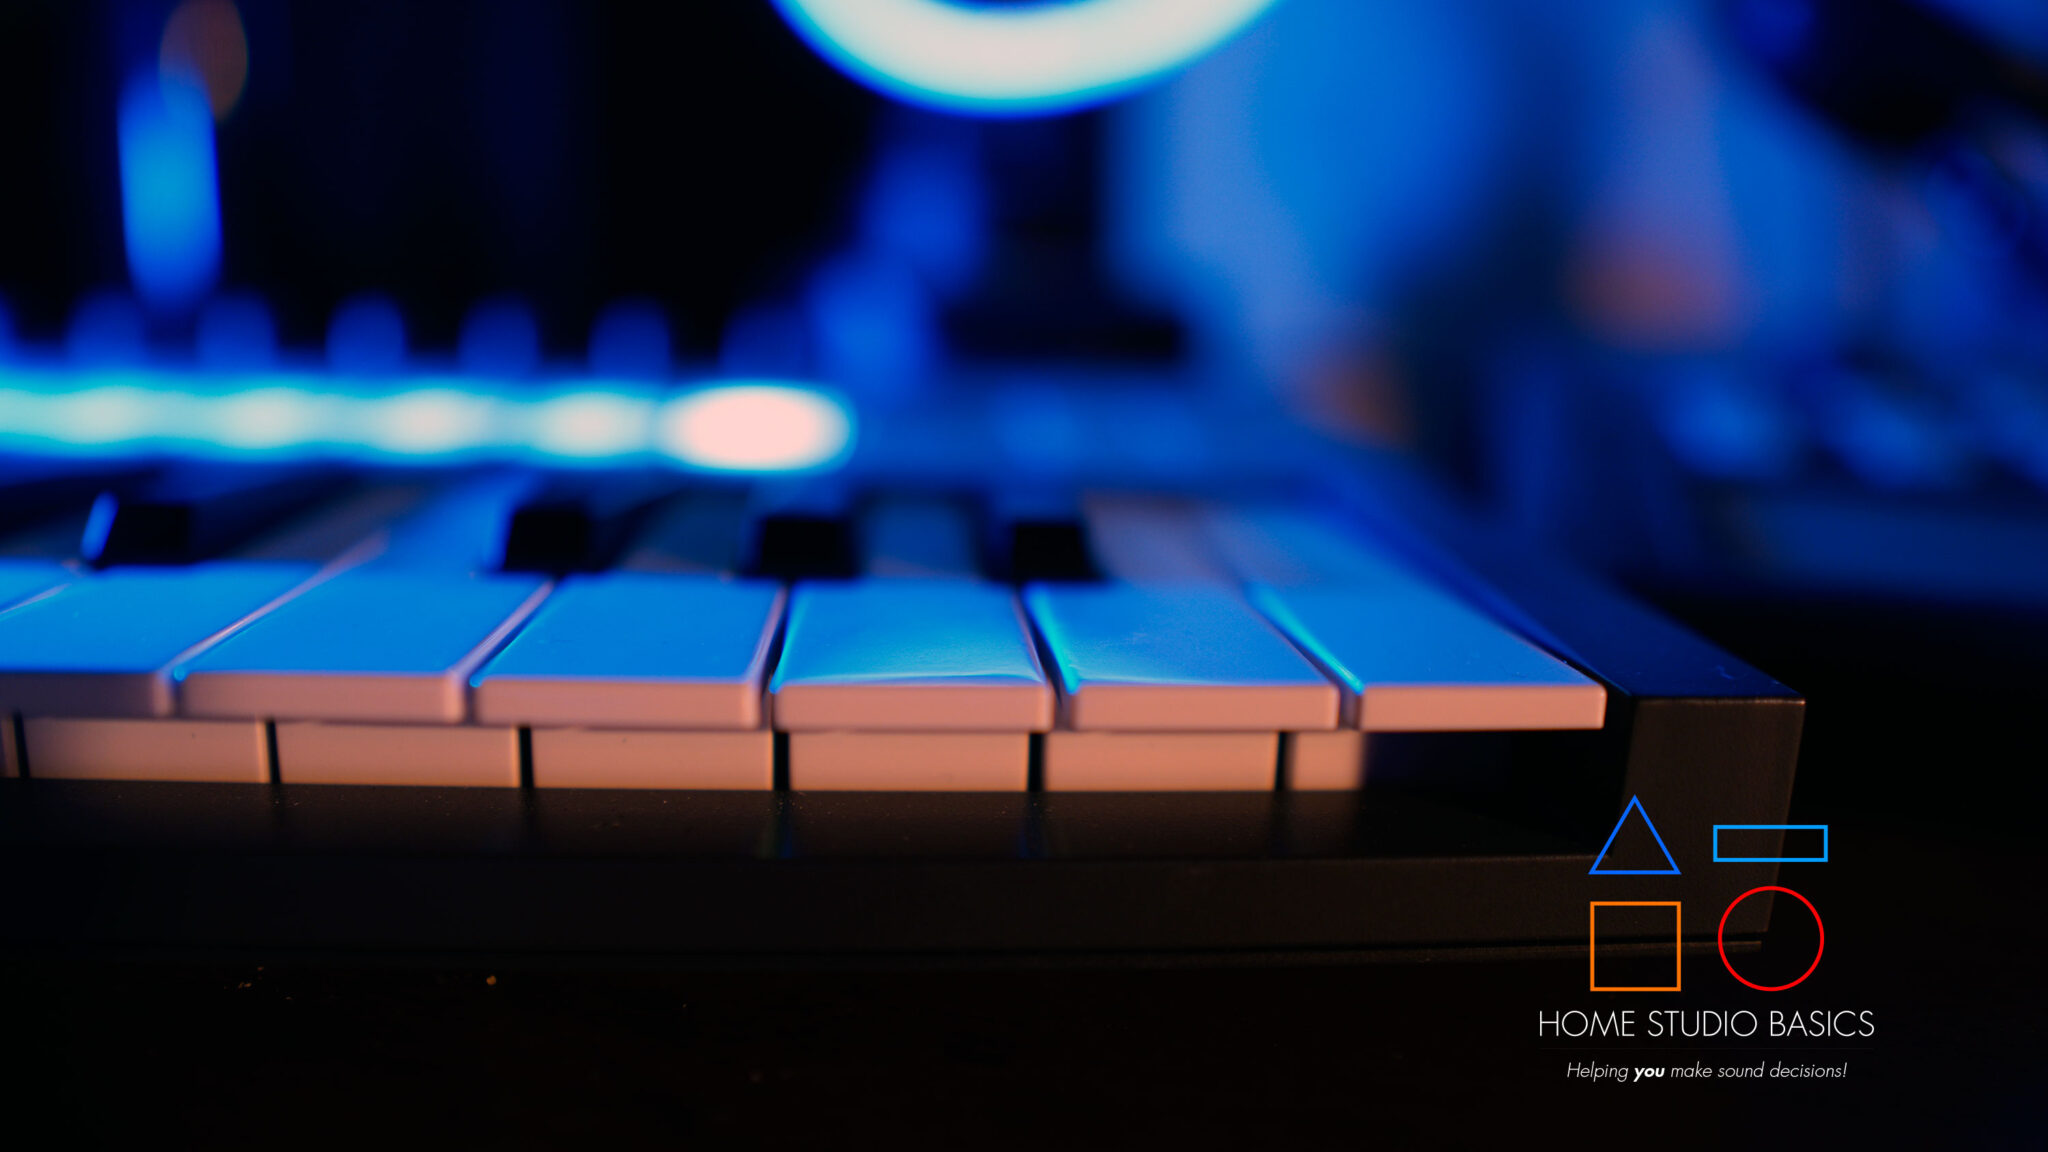
To be perfectly honest, the overall build of the 25-key version is… adequate.
It doesn’t quite feel like something you’d find in the toy section of your local Wal-Mart, but it’s gravitating in that direction. Weighing in at only 1.52 lbs., it’s light and feathery but the good news is that it doesn’t feel overly flimsy or cheap.
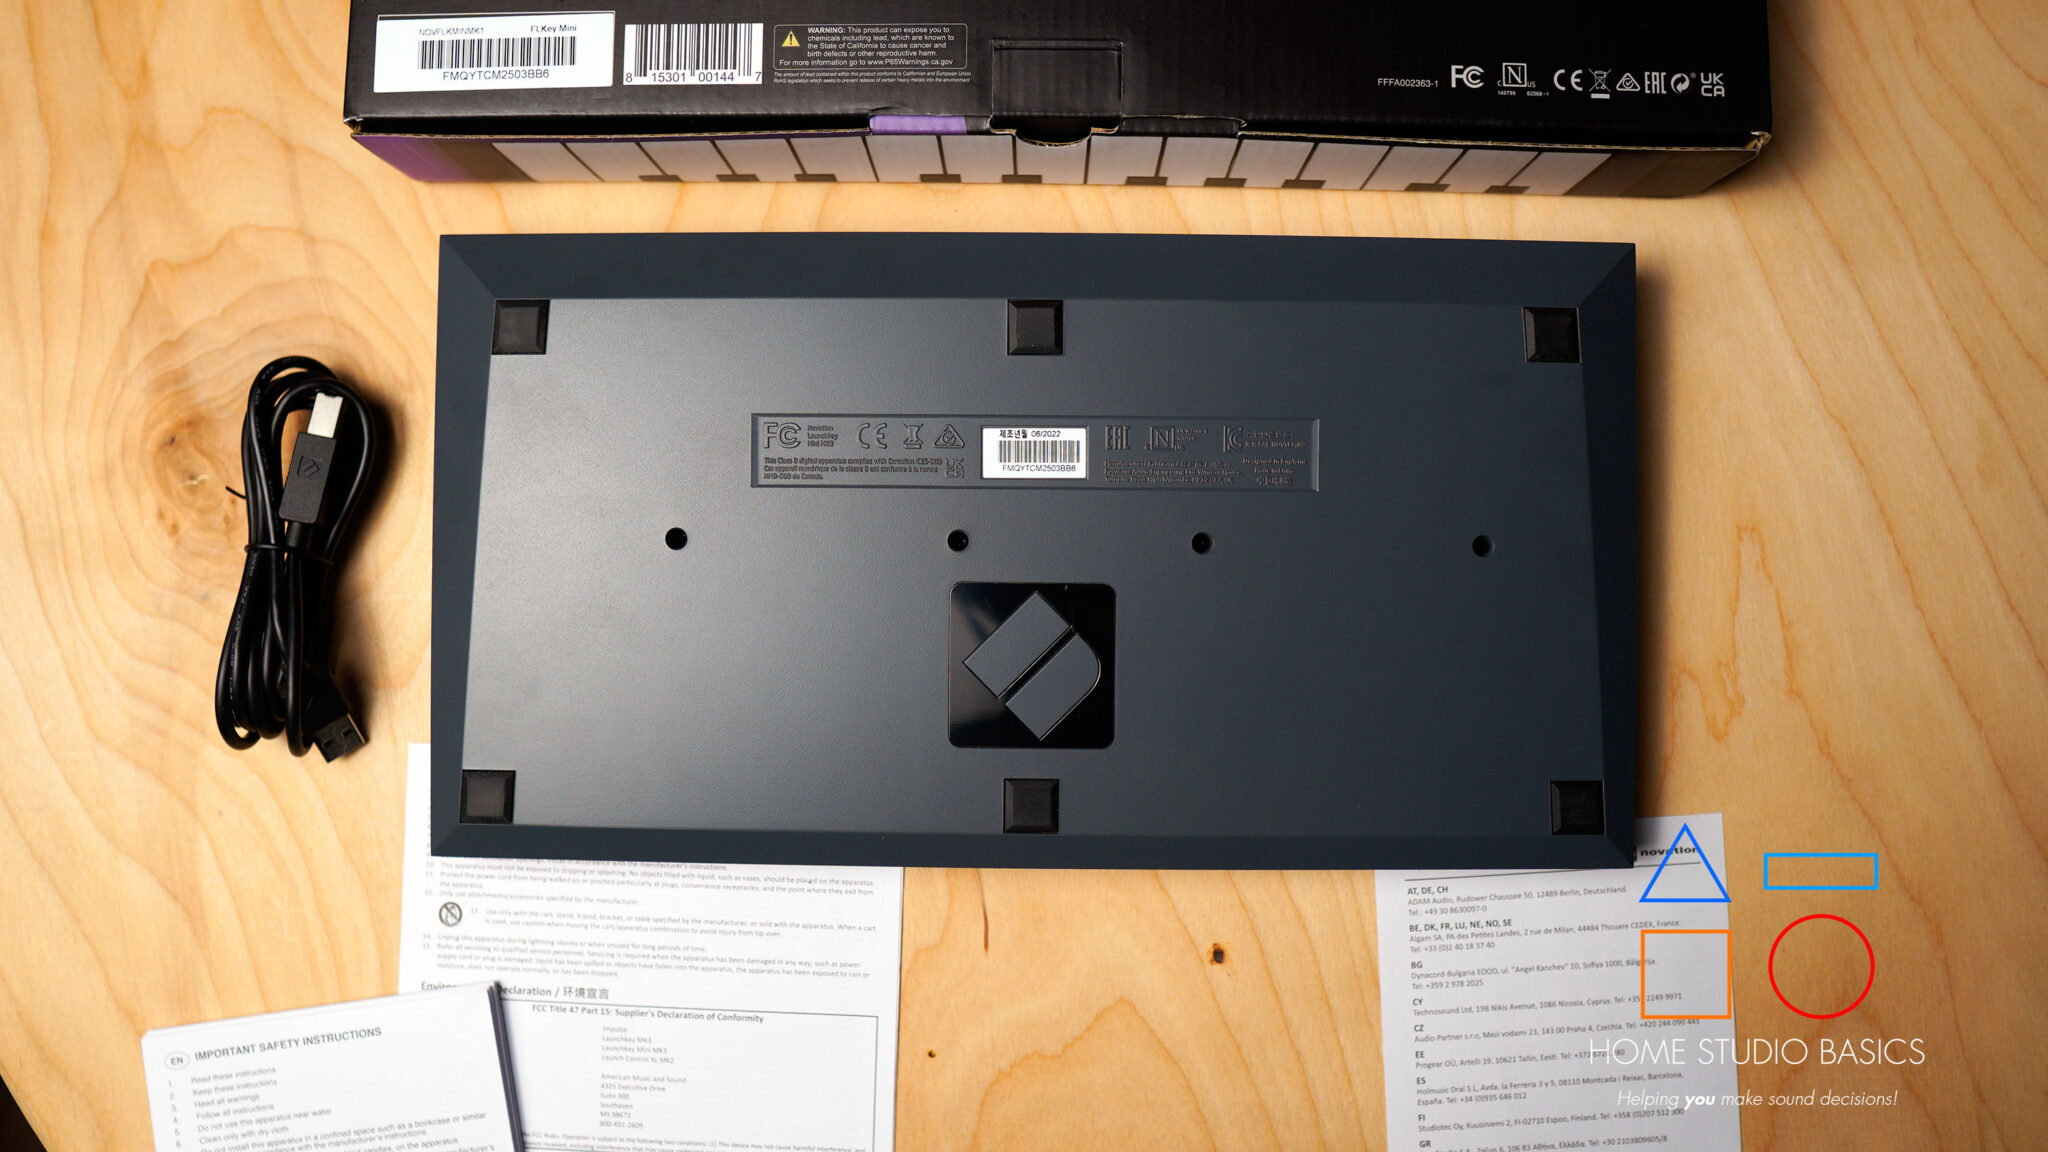
Because it’s always resting on my desk, I don’t find its lack of “robustness” a huge problem. In addition to that, all of the pads, keys, knobs, and buttons feel great to the touch and are very responsive, and the bottom contains built-in rubber feet.
If you need a travel case, check out this one from co2CREA.
As Michael mentioned in his excellent Novation FL Key Mini/FL Key 37 review (video towards the end), the rotary knobs have a really nice rubberized texture to them with the perfect amount of “give.” So despite its lightweight profile, the unit still feels like a premium product and is awesome to use.
The keyboard also stays in place quite nicely. For clarification, I bought one in July 2023 and it hardly ever moves; even when banging away on the pads and causing a ruckus.
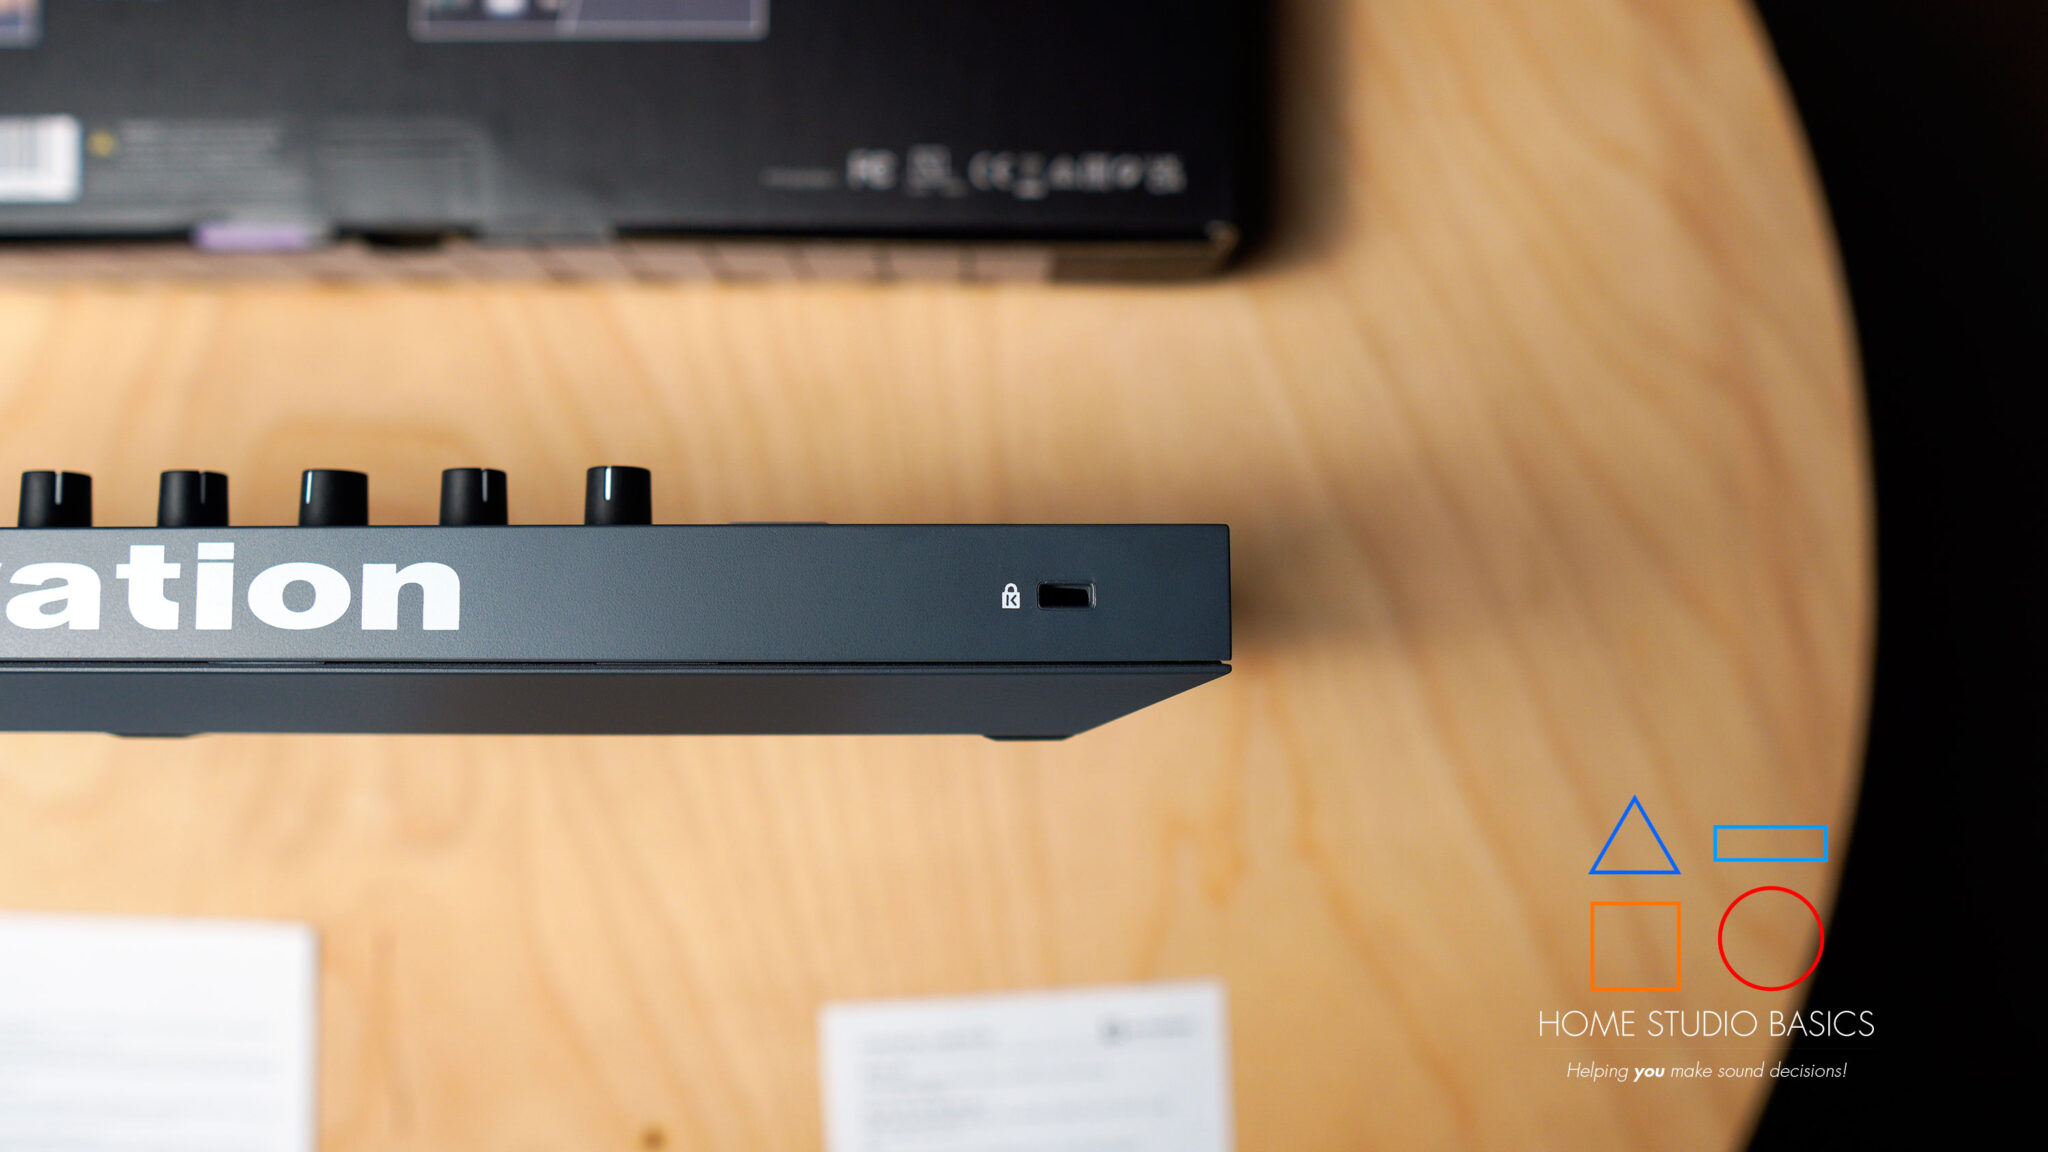
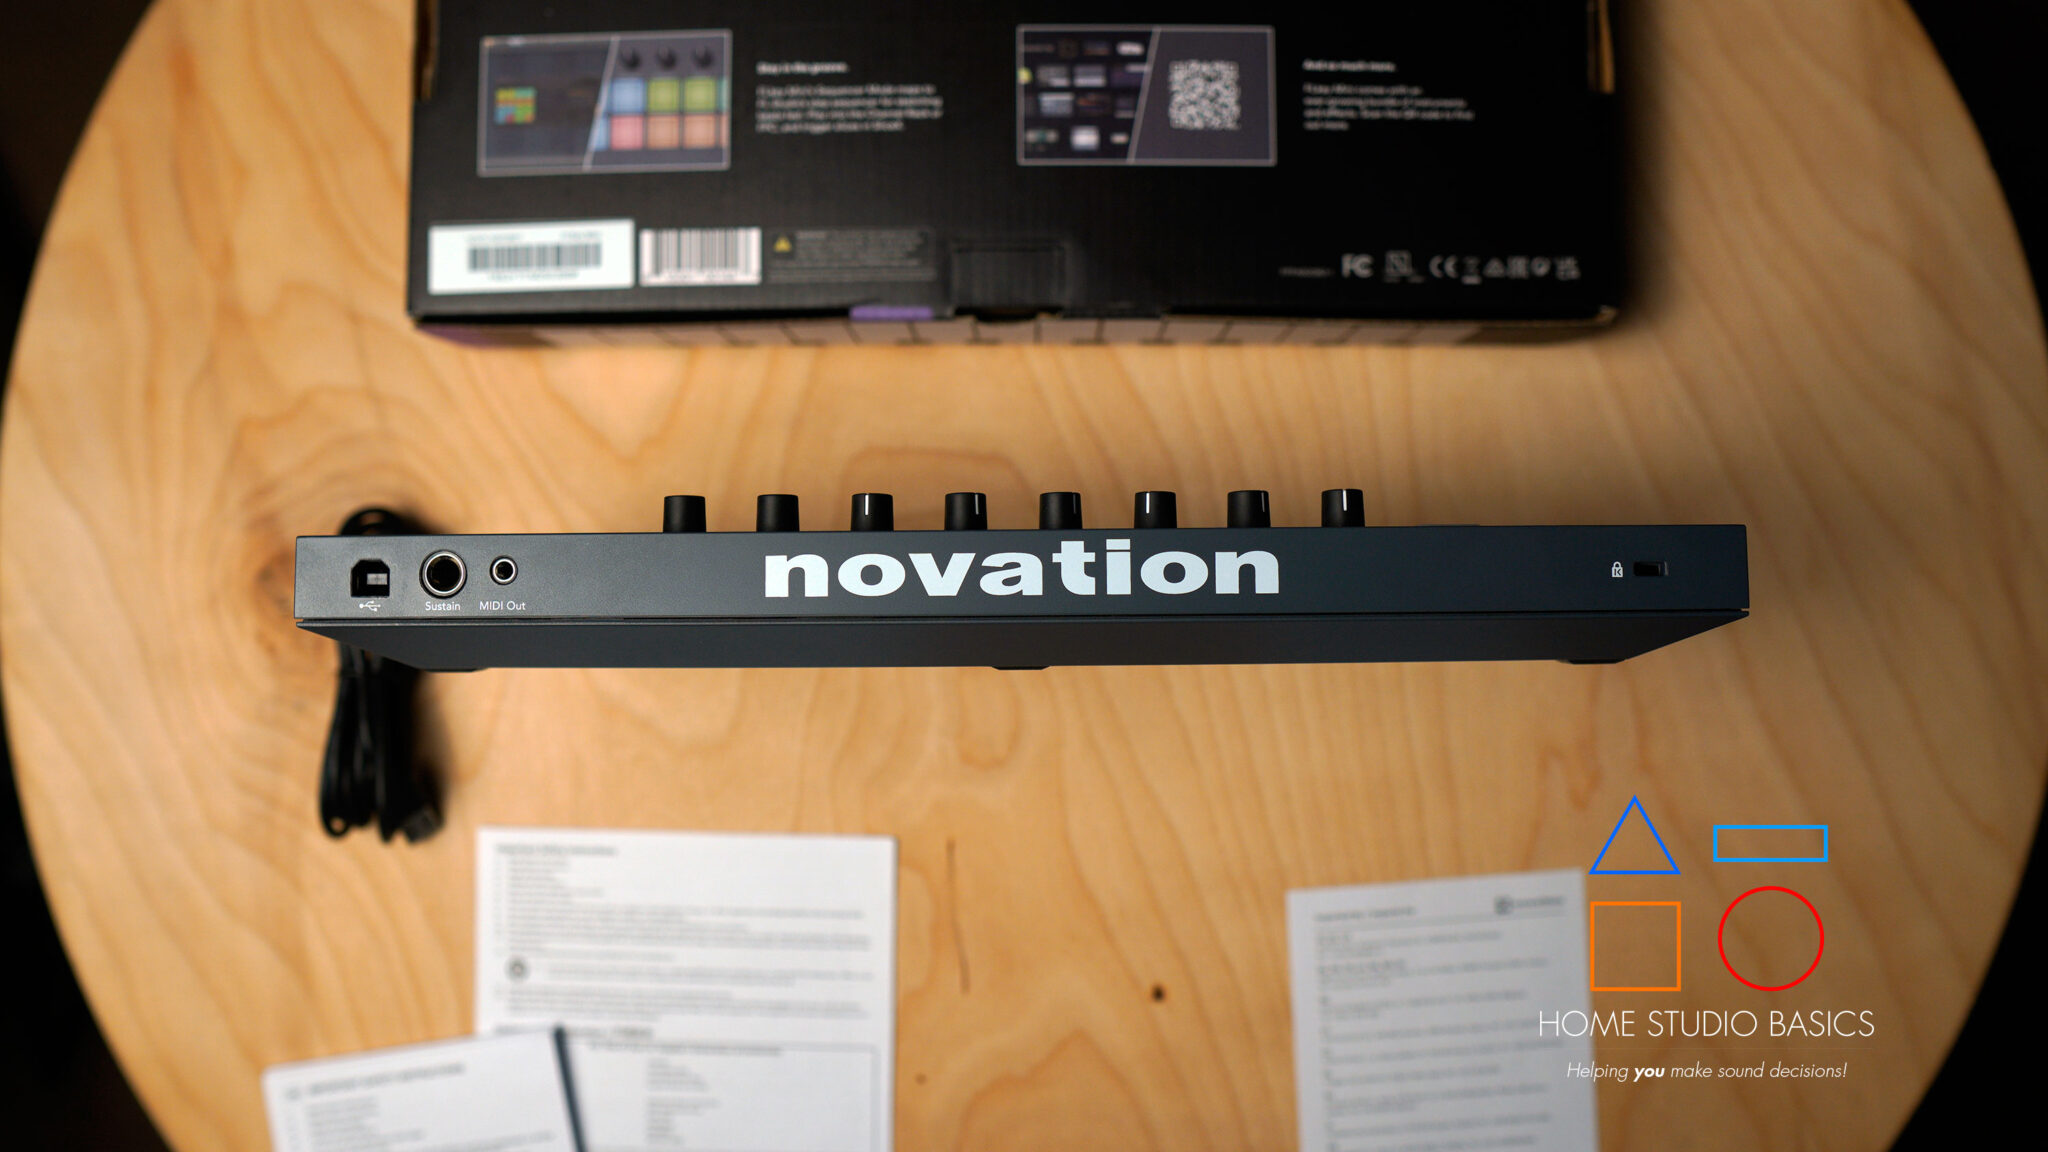
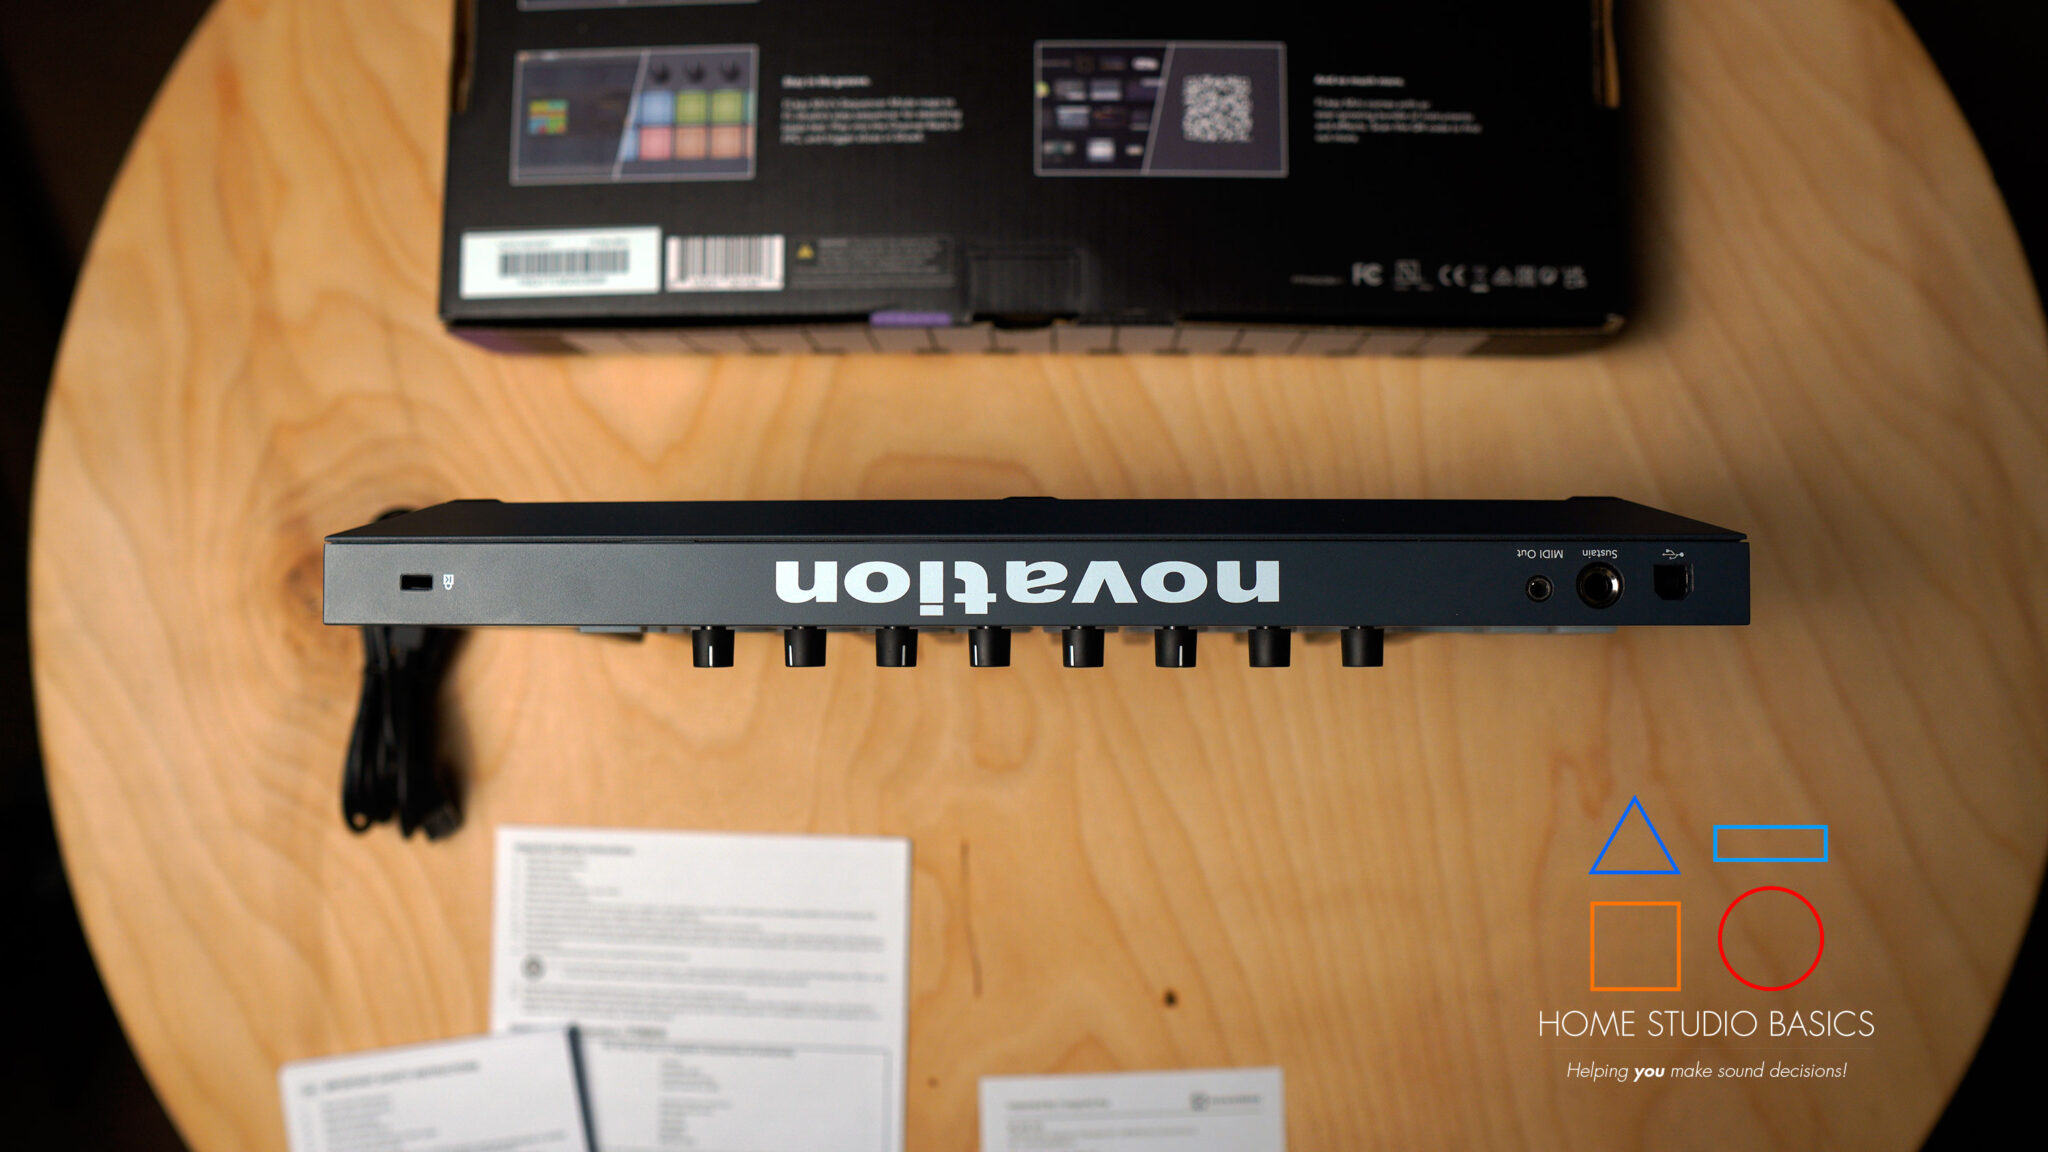
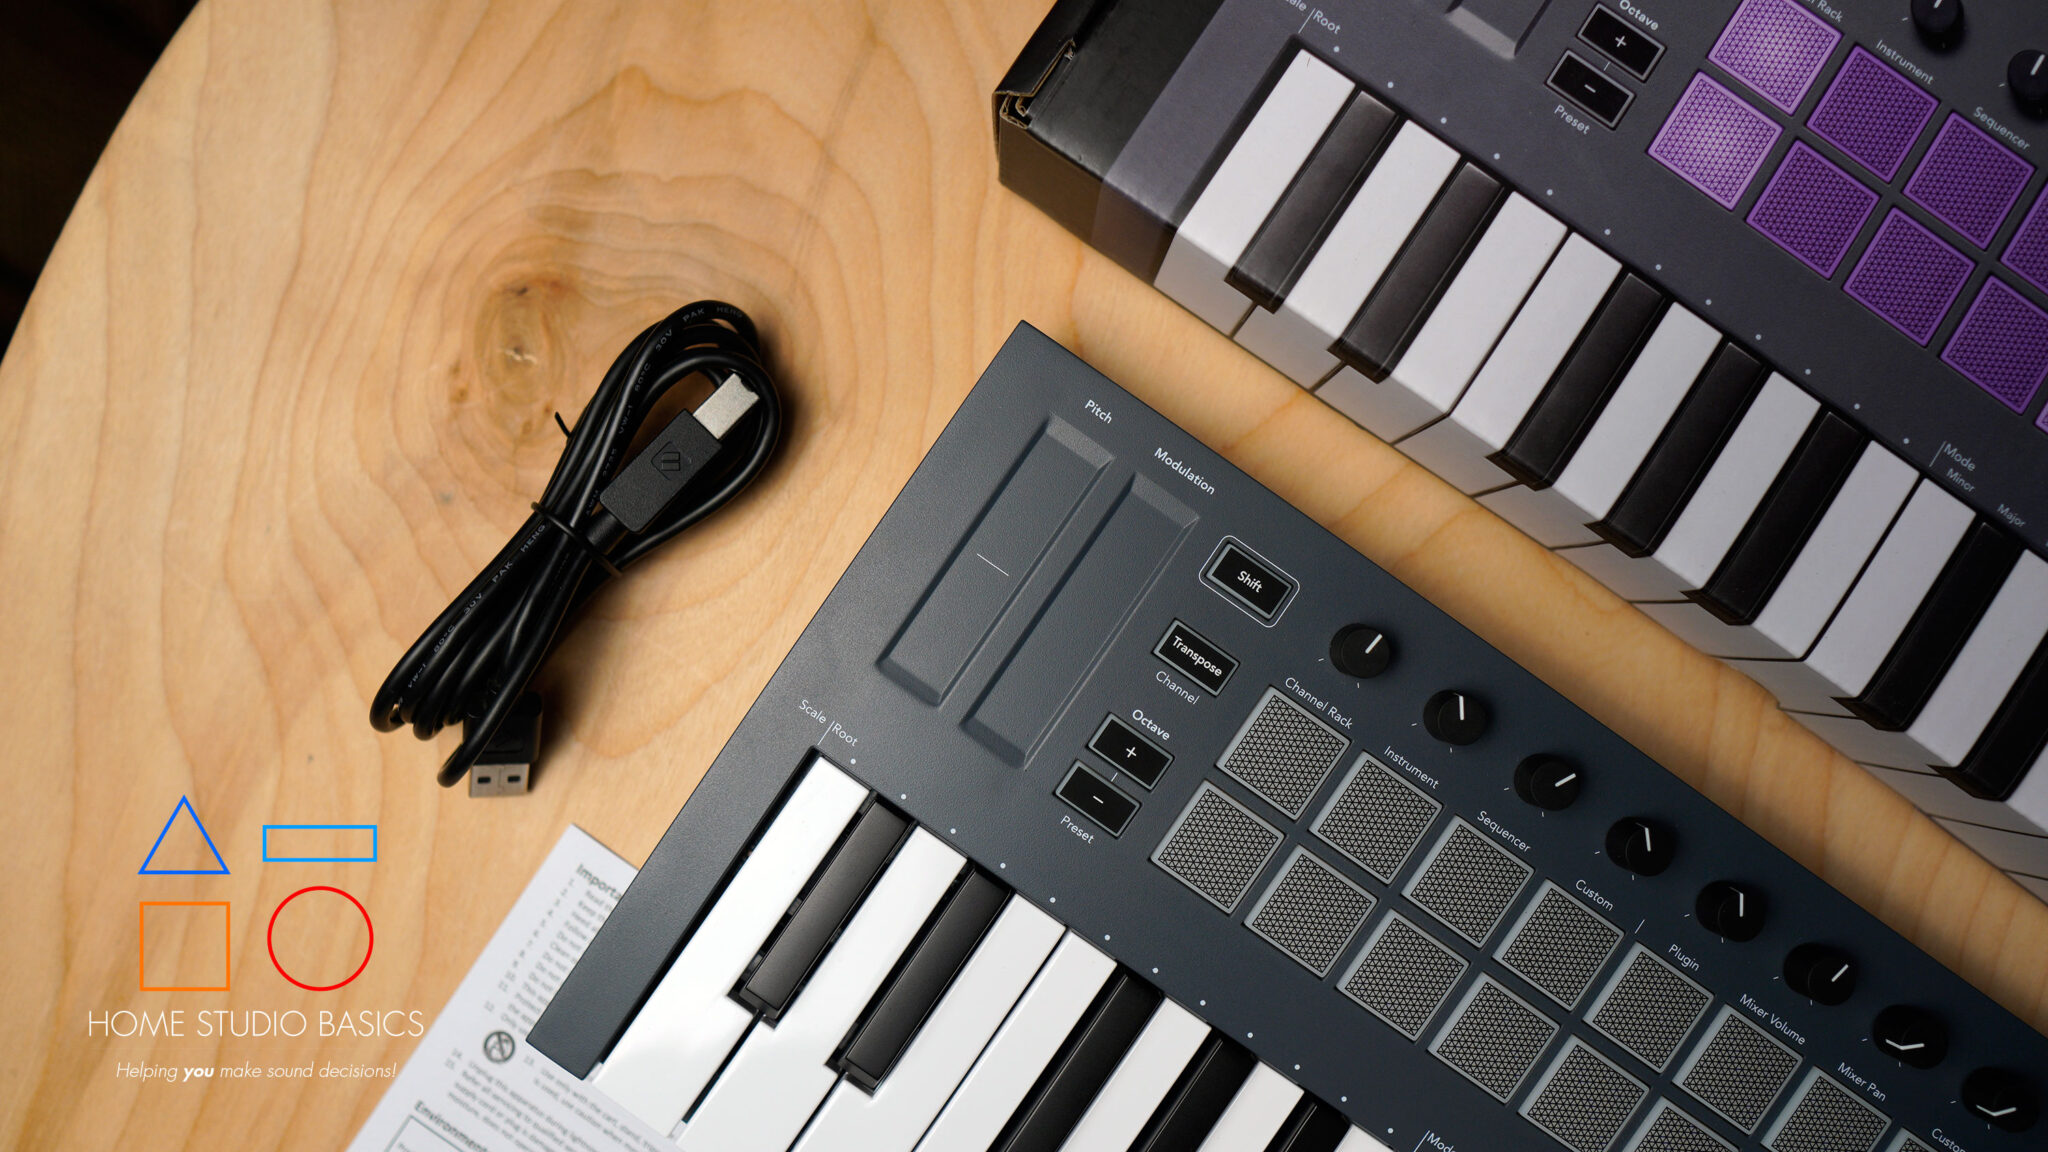
On the back, you’ll find the USB Type-B slot, Kensington security slot as an anti-theft measure, 1/4″ Sustain Input, and 3.5mm MIDI output.


I wrote a complete guide on How To Sample in FL Studio which covers setting up the FL key, so have a look at that if you need some assistance.
Please contact me as well if you get stuck or find something unclear. I’d be happy to help!
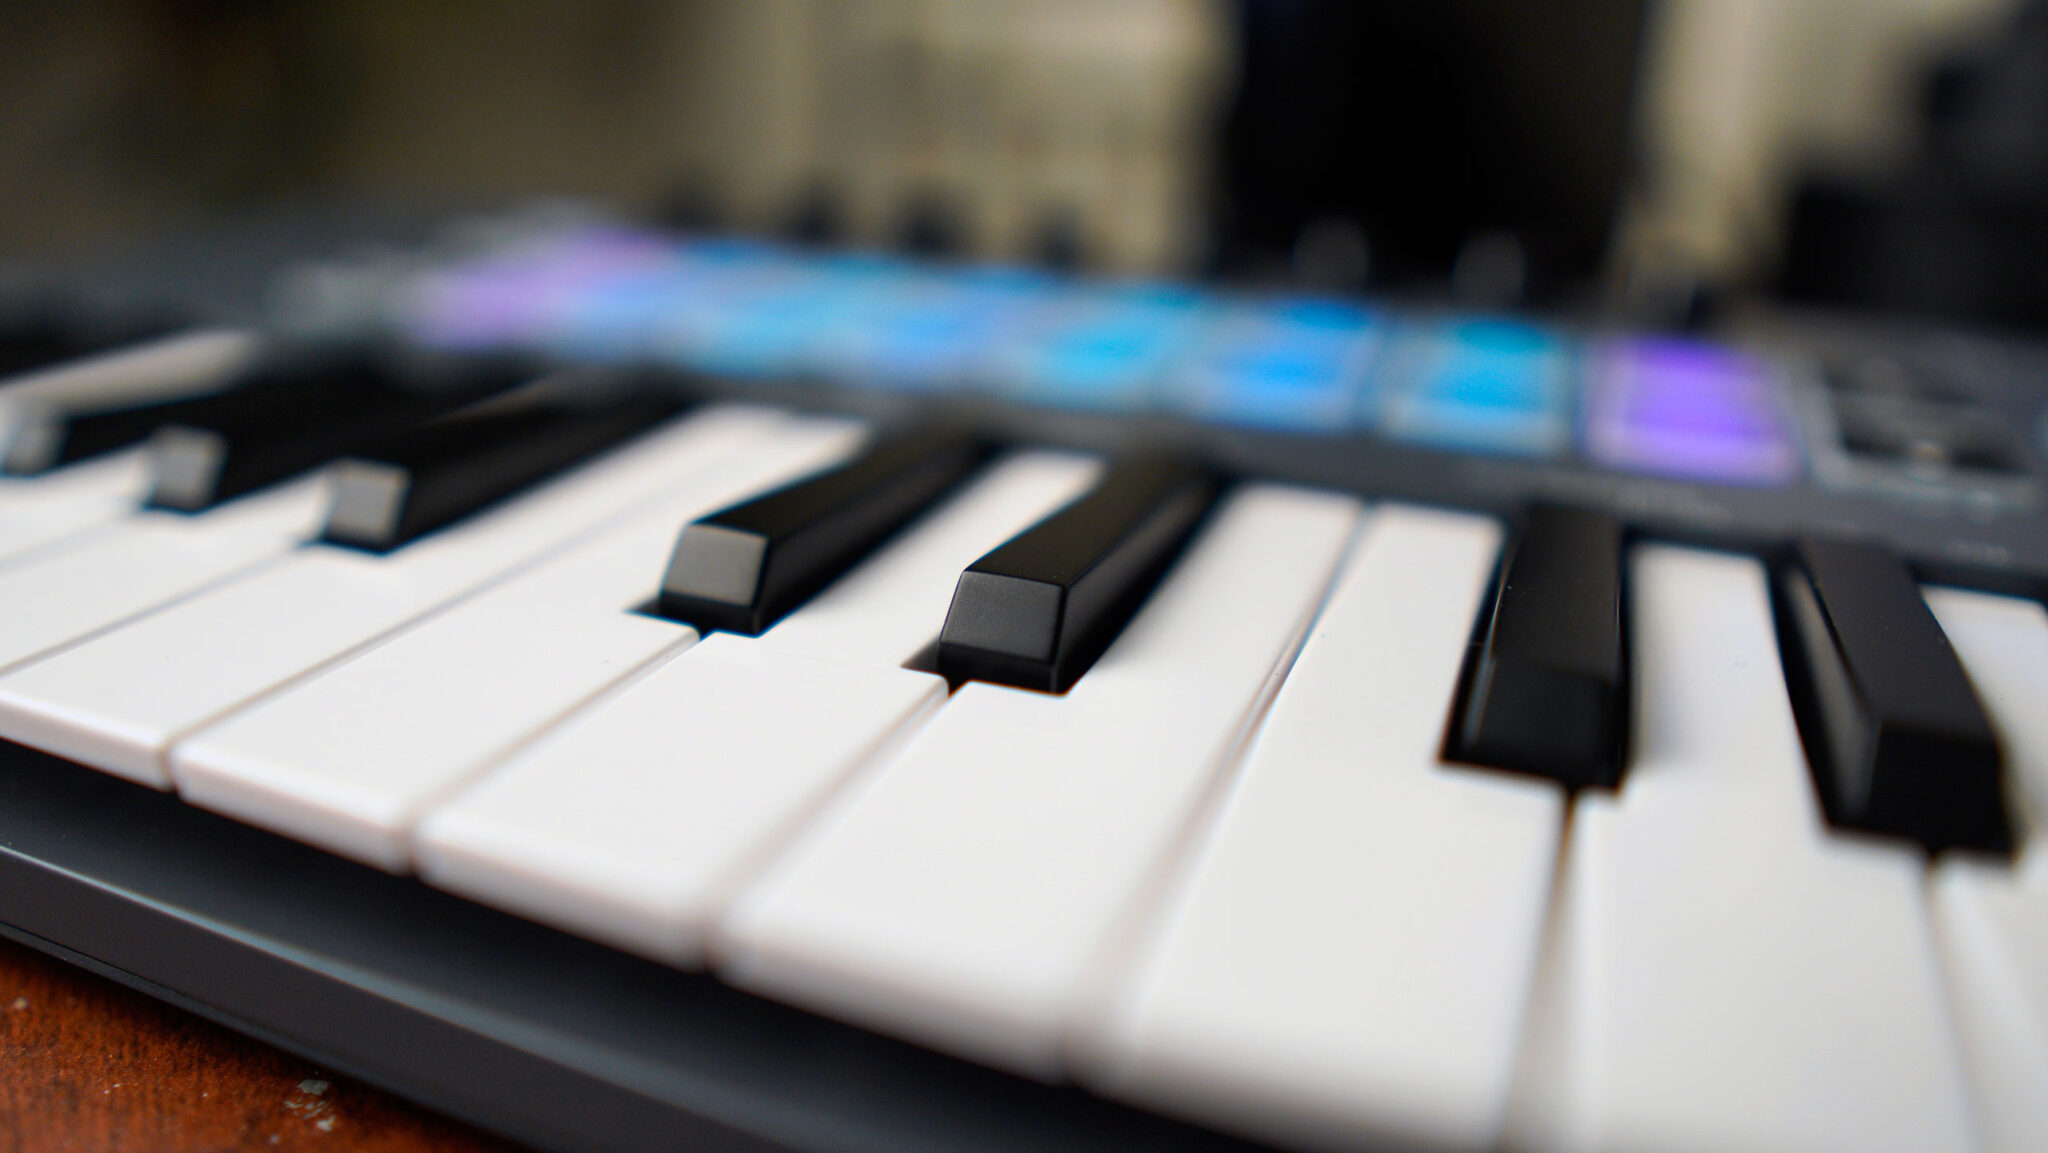
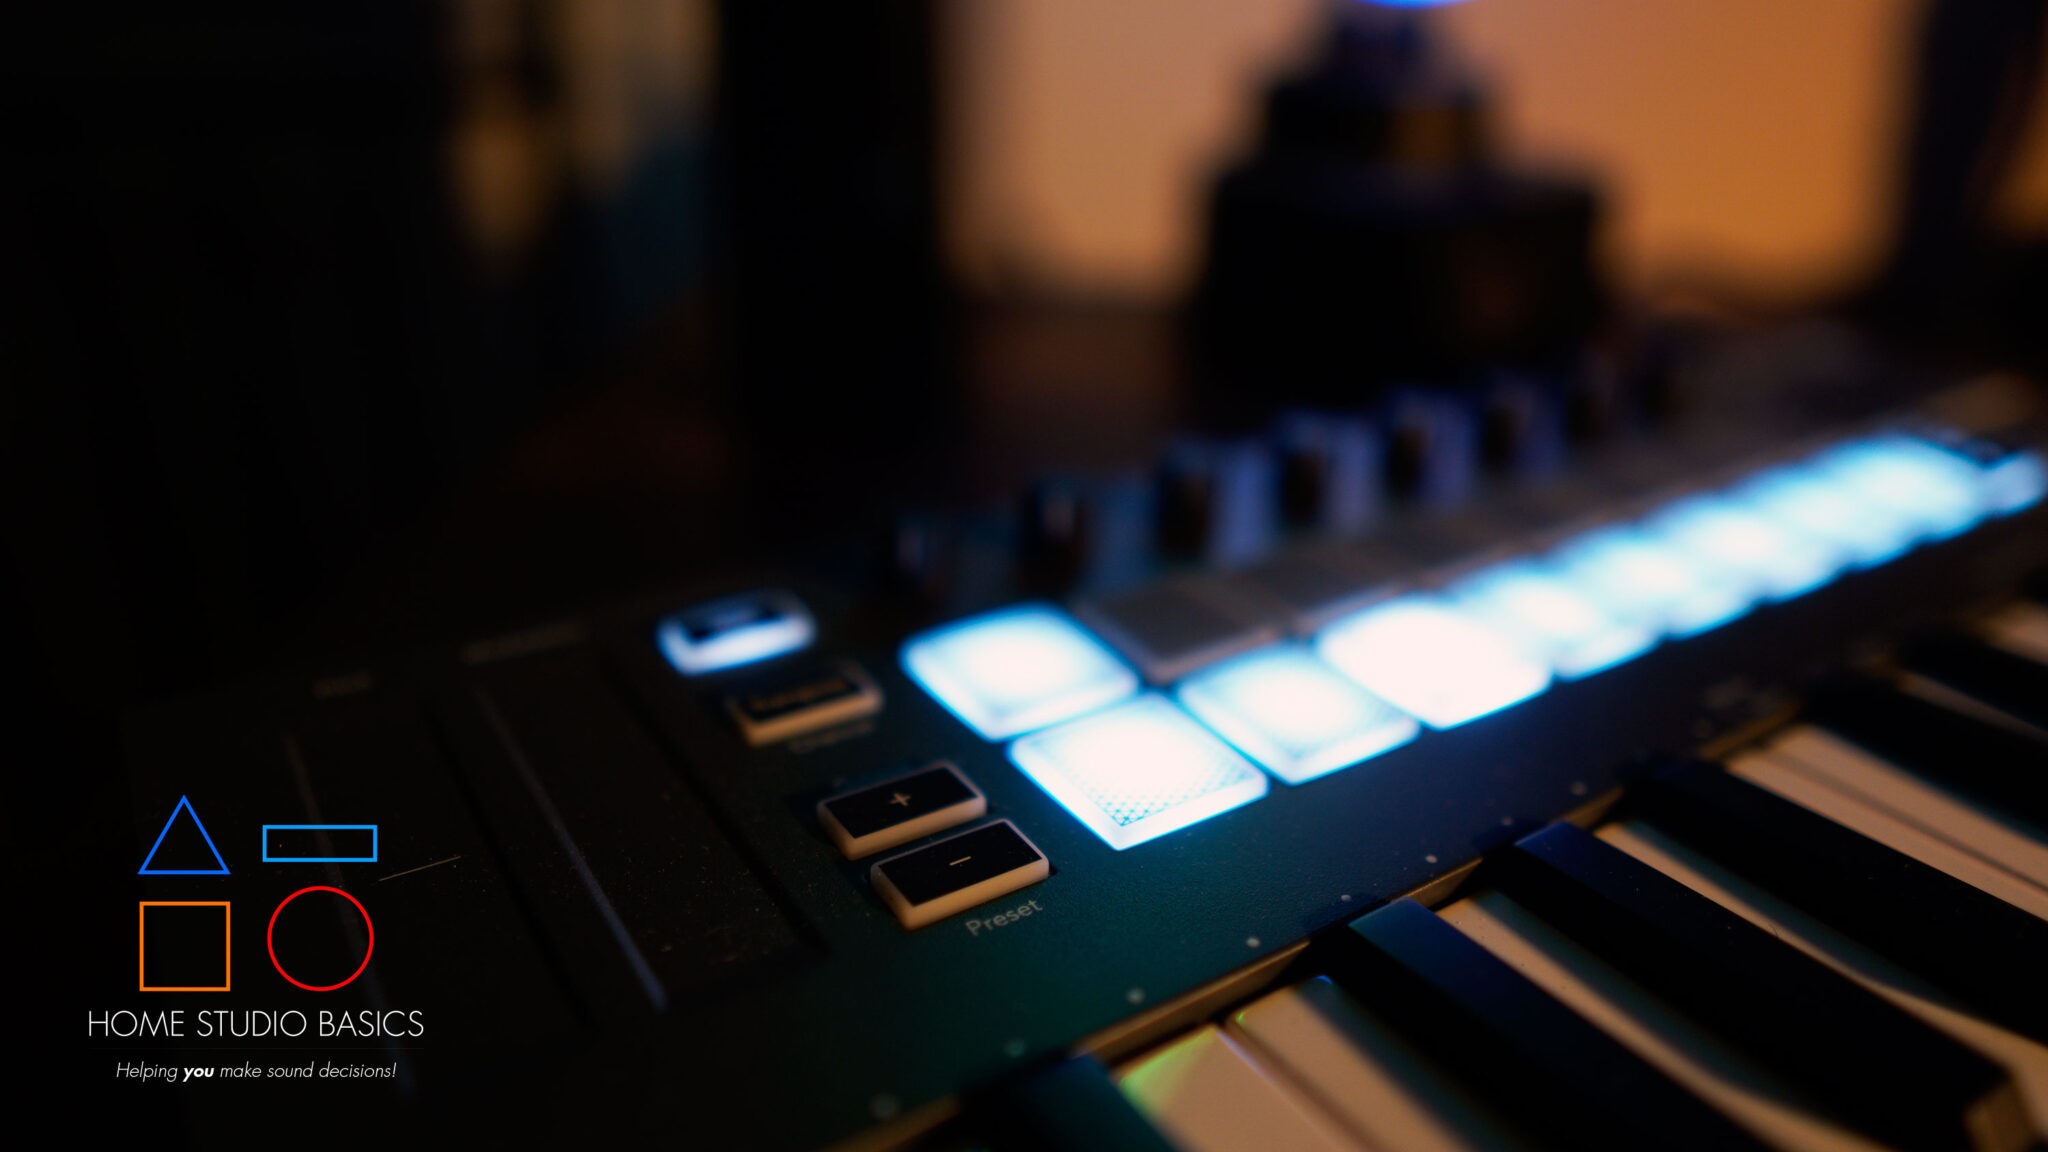
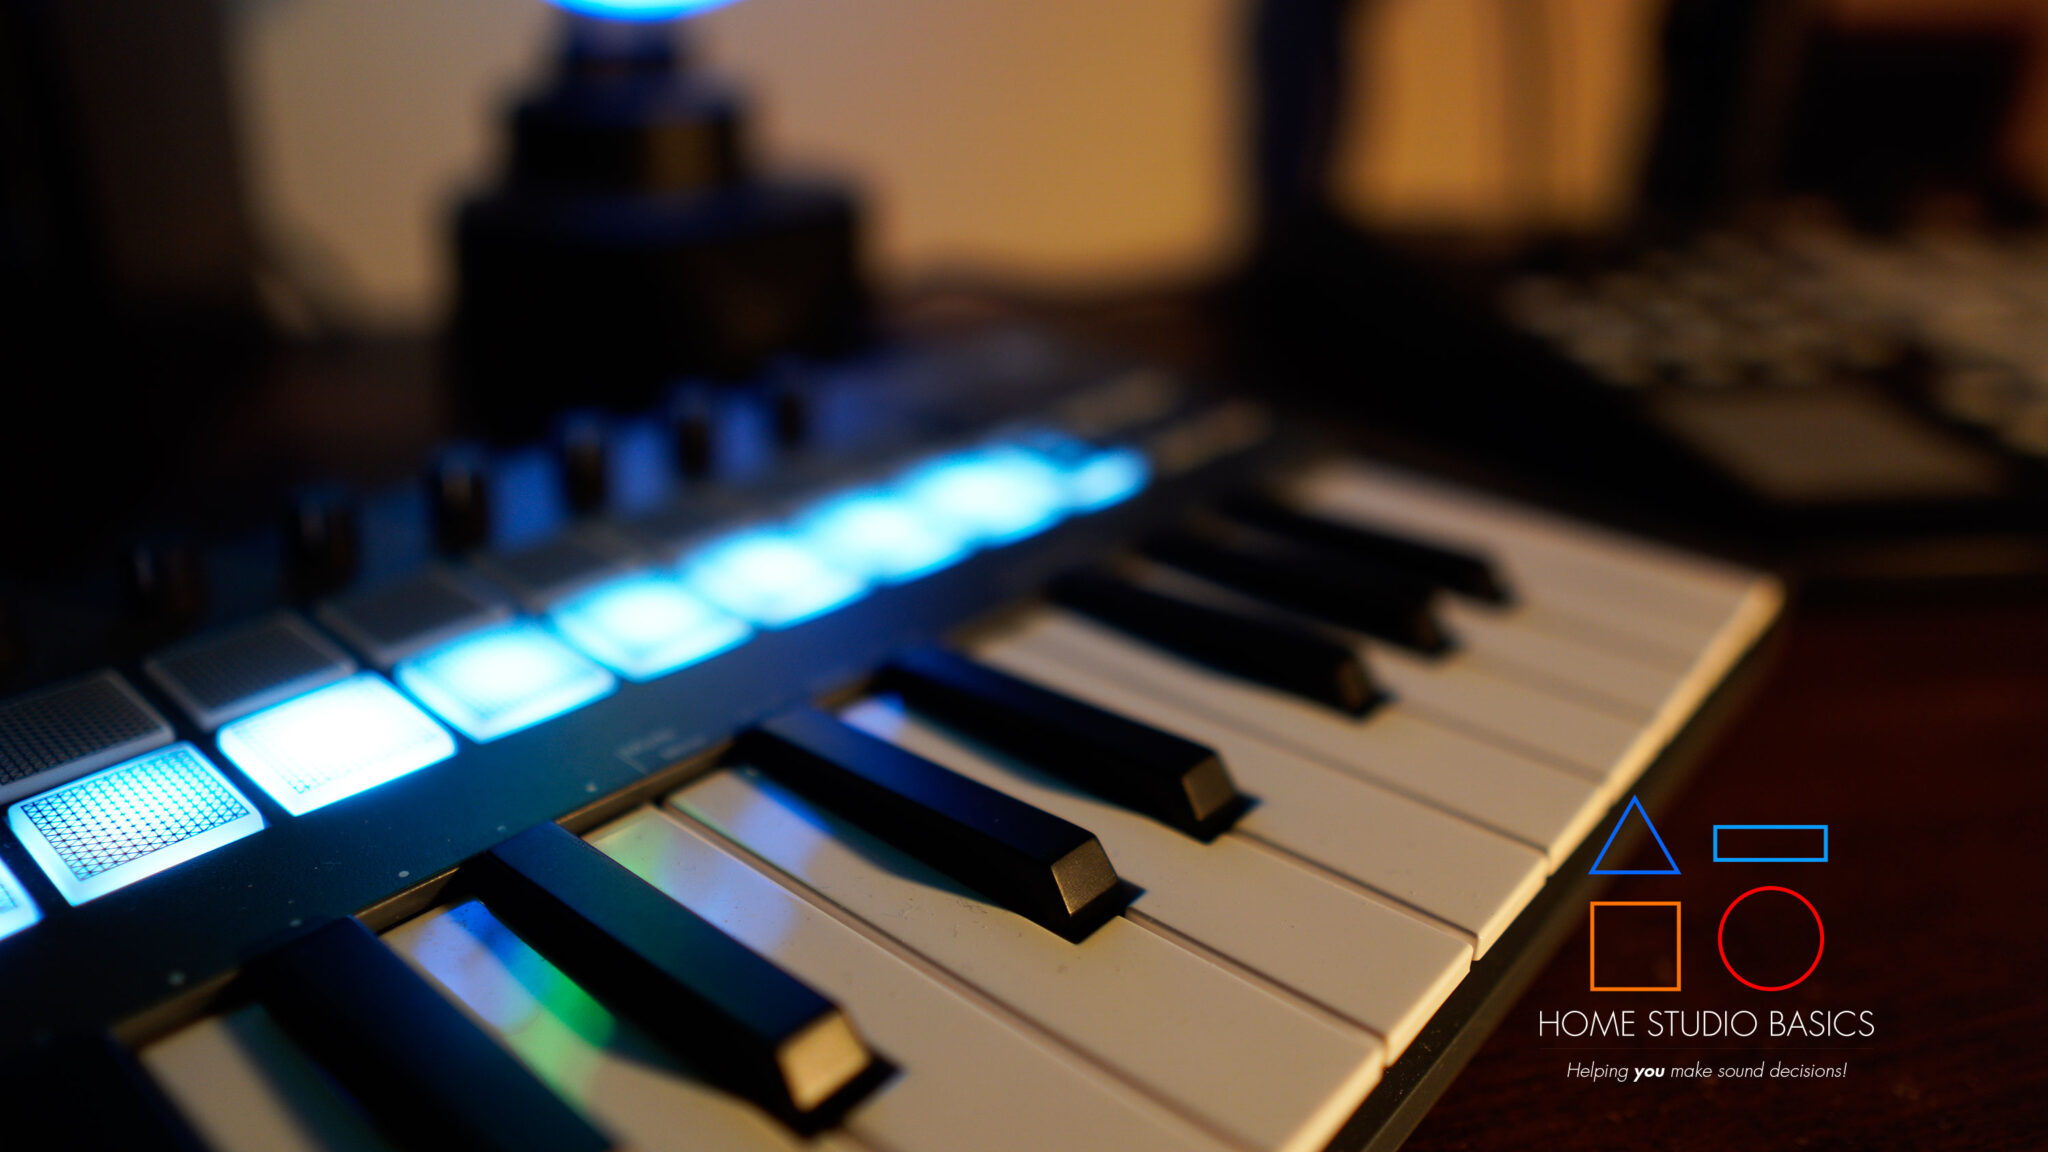
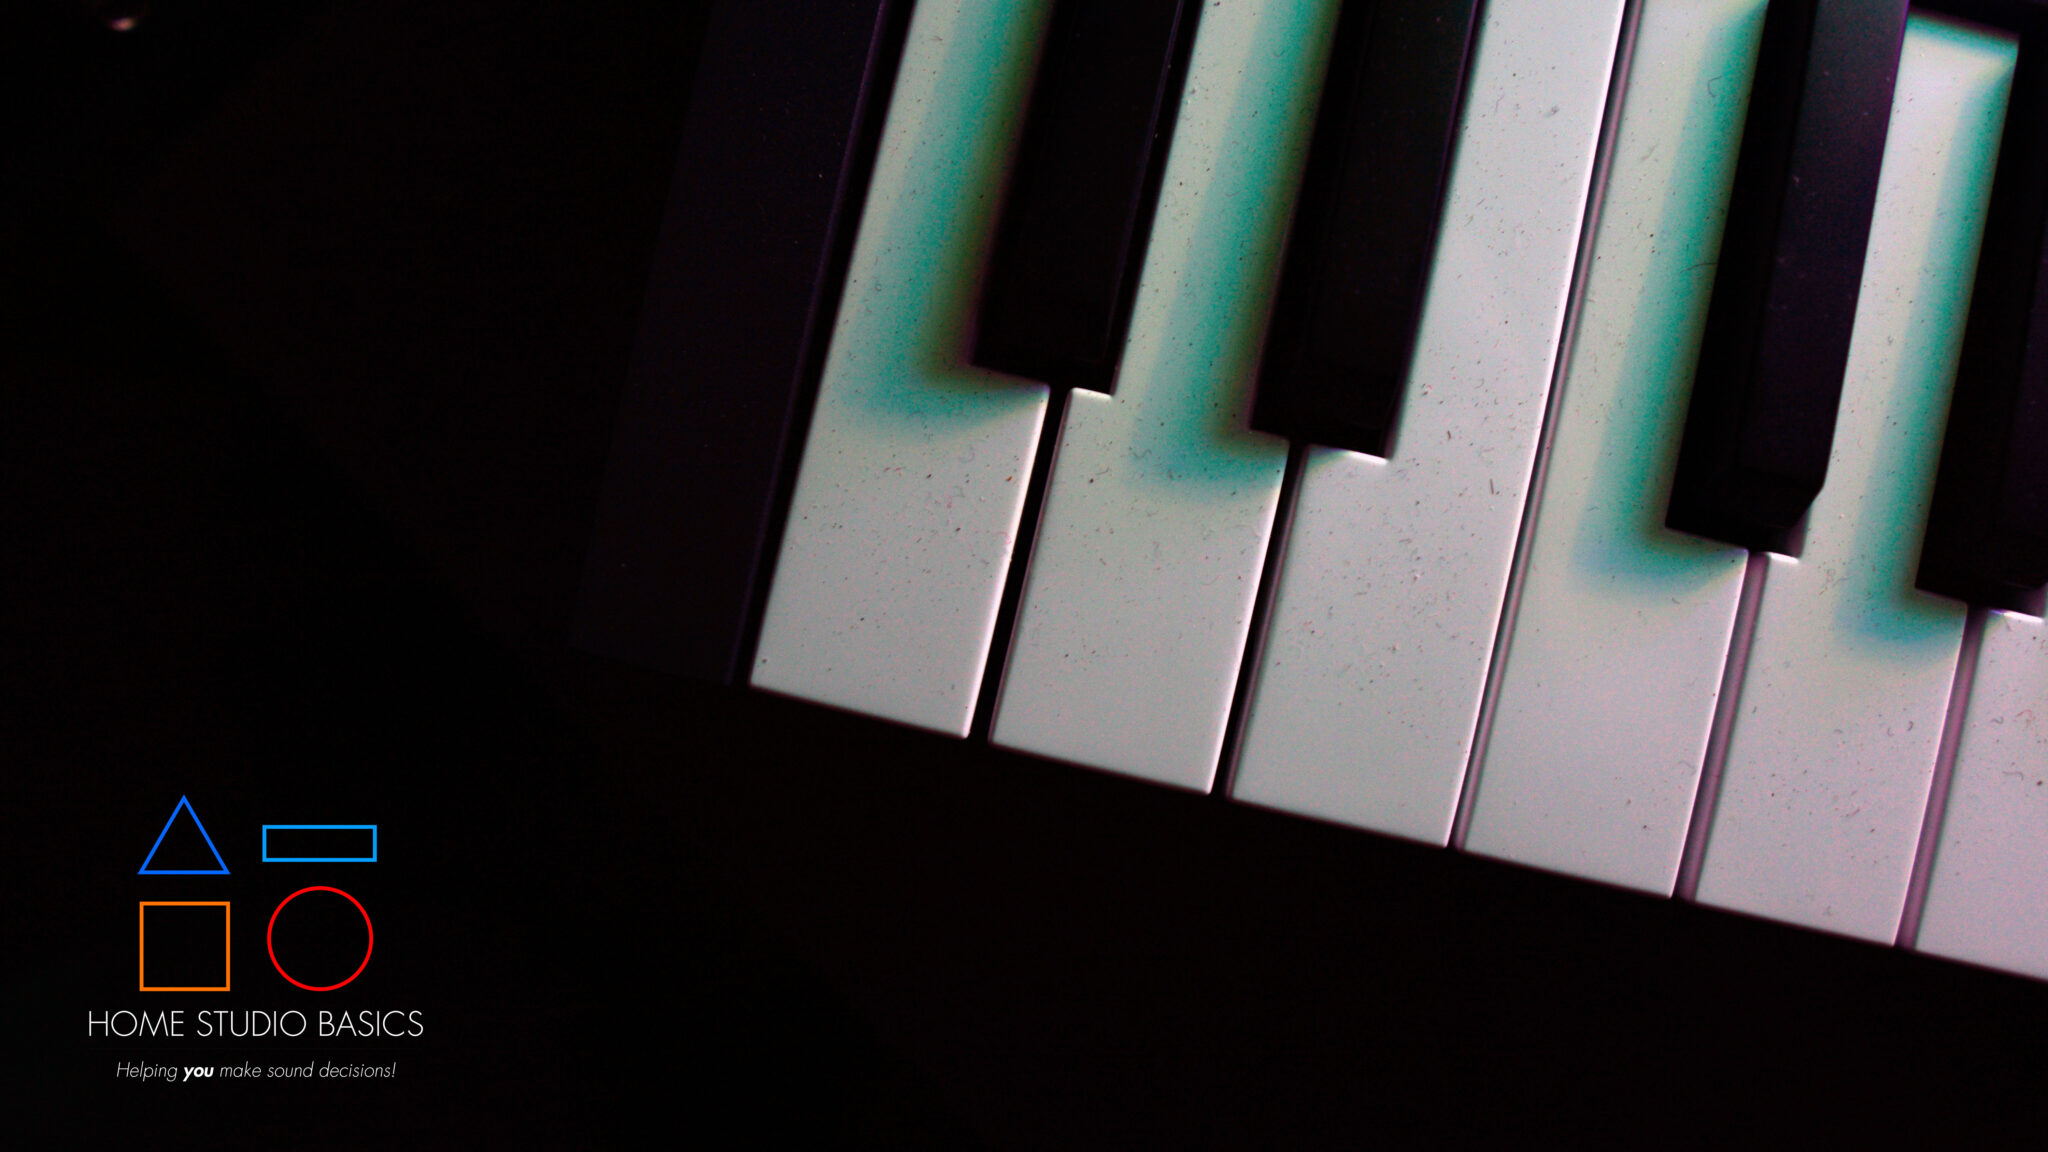
Pitch/Modulation controls
On the left are your pitch/modulation controls which are pretty amazing and something I loved on my old padKONTROL. Here you can get super creative and play around ’til your heart’s content.
The modulation function allows you to control the modulation parameter in your DAW or virtual instruments, often assigned to effects like vibrato, filter sweeps, or other expressive sound changes.
This touch-sensitive strip sends modulation data (MIDI CC 1) to adjust how much is applied to a sound in real-time, adding dynamic expression to your performance.
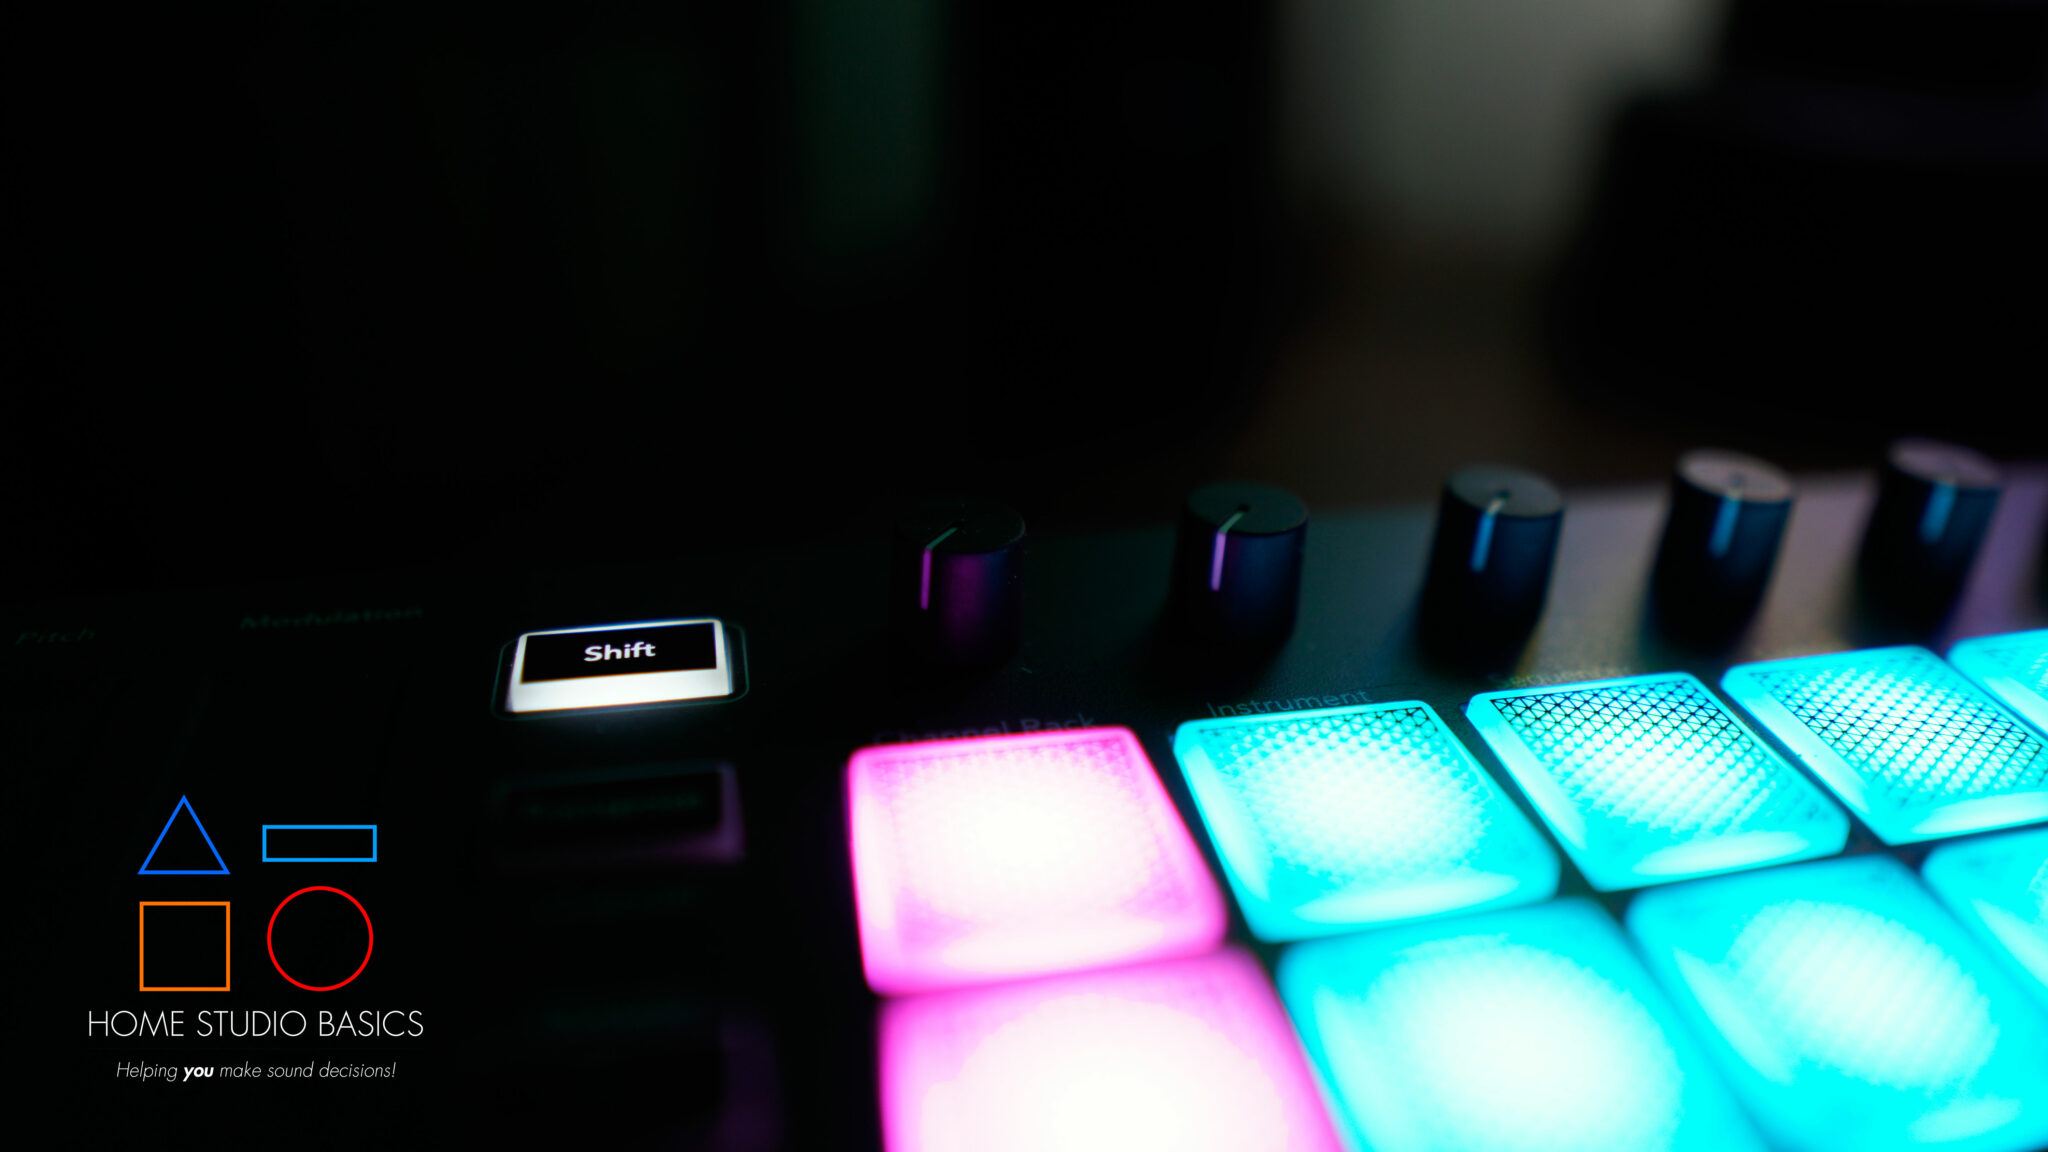
Functions

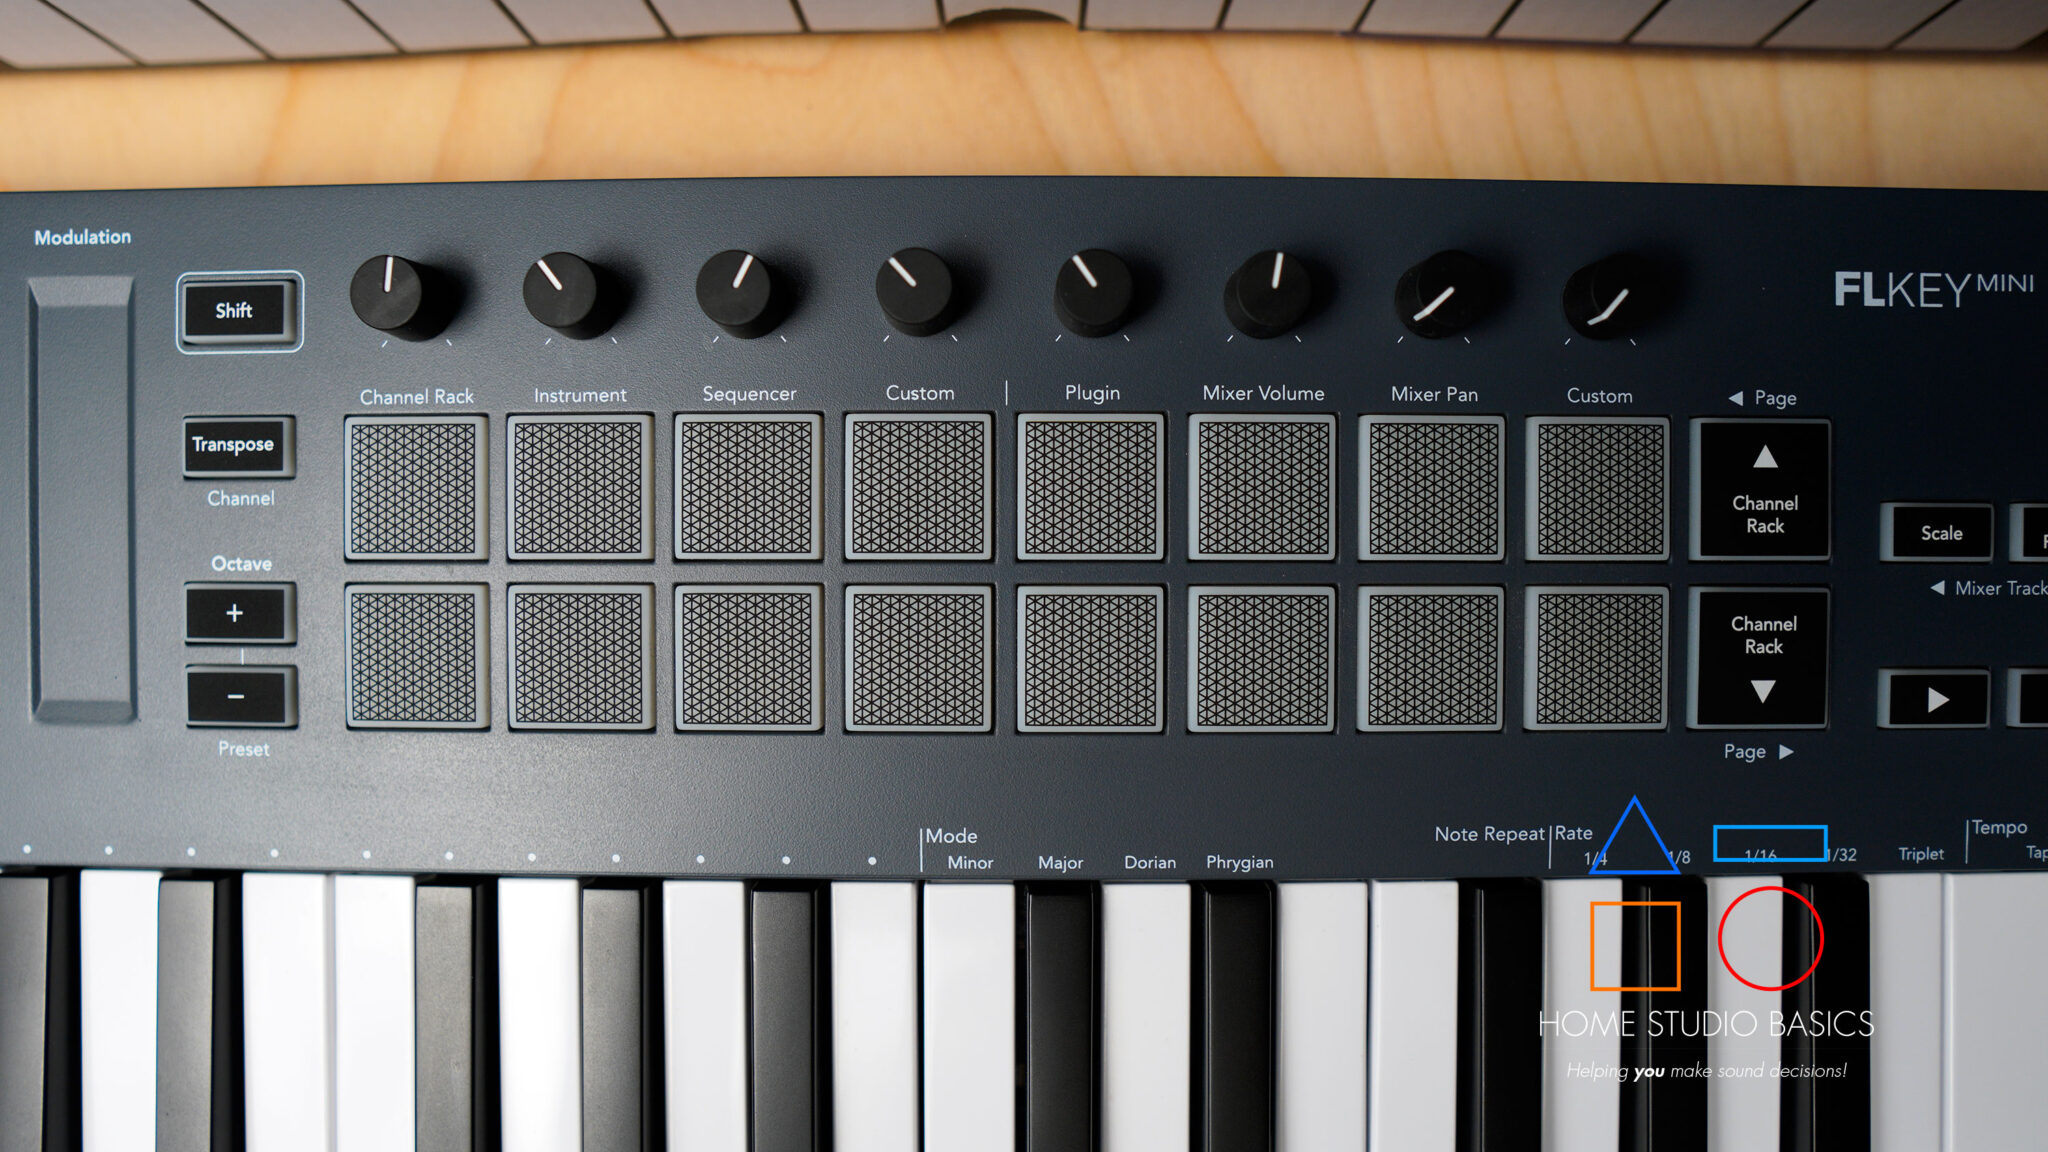
Channel Rack Mode
Hold Shift and tap the first pad to enter Channel Rack mode. In this mode, you can audition/select different channels and whatever you’re using (samples/drums/instruments, etc.) will be represented as a pre-lit pad on the keyboard.
For instance, the default drum kit with kick, snare, clap, and hi-hat lights up the bottom 4 pads; easily allowing you to see what you’re working with.
Note that pressing a pad activates that sample for use on the keyboard. With drumkits, the keys will play different pitches of the sample, while something like a Grand piano simply contains each note.
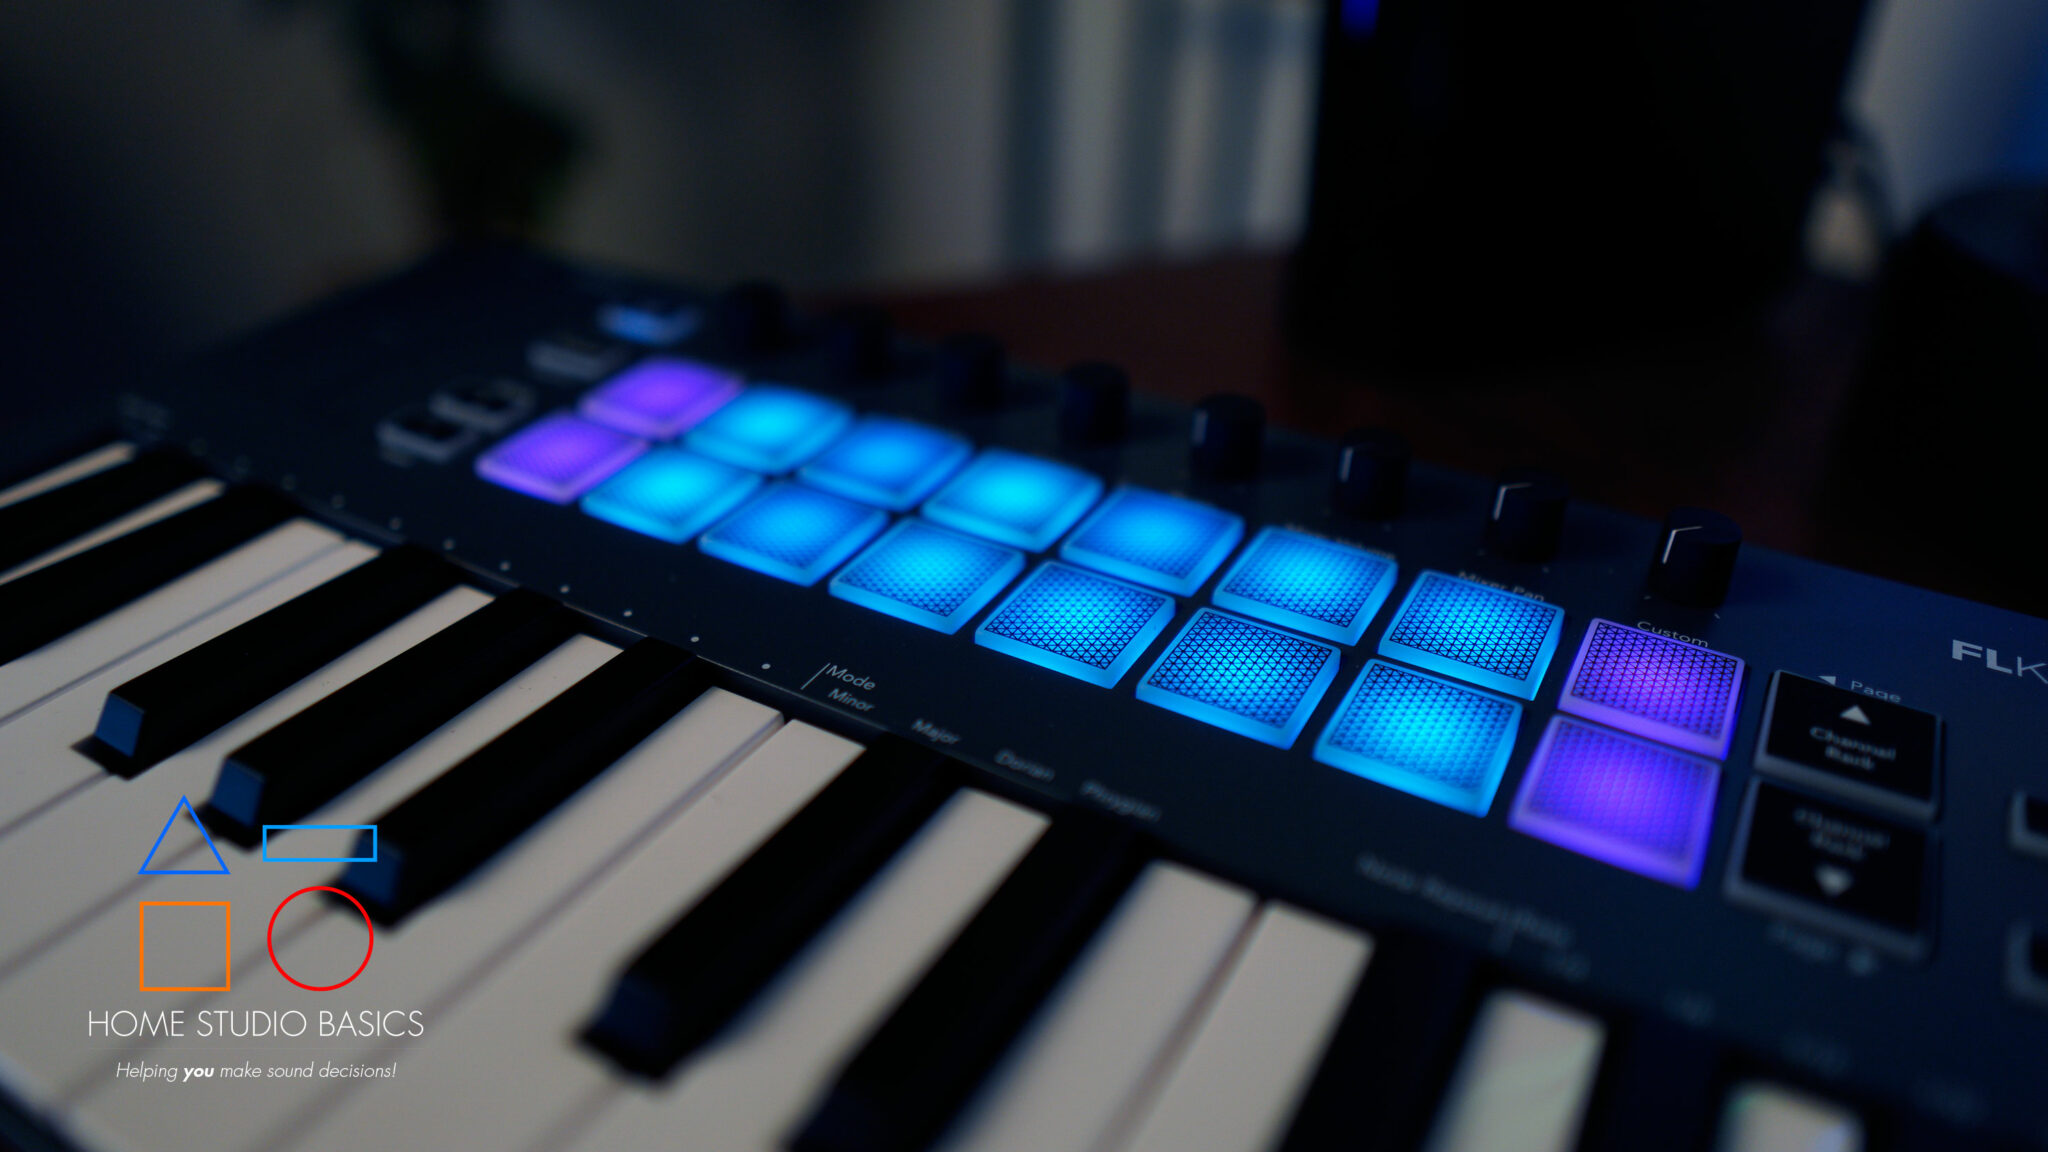
Instrument Mode

Hold Shift and tap the second pad to enter Instrument mode.
One of the best features of the FL Key, and why I bought one, is the automapping of any slices you chop up in Edison or Slicex.
This is incredible because you don’t have to map them out yourself. It’s AUTOMATICALLY done for you and can be found in this mode. You make a cut, and it lights up on the pad. Amazing.
Here you can play the samples on the pads or the keys; the choice is yours.
Think of this as a live performance mode for your selected instrument or sample chop.
I can’t tell you how annoying it was to assign samples with the FPC and padKONTROL. Imagine how it would feel to do what you love most (chopping samples) without worrying about getting them into the pad and wasting valuable time.
The most amazing part about this is that you can add an FPC channel and it auto-maps the entire kit to the pads in perfect order (Instrument Mode). Wow.

Again, the FL Key is made specifically for FL Studio, and the automapping feature, in my mind, is one of its best selling points for sample-based producers like myself (and perhaps you).
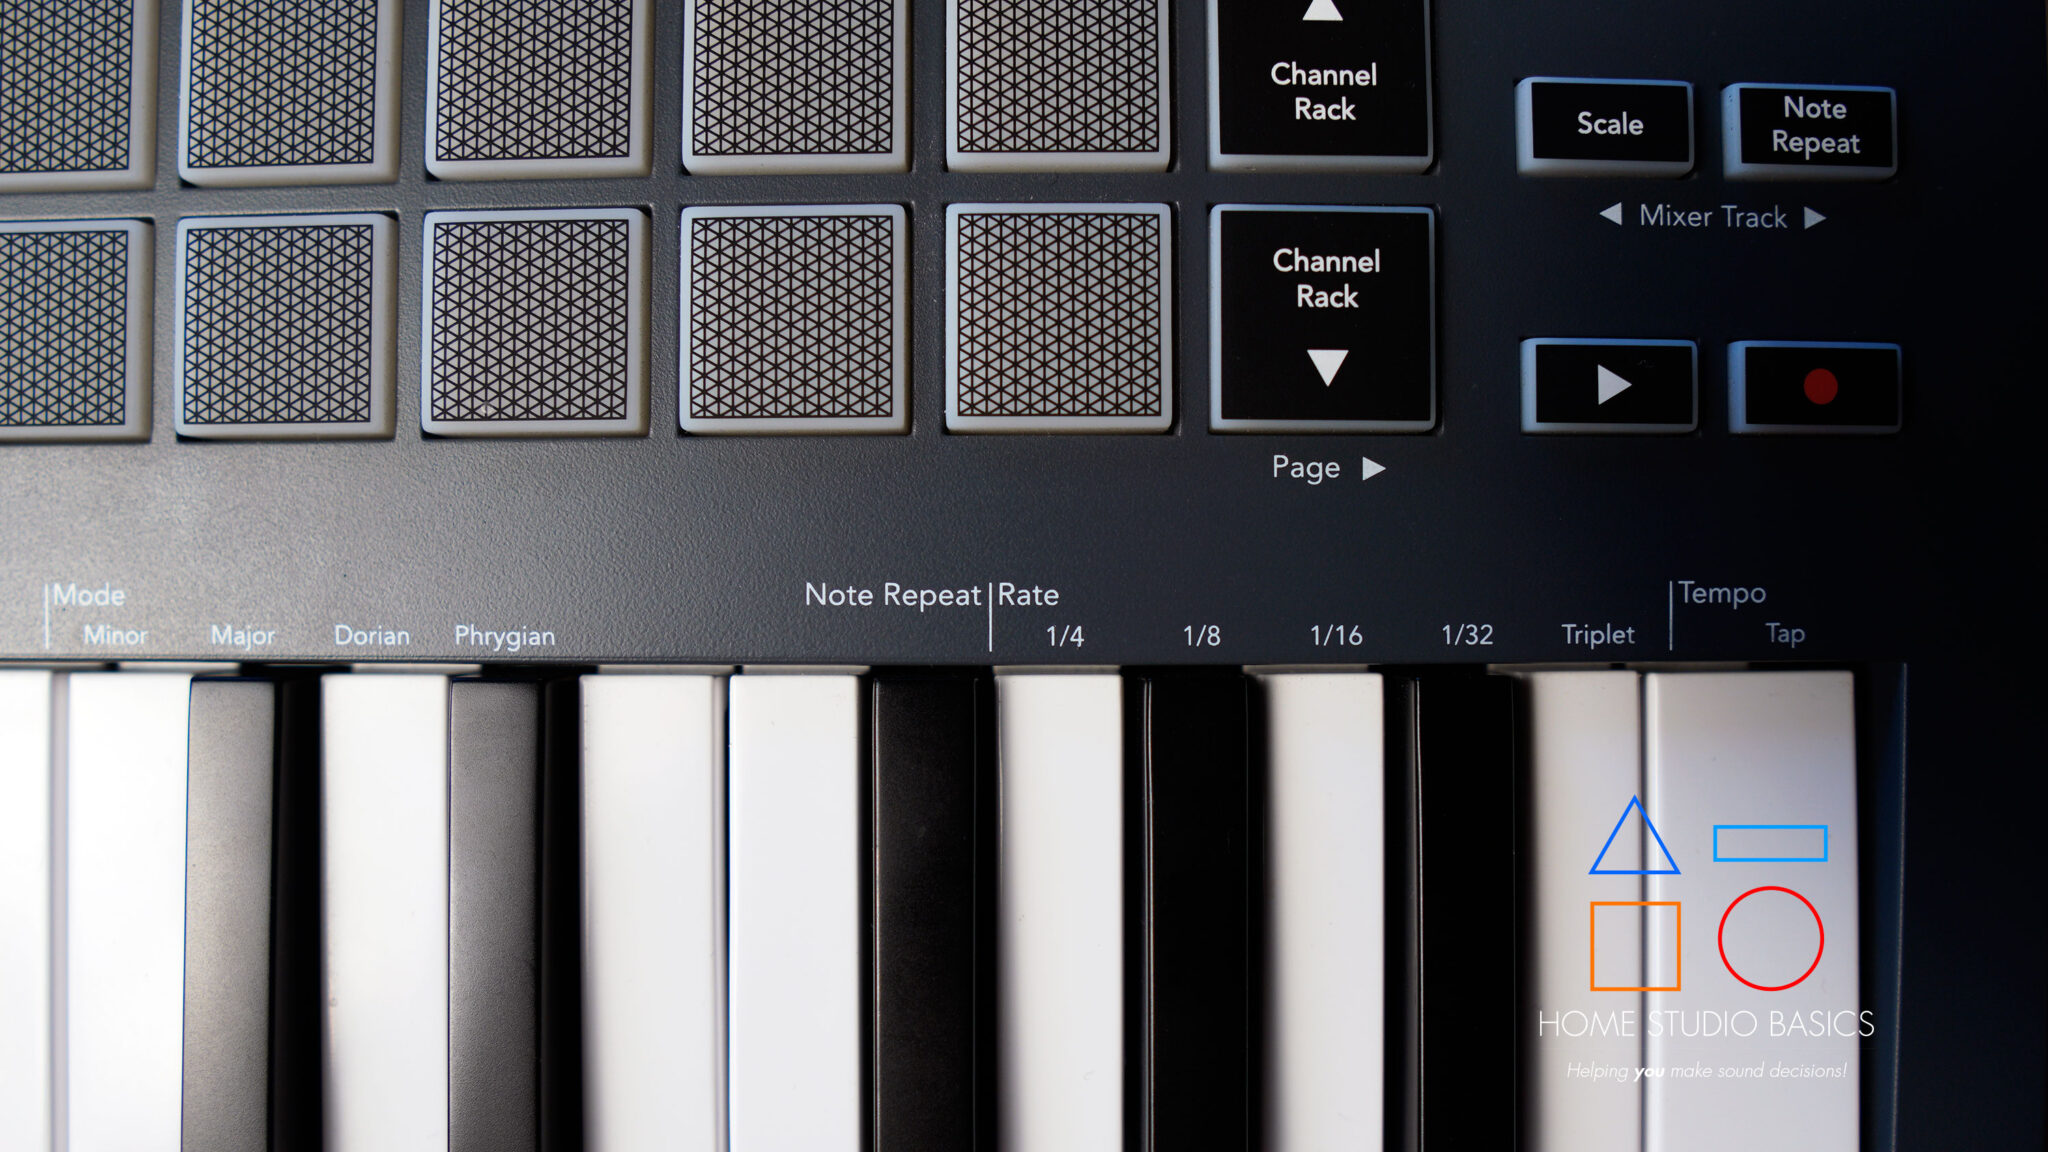
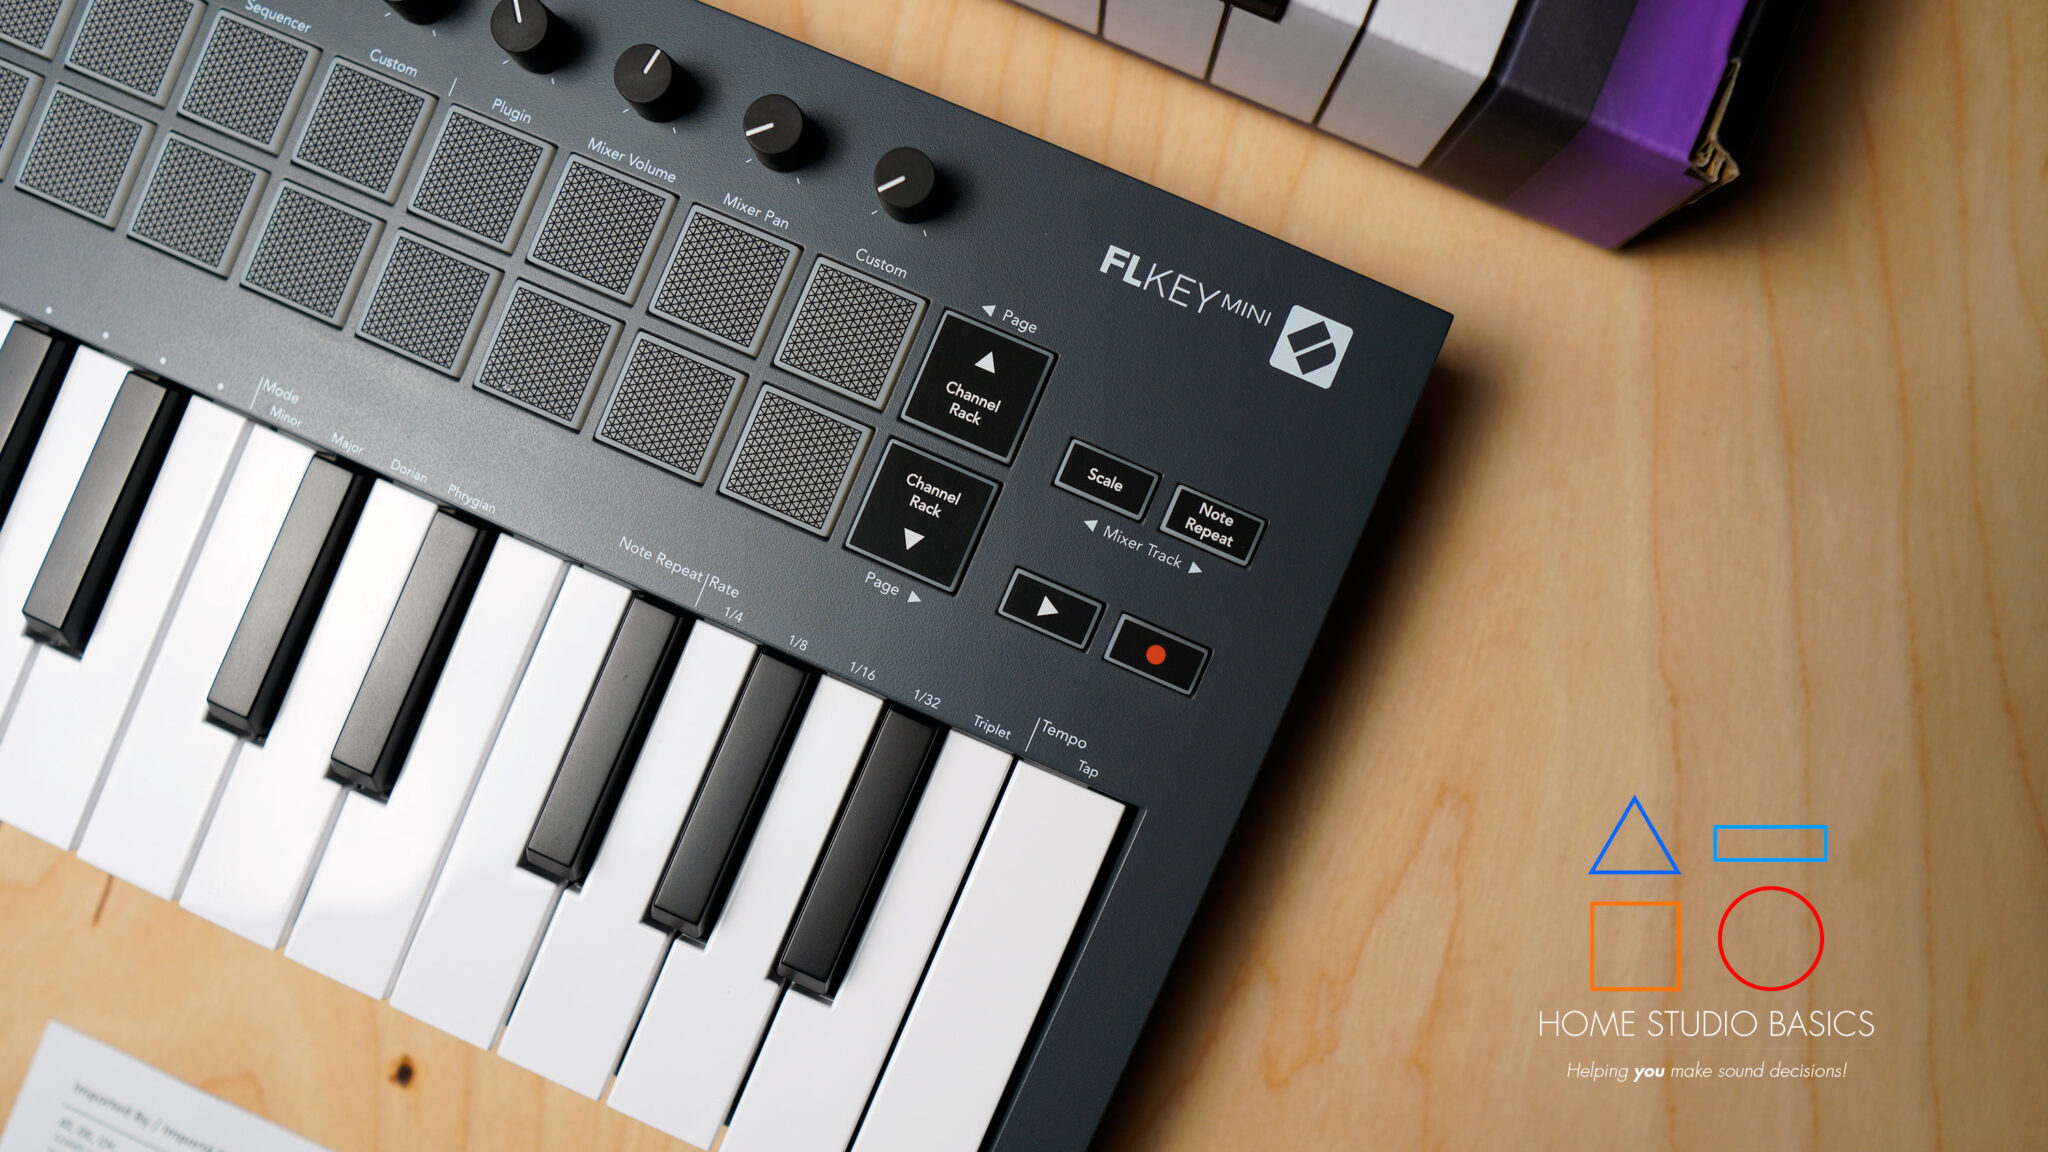
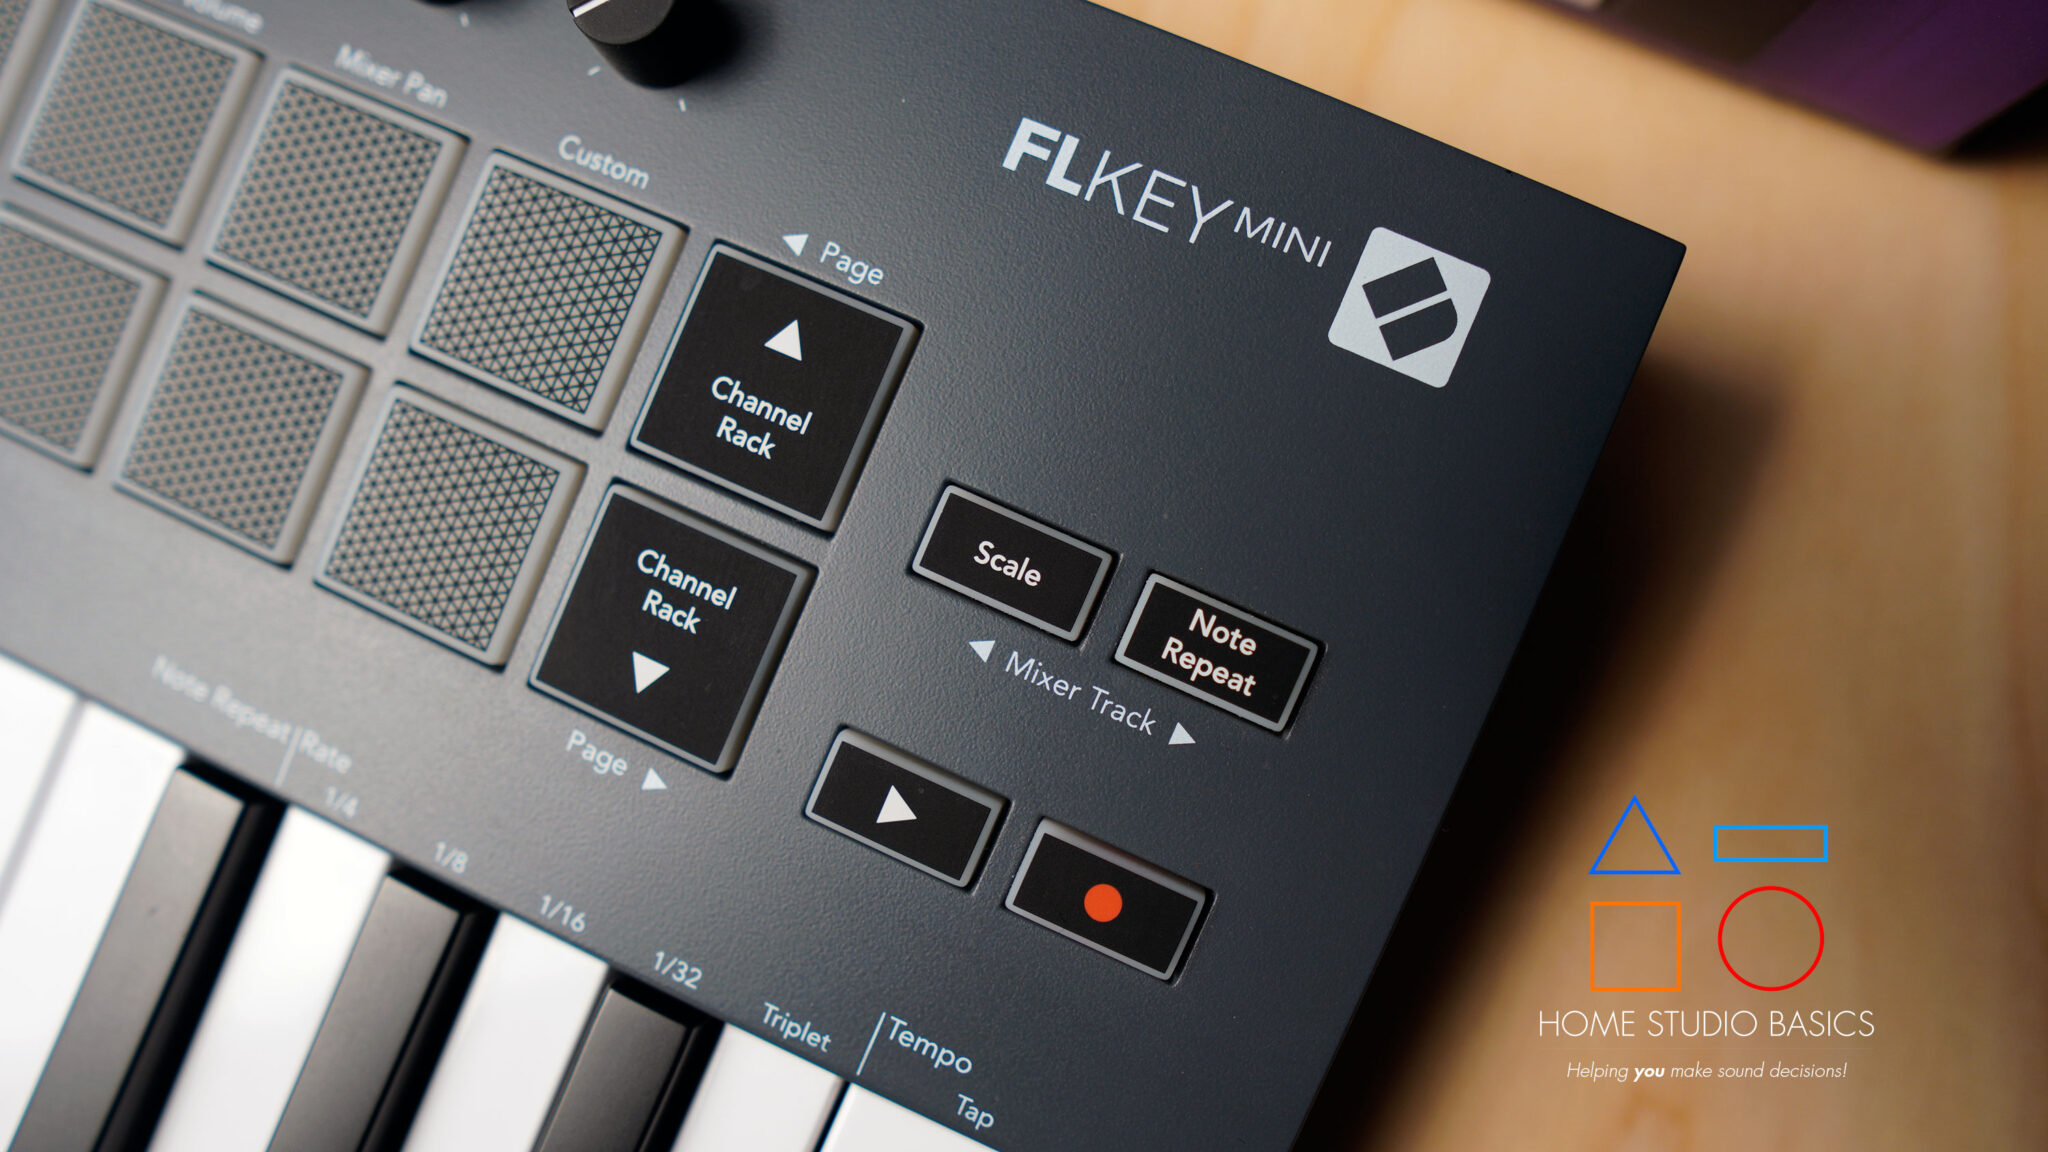
Channel Rack Buttons

Head to the right and you’ll see the Channel Rack Up and Down buttons. When in instrument mode, these buttons enable you to scroll up and down to select an instrument without using your mouse and keyboard.
Note Repeat

This is another great feature that allows you to lay down hi-hat rolls with ease without having to enter the piano roll and separate them manually.
Hold Shift and press the first pad to enter Channel Rack mode.
Now Hit the note repeat button to enable it. Hold a pad and observe the rate. The FL Key Mini gives you 4 options: 1/4, 1/8, 1/6, 1/32, and Triplet. Experiment with them by holding note repeat and tapping each one.
Sequencer Mode

Hold Shift and tap the third pad to enter Sequencer mode.
Now you can sequence a beat the same way you would if you were in the channel rack using your mouse and keyboard. Simply toggle up and down with the channel rack buttons and map the sounds with the pads.
This took a bit of getting used to because I’m so accustomed to using my mouse, but it’s a lot of fun and allows you to visualize everything a lot better as you feel more engaged and connected to the music.
Tap a pad to add a sound. Tap again to remove it. Once tapped, it lights up, and tapping again dims it.
This makes it super easy to see what you’re doing, it’s lightning fast, and I’ve found that it sparks my creativity a lot more than pointing and clicking.
You can also hold down steps and adjust their per-note parameters using the last 4 pads on the right. These control the behavior of the knobs on top.
Press F9 to bring up your mixer.
Now hit Shift + Mixer Volume to adjust the volume on any individual channel. Press Shift + Mixer Pan to do the same for panning. This, like the automapping feature, saves a ton of time when you’re trying to adjust levels and get a good initial mix/pan going.
You can also adjust note pitch, velocity, release velocity, fine pitch, Mod X, Mod Y, and Shift.
To do this, make sure you’re in Sequencer mode.
Use the Channel Rack buttons to navigate to an instrument, kick, snare, etc. Press and hold a highlighted pad to open a parameter. Now press one of the pads and use the knobs above to adjust the parameter for that specific, individual sound.
If you want to adjust a different note, simply hit a pad that’s already lit up. These are the steps you specified in Sequencer mode earlier (i.e. your drum pattern).
To exit, simply hit the highlighted, flashing Channel Rack pad.
From left to right:
- 1st knob (pads light up light green). This is used for Note Pitch
- 2nd knob (pads light up blue). This is used for Velocity
- 3rd knob (pads light up dark green). This is used for Release velocity
- 4th knob (pads light up dark red). This is used for Fine pitch
- 5th knob (pads light up purple). This is used for Panning.
- 6th knob (pads light up Ninja Turtle green). This is used for Mod X
- 7th knob (pads light up yellow and red). This is used for Mod Y
- 8th knob (pads light up orange). This is used for Shift
Mod X and Mod Y control modulation parameters along the X and Y axes, often used for effects like panning or filter adjustments.
Shift acts as a modifier to access secondary functions or alternative parameter adjustments. These features allow for more expressive and flexible control in your projects.

Let’s say you theoretically have more than 8 channels in your project but need to adjust the panning on channel 9.
See where it says “Mixer Track” on the right (image above) underneath Scale and Note Repeat?
Simply hold Shift and press Note Repeat to shift over one quadrant, and hit Shift + Scale to move back.
Scale Mode

Hit the scale mode button.
Now select the key and mode you want to be in by holding the scale button and pressing the relevant key. You can also double-tap the scale button until it pulses and select the mode. Modes are labeled above the keys and include Major, Minor, Dorian, and Phrygian.
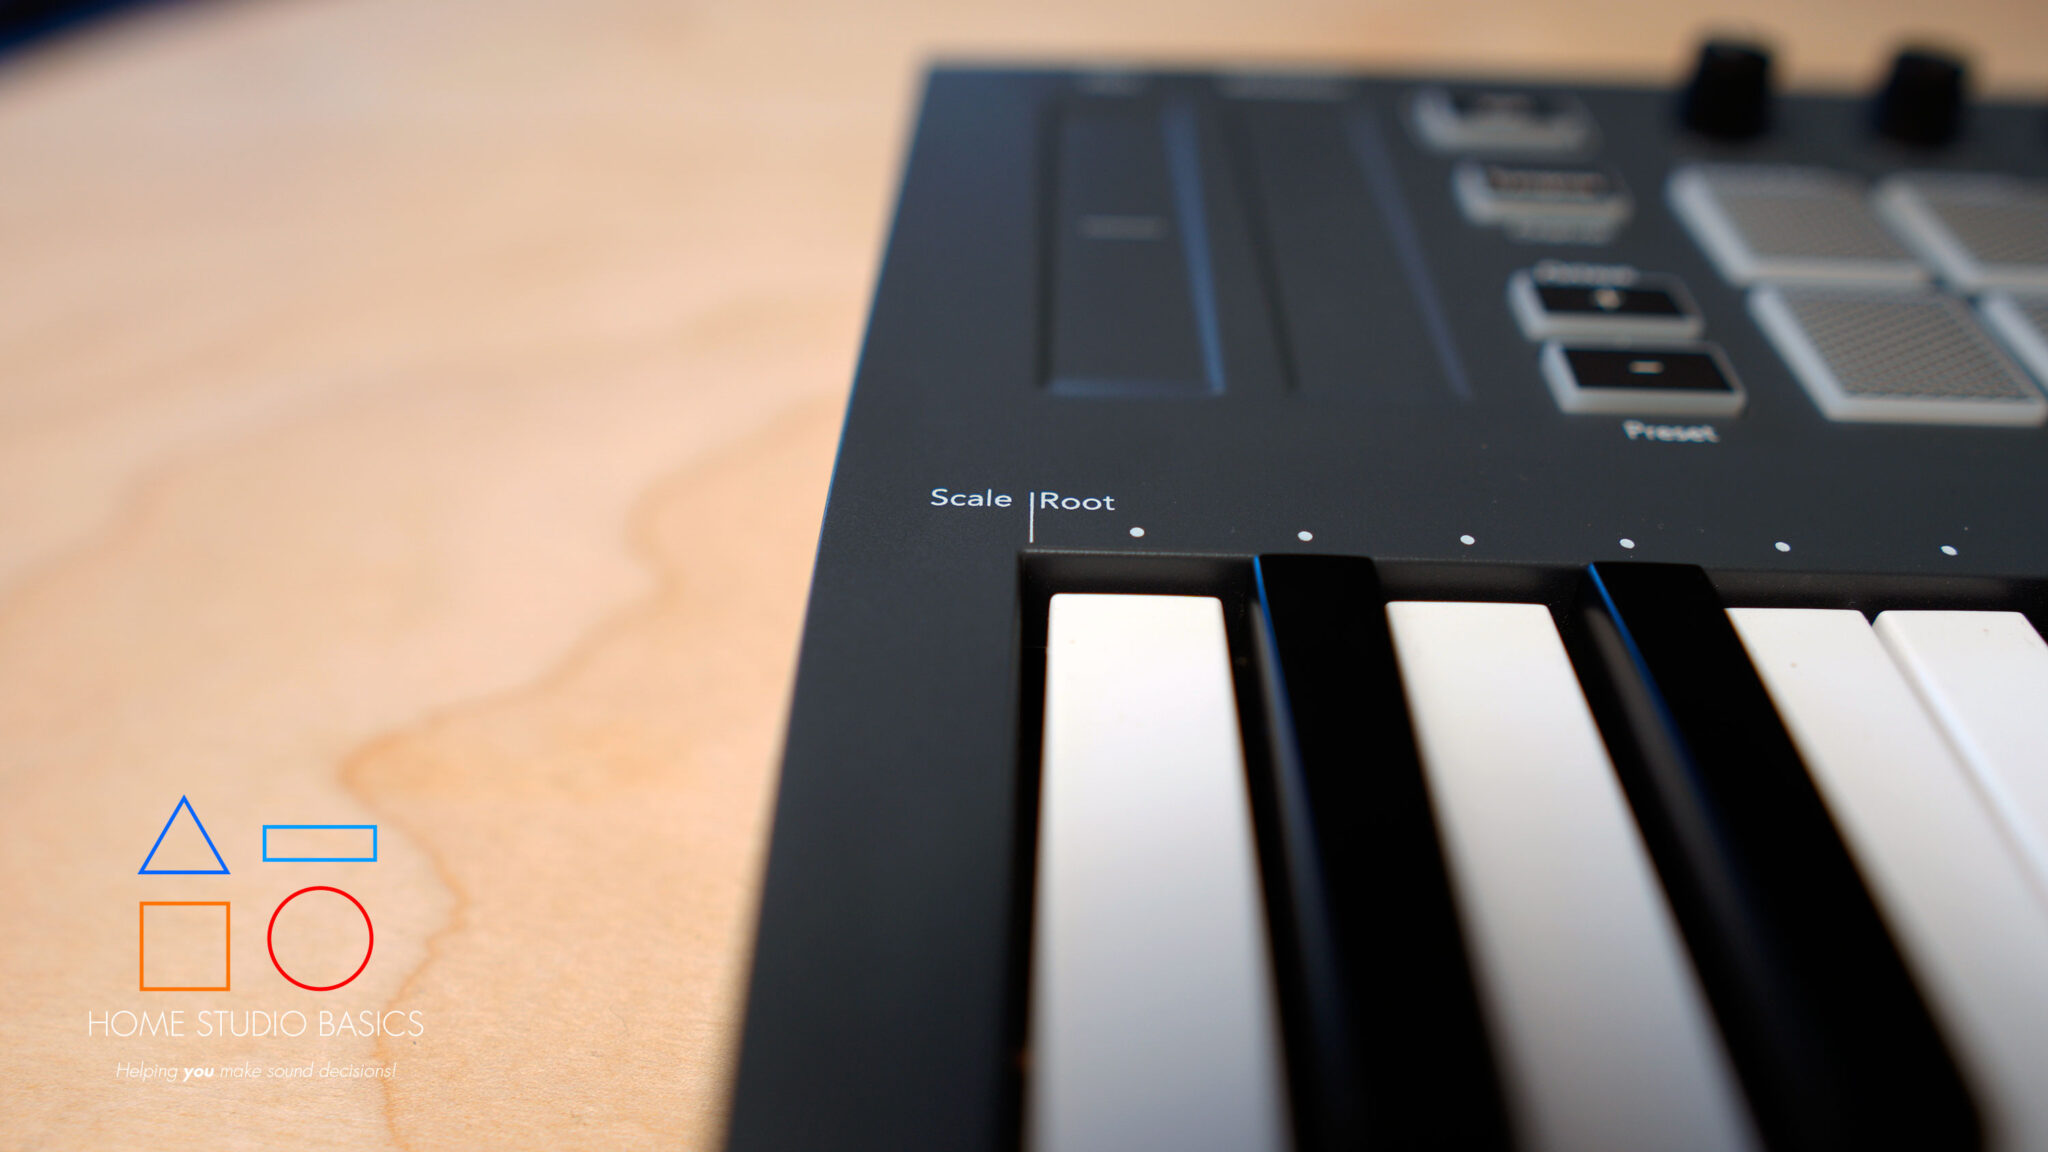
The Scale and Root section is located in the left quadrant.


With this feature, any keys that land outside of the scale you selected are shifted to the nearest note within the scale. This makes it impossible to hit a wrong note, and if you’re anything like me, you’ll need it. xD
Bundled Software Add-Ons
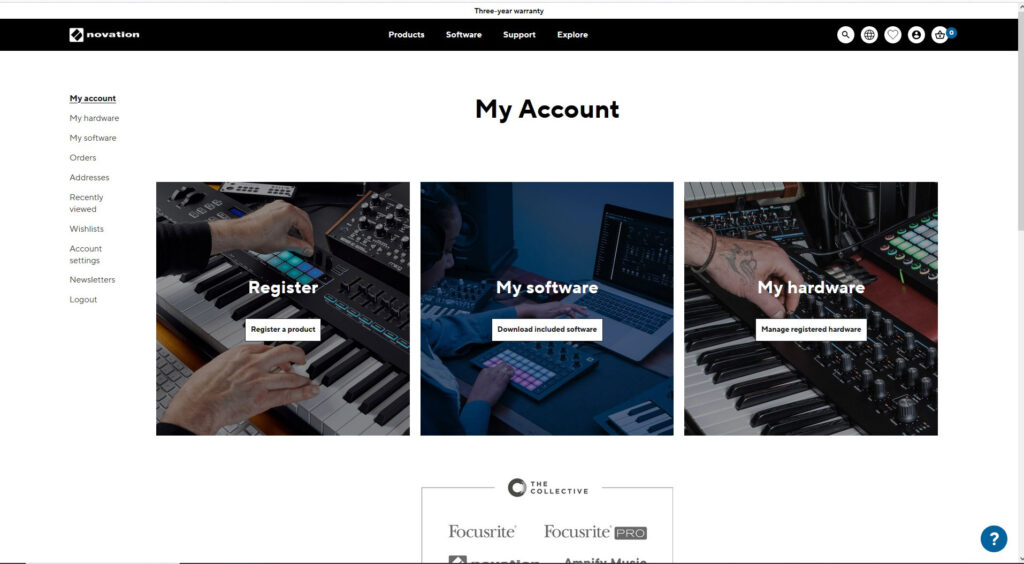
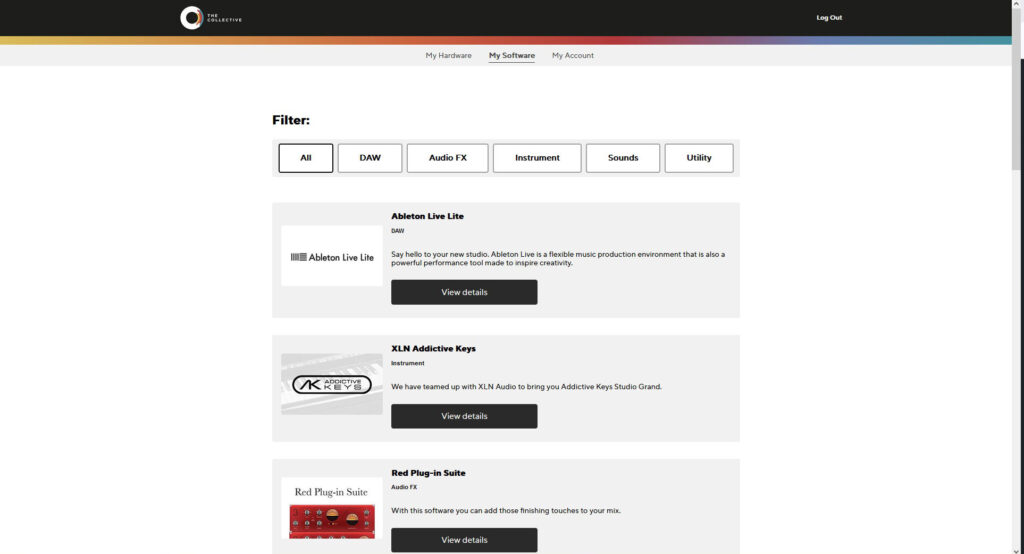
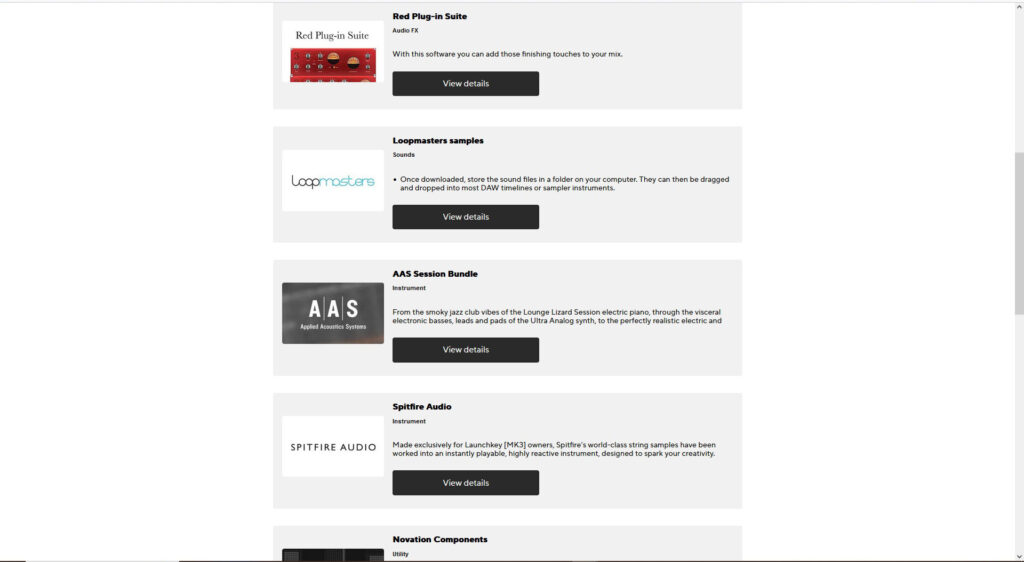
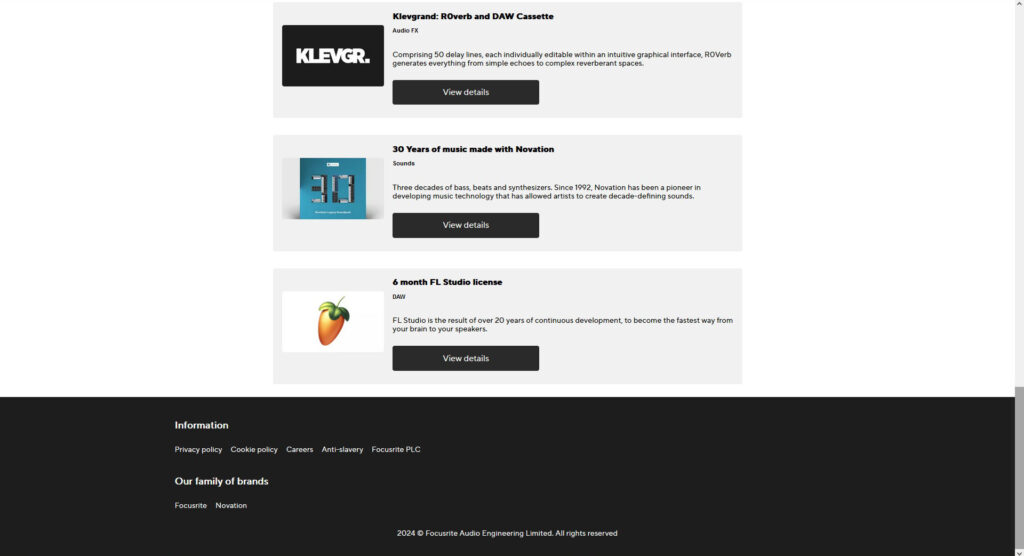
If all that wasn’t enough, Novation was kind enough to include a bunch of cool software add-ons to get you started. These include Ableton Live Lite, XLN Addictive Keys, Red Plug-in Suite, Loopmasters samples, AAS Session Bundle, Spitfire Audio’s string samples, Novation Components, Focusrite Drum Tracks, Klevegrand Audio FX, and Novation’s “30 years of music” sound bundle.
To access them, just create an account at Novation and Register your new product. Once you’re done, click “My Software” and you’ll see a list of all the goodies.
Check ’em out here:

Video Discussion
Shoutout to Mike at “In the Mix” for an excellent rundown. Subscribe to his channel!
Final Verdict

Audio gear, hardware (and software for that matter) have come a long way since I started making beats in 2007. As mentioned earlier, I began my journey with a Korg padKONTROL and Propellerhead’s Reason, but in 2009 switched to FL Studio. I haven’t looked back since, but the fact that Novation and Image Line collaborated to deliver the FL Key almost completely restores my faith in humanity.
This keyboard is a dream to use, makes the process of chopping samples so much faster, and it’s a whole heck of a lot more fun.
As Mike mentioned in the video above, it used to take upwards of 5 minutes just to map samples out with the FPC, but fortunately for you and me, that’s now a thing of the past.
Do I recommend the FL Key? I think you know the answer to that one my friend. This is hands down one of the easiest purchases I’ve ever made for my studio.
Learn More:
Novation FL Key Mini: Pricing
Price: Check Amazon! | Check Sweetwater! | Check B&H! | Check eBay!
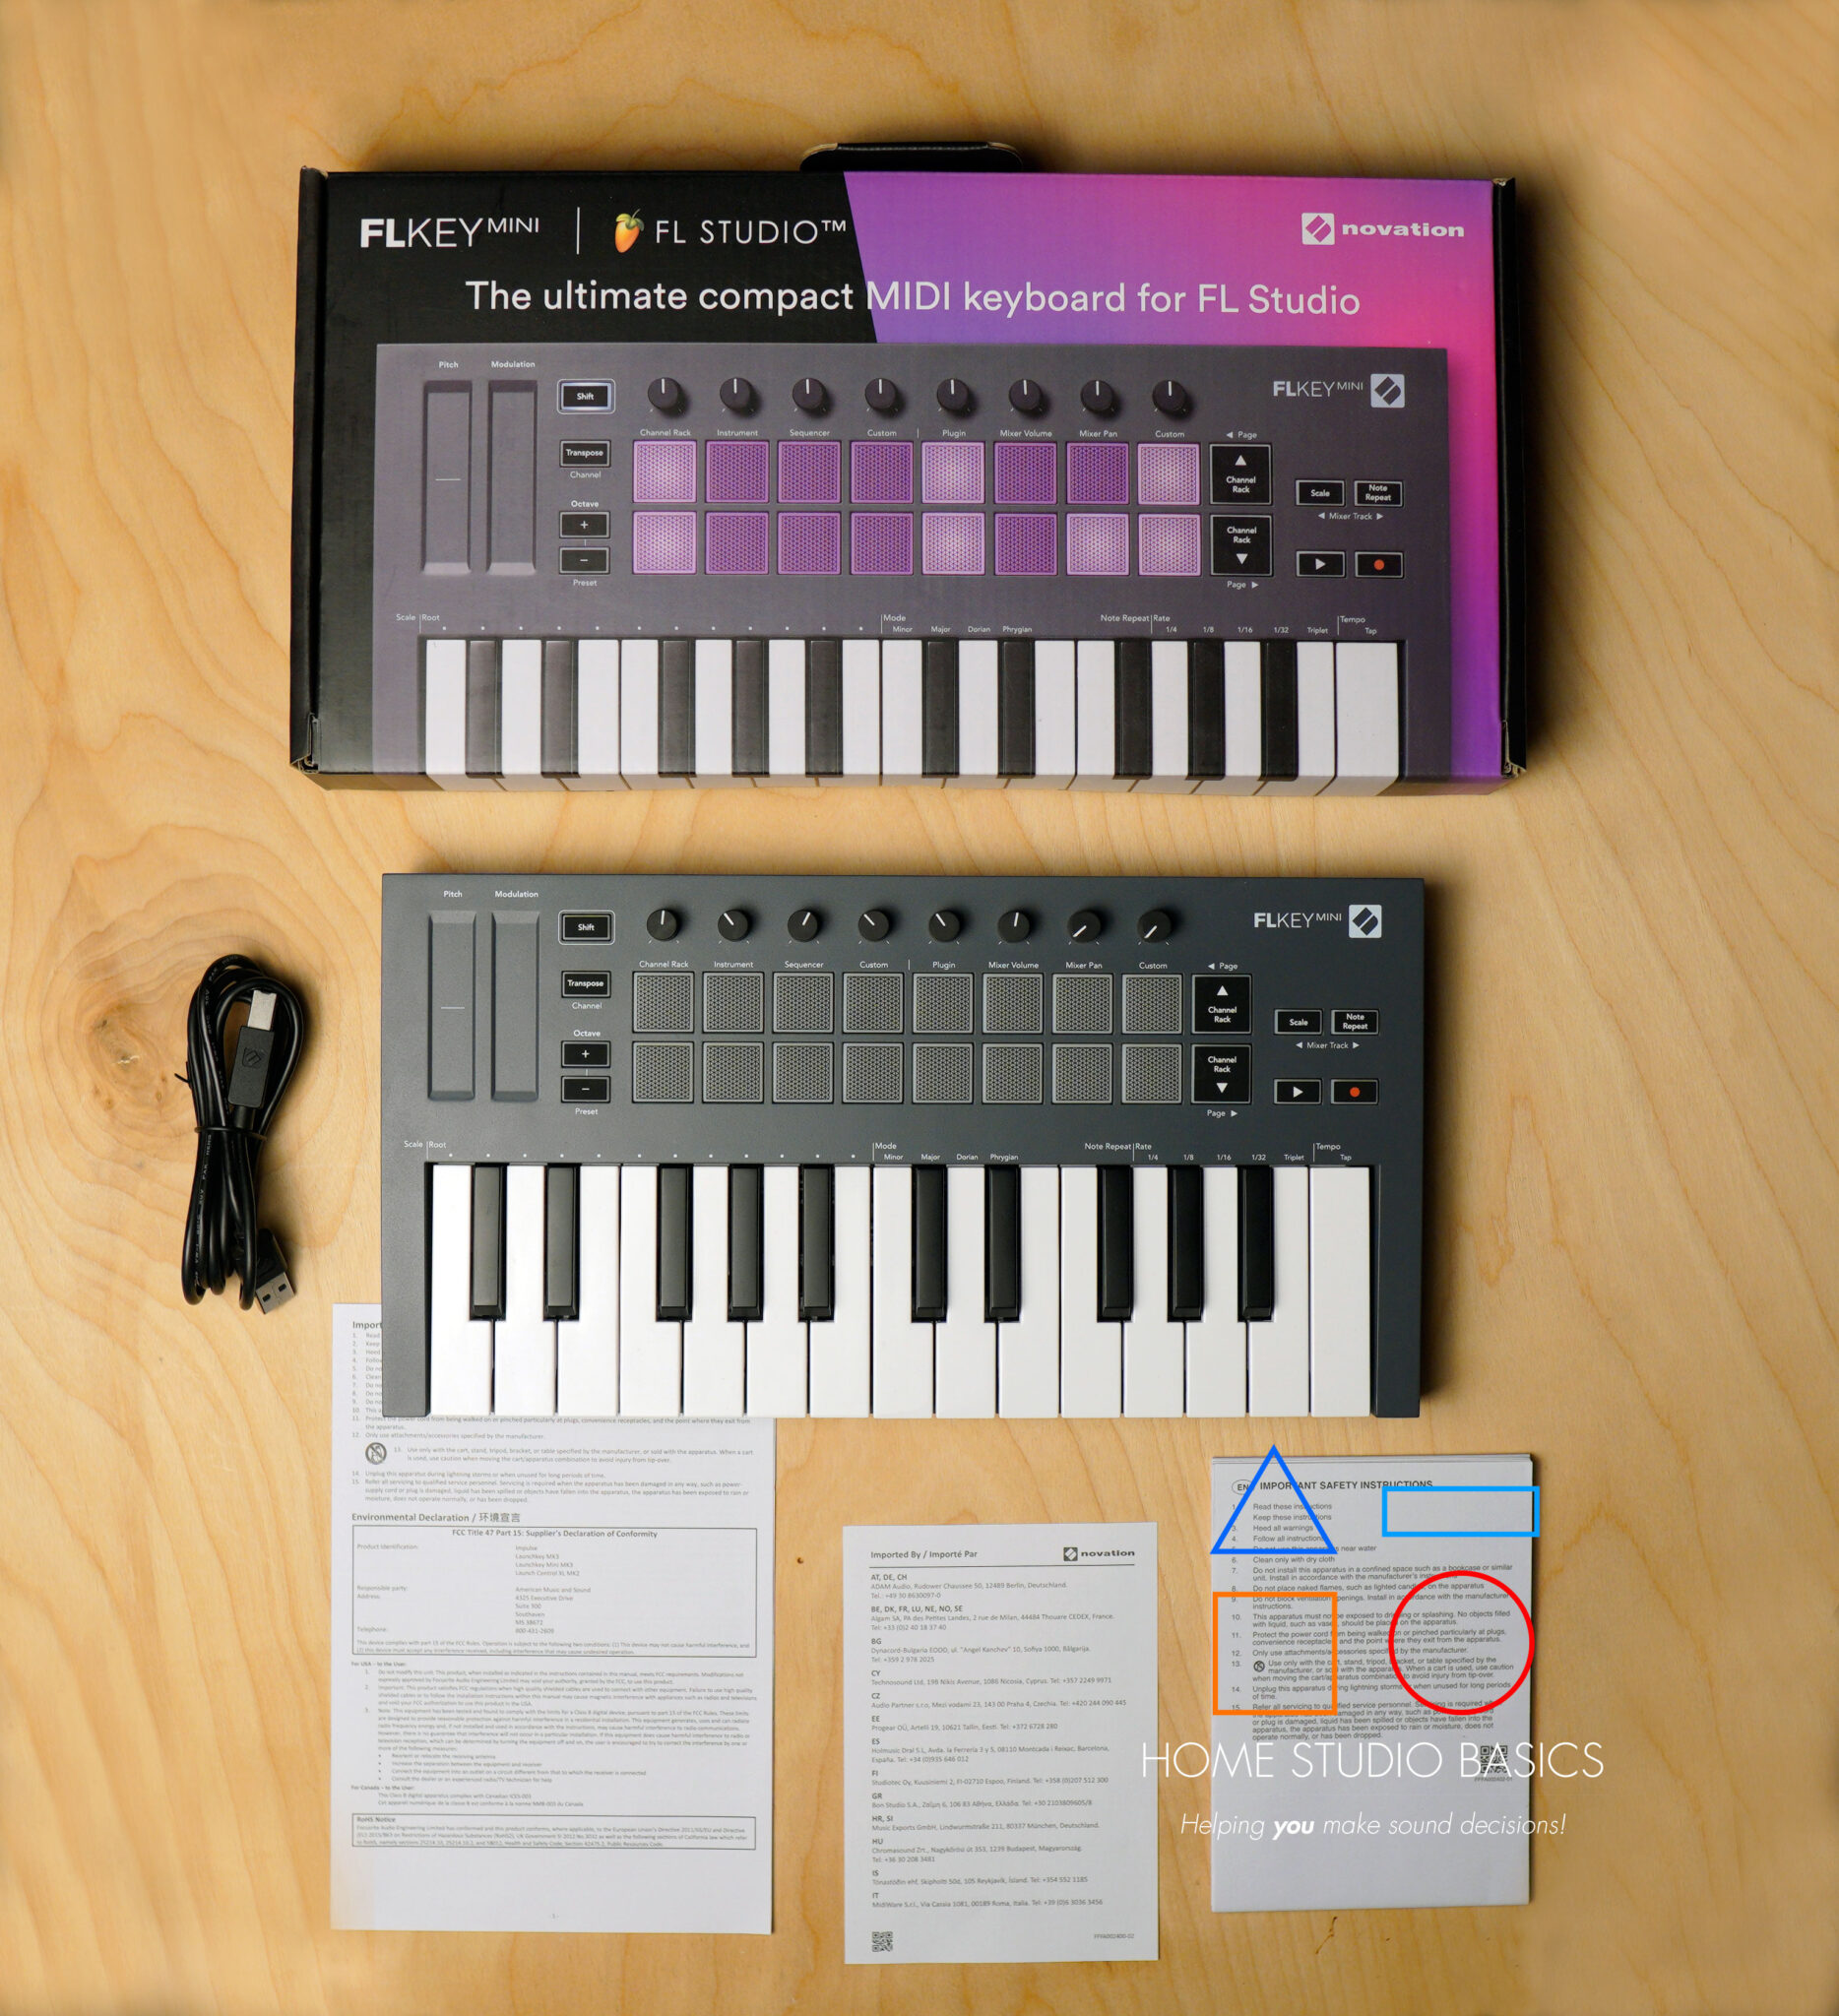
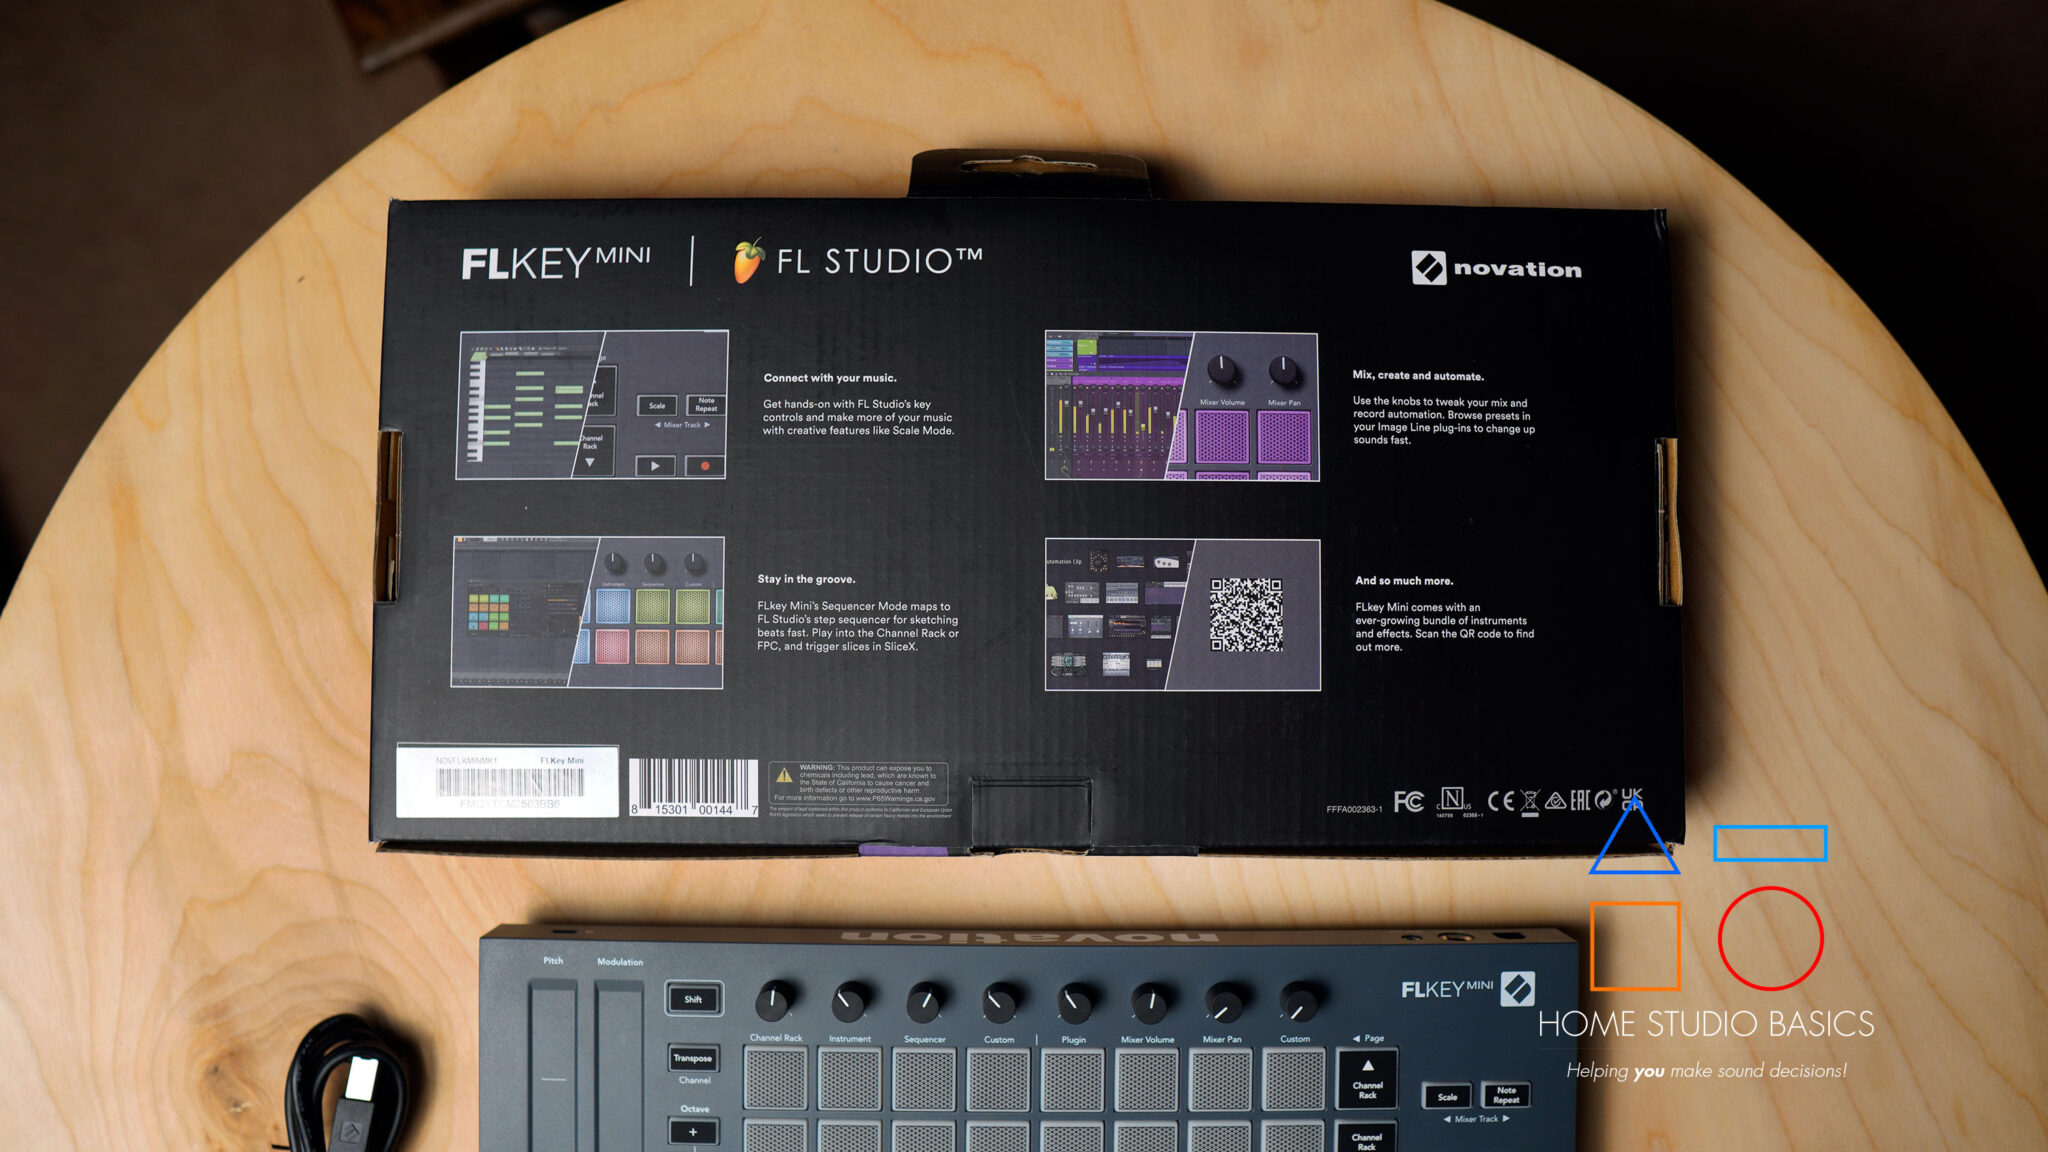
In The Box

Novation FLkey Mini USB MIDI Keyboard Controller for FL Studio (25-Mini Keys)
USB Cable
FL Studio Producer 6-Month Trial
Limited 3-Year Manufacturer Warranty

Specifications
Keyboard
25 Mini Keys, Synth Action with Velocity
MIDI Control Surfaces
- 1x Touch-Sensor (Pitch-Bend)
- 1x Touch-Sensor (Modulation)
- 8x Rotary Encoder
- 16x Pad (Velocity-Sensitive)
Performance Functions
- Note Repeat, Octave Shift, Sequencer, Transport Controls, Transpose
Connectivity
- I/O: 1x USB Type-B Bus Power/MIDI Output, 1x 1/4″ Sustain Input, 1x 1/8″ (3.5mm) MIDI Output
- Display: No
- Anti-Theft Features: Kensington Security Slot
- Dimensions (W x D x H): 12.9 x 6.7 x 1.6″ / 32.8 x 17.0 x 4.1 cm
- Weight: 1.52 lb / 0.69kg
- Package Weight: 2.395 lb
- Box Dimensions (LxWxH): 15.5 x 7.8 x 2″
Well, that’s about it for today my friend! I hope you’ve enjoyed this Novation FL Key Mini Review and came away with some valuable insight.
Questions? Comments? Requests? Did I miss the mark on something? Please let me know down below or Contact me!!
If you love what I do here and want to support the blog and channel in a more personal way, check me out on Patreon and discover all the value I have to offer you.
Is this product worth an investment? What are you currently working on? I would love to hear from you. Until next time…
All the best and God bless,
-Stu


![How to Sample In FL Studio – A Complete Guide [Part IV/BPM, Piano Roll, Step Sequencer, & Playlist]](https://homestudiobasics.com/wp-content/uploads/2026/02/How_To_Sample_In_FL_Studio_4_Redo-768x432.jpg)


