How to Build a Simple Home Recording Setup for Students on a Budget
You don’t need access to a commercial studio to get your tracks sounding good.
Home recording setup for beginners lets students turn ideas into rough demos or completed projects without an investment in costly hardware.
The trick is to pick out a handful of essential things, learn how to record at a basic level, and make a few modest, intelligent improvements to your room.
This guide will teach you how to order your priorities, what to leave out, how to treat a space on the cheap, what software to download, and how to develop a practical workflow.
Start With Your Goal
Before you buy a single cable, decide what you tend to record the most.
Are you a singer who primarily needs clean vocal and guitar demos?
Want to record podcasts and voice-overs?
Your priorities for usage will determine the best combination of microphone type, interface inputs, and monitors.
If you’re contemplating further study or career options, exploring the best music programs in the US can help you see what schools value. Whether it’s performance, production, or composition, tailor the gear you learn to what’s used in those programs.
Once you have an idea of what you need, it’s helpful to prioritize these by level of importance.
If you’re trying to record good vocal audio, you may benefit from an upgraded microphone and preamp. If your goal is to record several live instruments simultaneously, you may benefit from a multi-channel audio interface.
This shopping list should stay handy for your purchases.
Choose the Right Core: Interface, Microphone, Headphones

A student’s best friend is a small, clean chain.
You’ll want the cleanest possible sound at the source, since no clever plugin in the world can rescue a badly recorded vocal.
Audio Interface: The Essential Hub
An audio interface is the “bridge” between the student’s instruments and computer. For most students, a “two-input USB interface” is a good size: it’s large enough to plug a microphone and instrument into, but not so large that it’s unwieldy.
What to look for:
- Two XLR/line inputs with decent preamps and +48V phantom power (for condenser mics).
- Zero-latency or direct monitoring so you can hear yourself without annoying delay.
- Solid drivers for low latency.
- USB bus power (no extra power brick) unless you need many channels.
- Get the rich, full album-ready sound of UA’s classic 610 preamps with Vintage mode
- Capture every detail and nuance of your performance with up to 24-bit / 192 kHz quality and crystal clear converters
- Record and mix with the award-winning LUNA Digital Audio Workstation, giving you the sound and workflow of a real analog studio
- Create using the same UAD plug-ins and instruments trusted by top industry pros for the sound of your favorite records
- Level up your recording and mixing skills with tips and tutorials for beginners to advanced users
Think about future upgrades. Choose a brand that is supported on both Mac and PC and known for providing stable drivers.
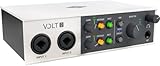
For the best affordable audio interfaces for students, the main advice remains the same: buy a modern, two-channel interface with decent preamps and 48v phantom power. It’s the fastest way to get better recordings.
The Volt 2 pictured above satisfies all of the requirements and happens to be an excellent investment. I use it daily for an array of tasks: listening to music with the Yamaha HS7s, recording/tracking rap vocals, instruments, synthesizers, EQ’ing/evaluating beats, etc. Easily listen via monitors with the large volume pot or headphones with its 1/4″ jack.
- Related: Universal Audio Volt 2 Review
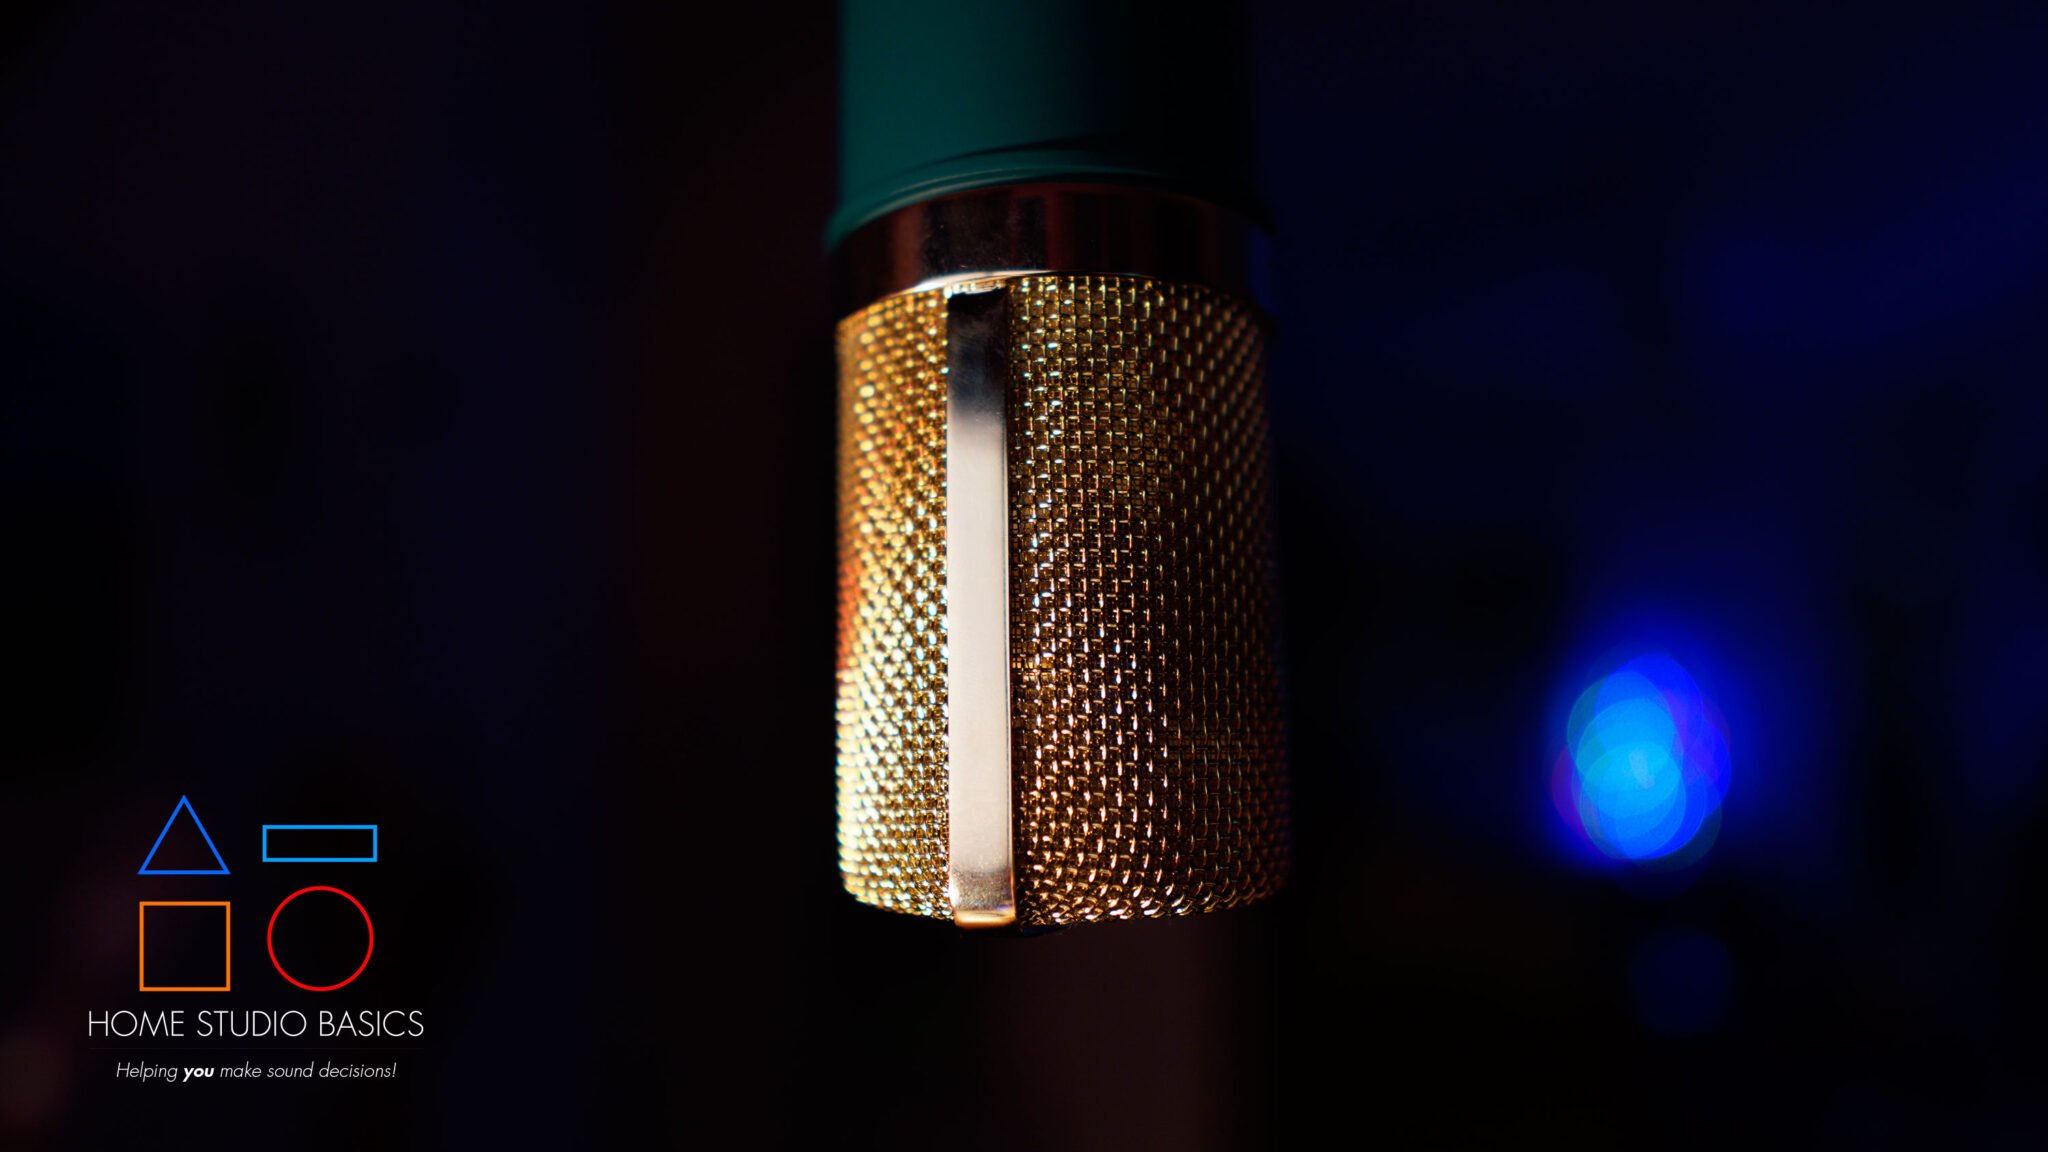
Microphone: Match the Mic to the Job
Microphones are not one-size-fits-all. Dynamics (such as the traditional hand-held mics on stage, for that matter) are able to deal with loud sources and untreated rooms.
Condenser mics are more sensitive and will pick up detail, great for vocals and acoustic instruments as well, but they’ll also expose room reflections.
- Required Reading: Condenser Mic vs. Dynamic Mic – Use Cases Considered
Rules of thumb:
- For untreated bedrooms, consider a dynamic mic or a tight cardioid condenser used very close to the source.
- For intimate settings with an acoustic guitar or soft vocal performances, a large diaphragm condenser is great and provides plenty of detail, but consider a small-diaphragm like the MXL991 as well. Otherwise known as “pencil condensers”, they’re specifically made for recording the acoustic guitar and require minimal post-processing. I have the 990/991 combo, and it’s splendid.
- USB mics, like the ones used in podcasts, can be good, but the growth potential is in an XLR mic/interface.
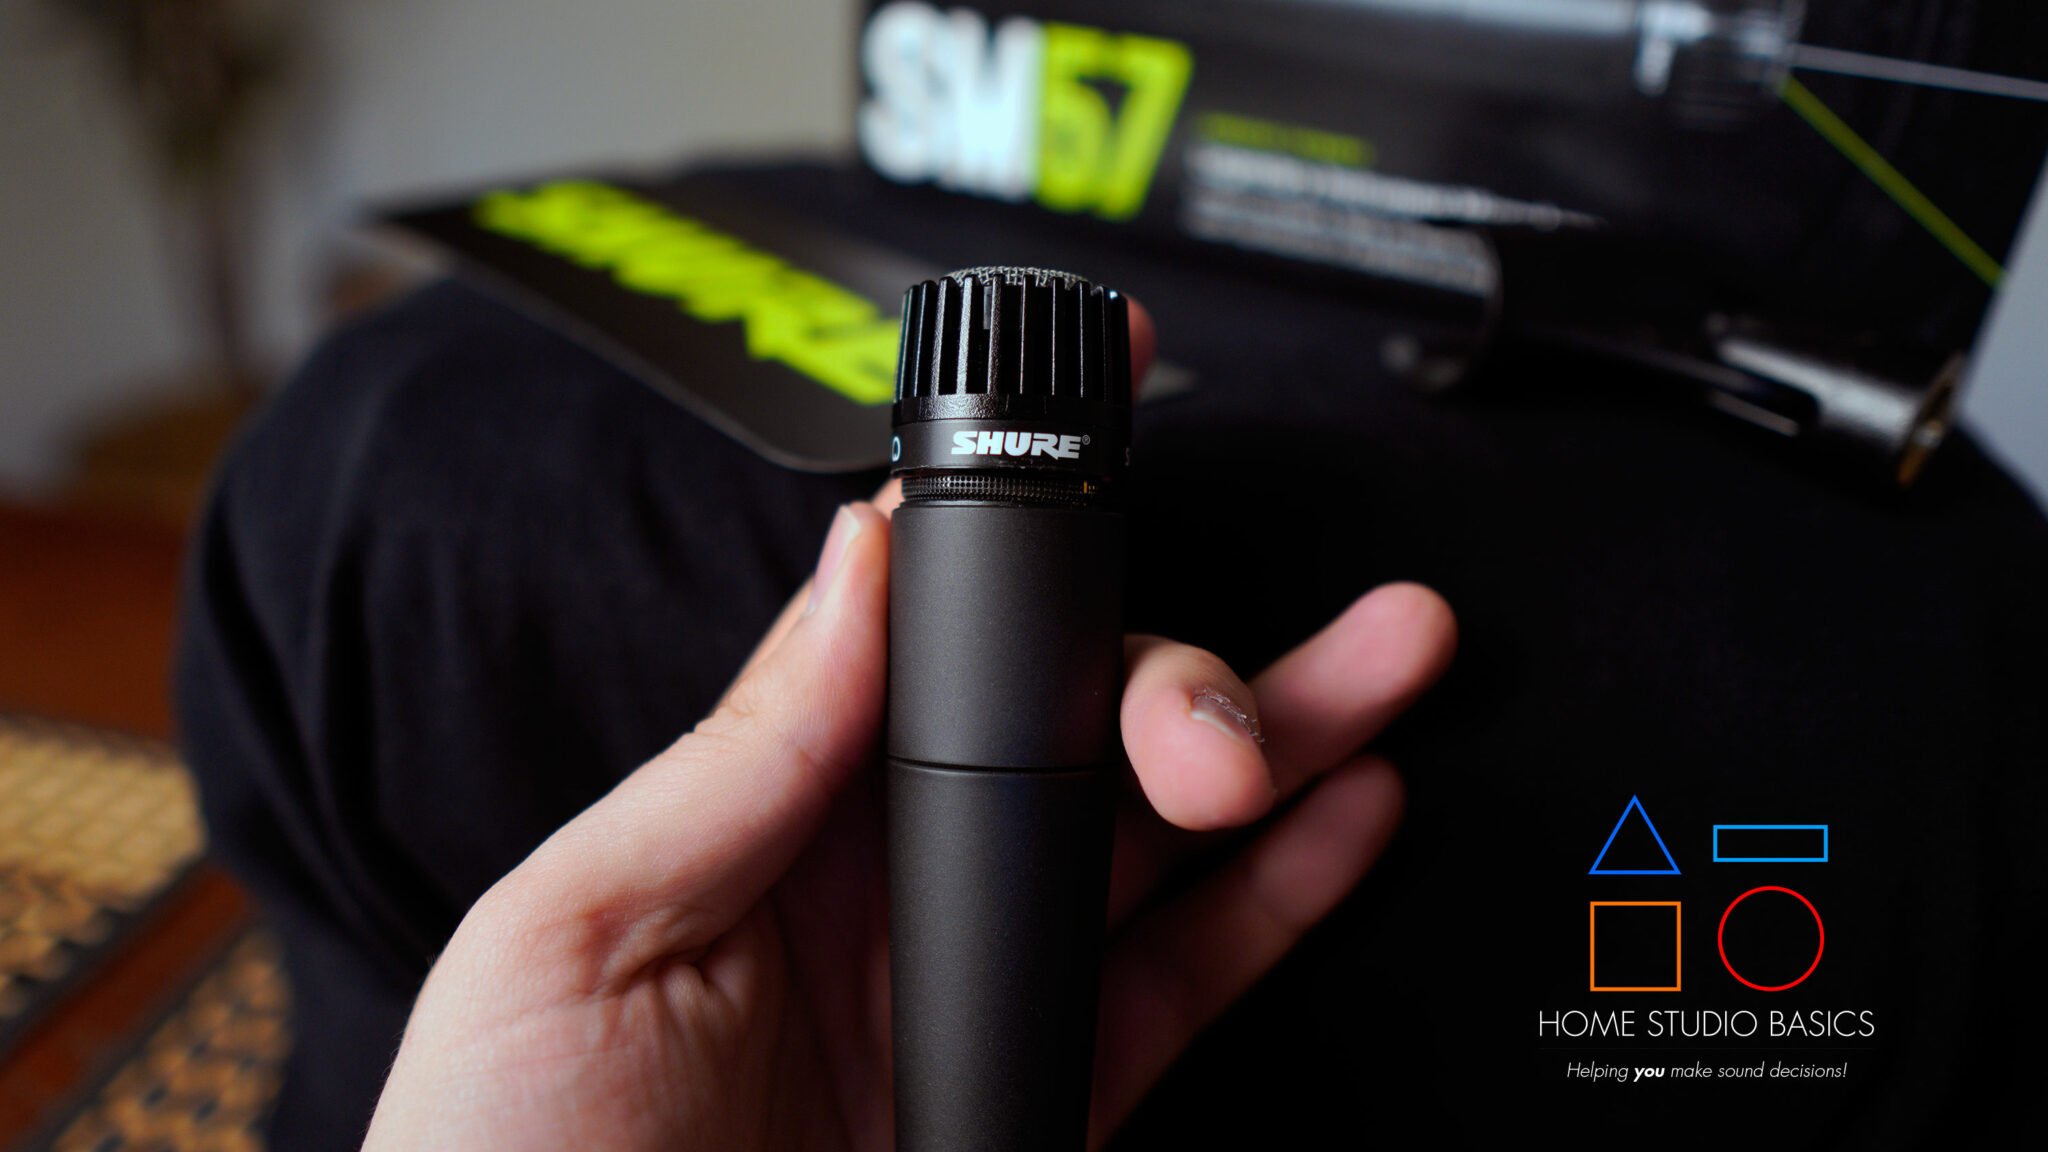
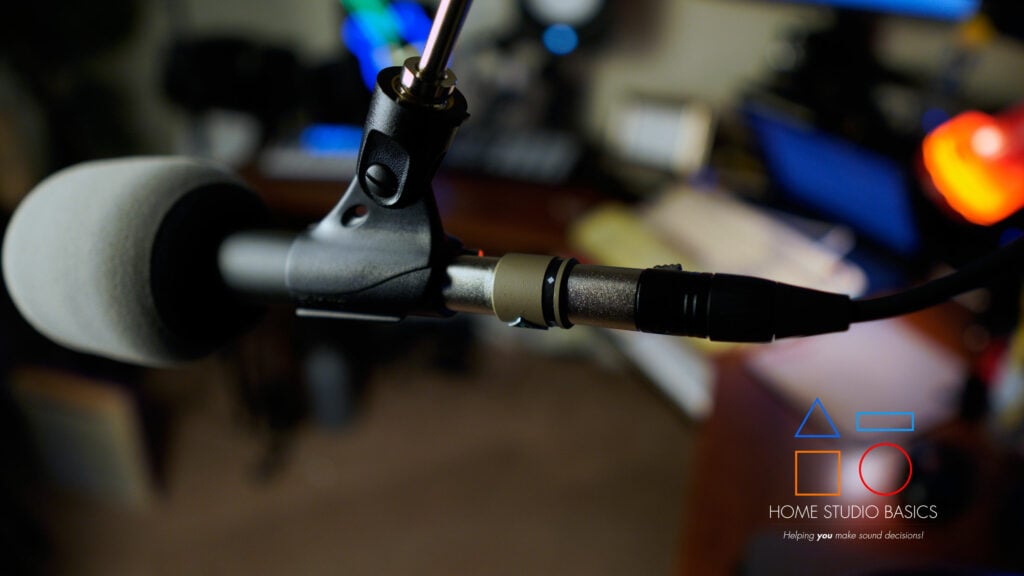
The SM57 seen above is what I’ve settled on for rapping, and it’s fantastic. Throw an A81WS windscreen and Fethead (provides clean gain for the Volt 2) on it, and you can record amazing-sounding takes with hardly any room treatment.
Headphones: Your Monitoring Lifeline
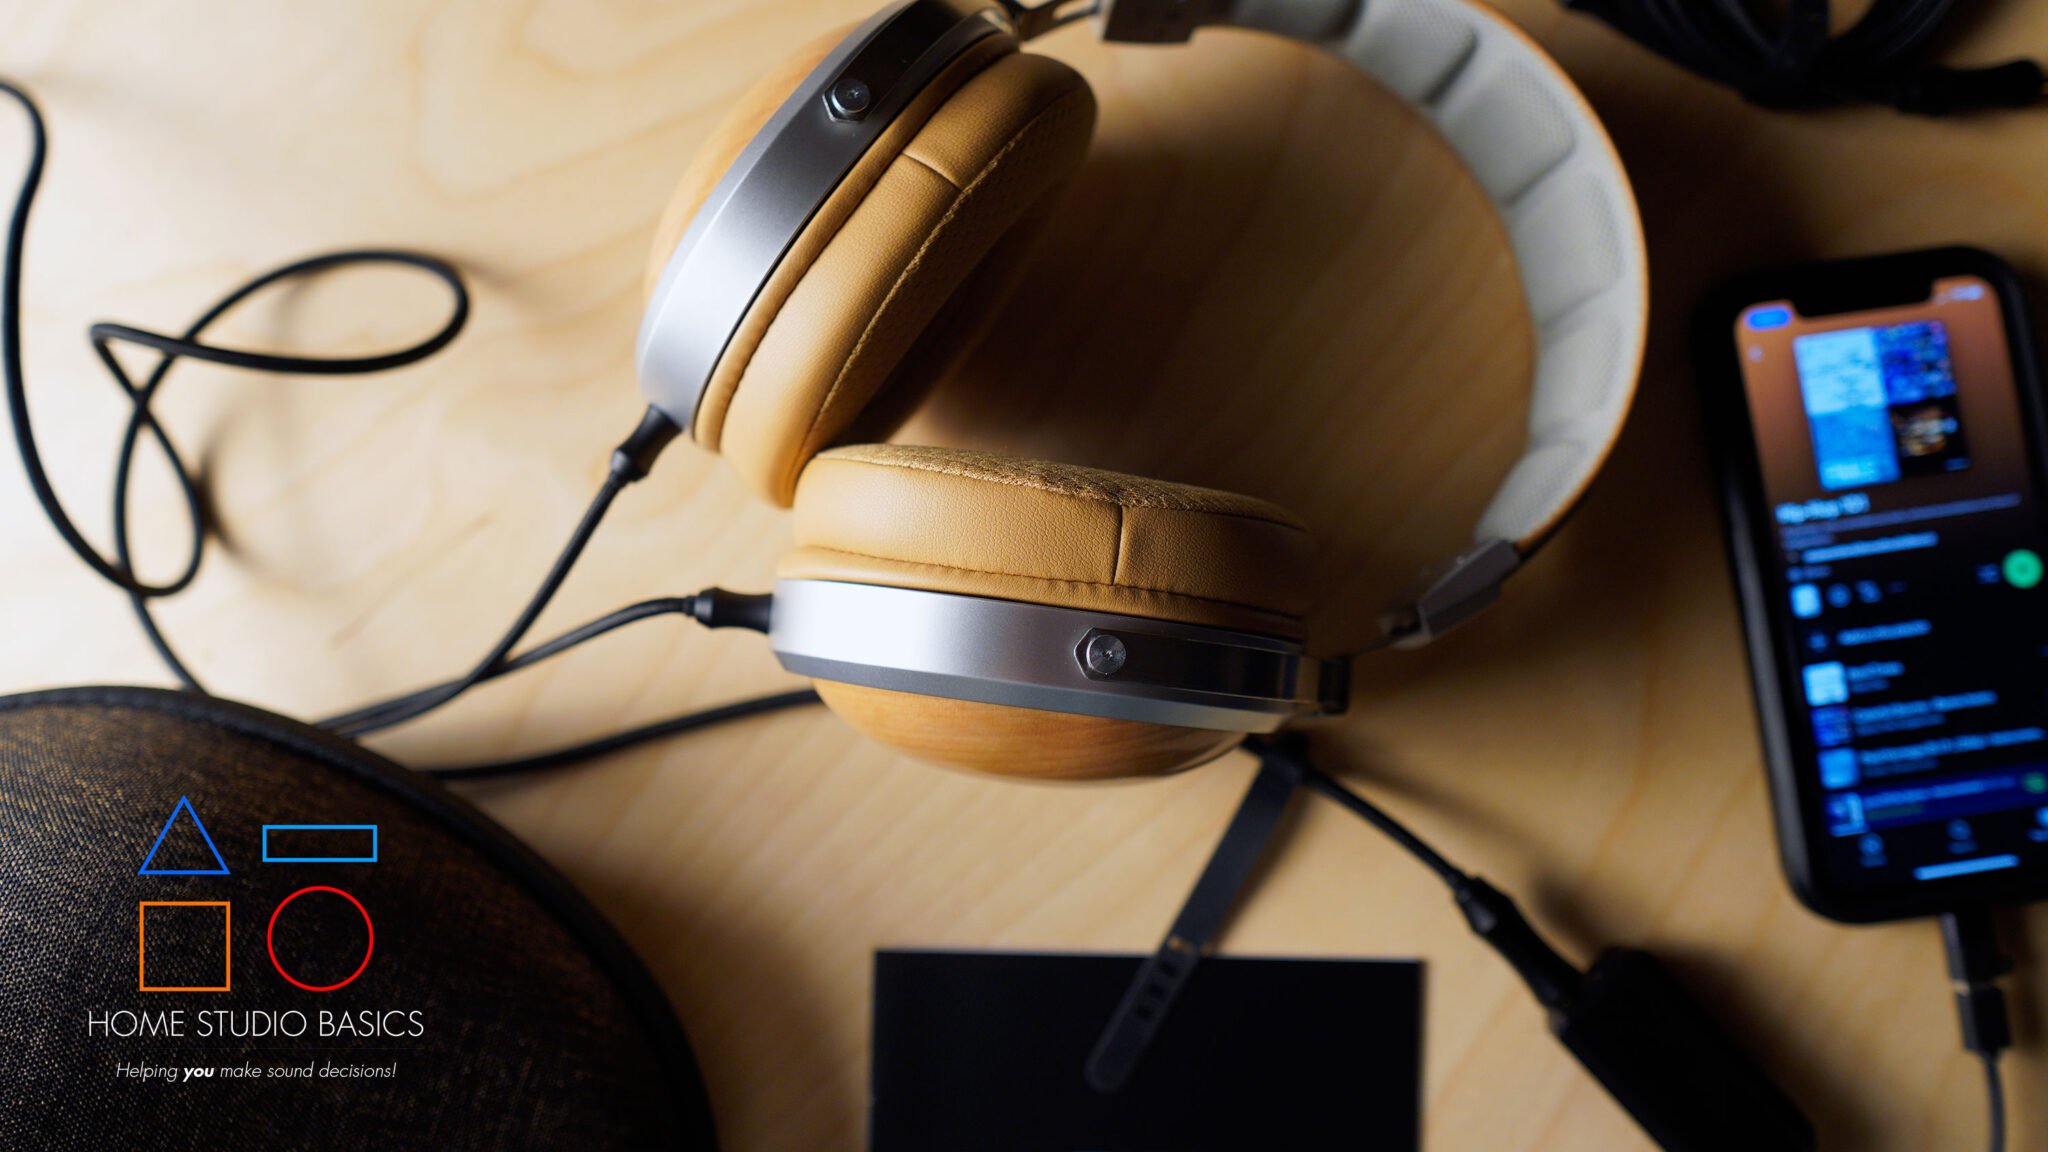
Good, comfortable, and closed-back headphones like the above-pictured FiiO FT1 are vital in the recording process. They prevent bleed into the microphone during vocal takes, as well as being valuable while editing. The FT1 is what I typically use for recording/tracking vocals, and they’re a real treat. Closed back but still sounds open, great comfort, phenomenal resolution.
For practice in mixing, it is useful to have some good, neutral-sounding headphones or some cheap monitor speakers. I used the K702/DT990 Pro X when evaluating beats & mixes. If working in an untreated space, your headphones become your main mixing tool.
- Required Reading: AKG K702 Review: Still A Gold Standard In Mid-Fi?
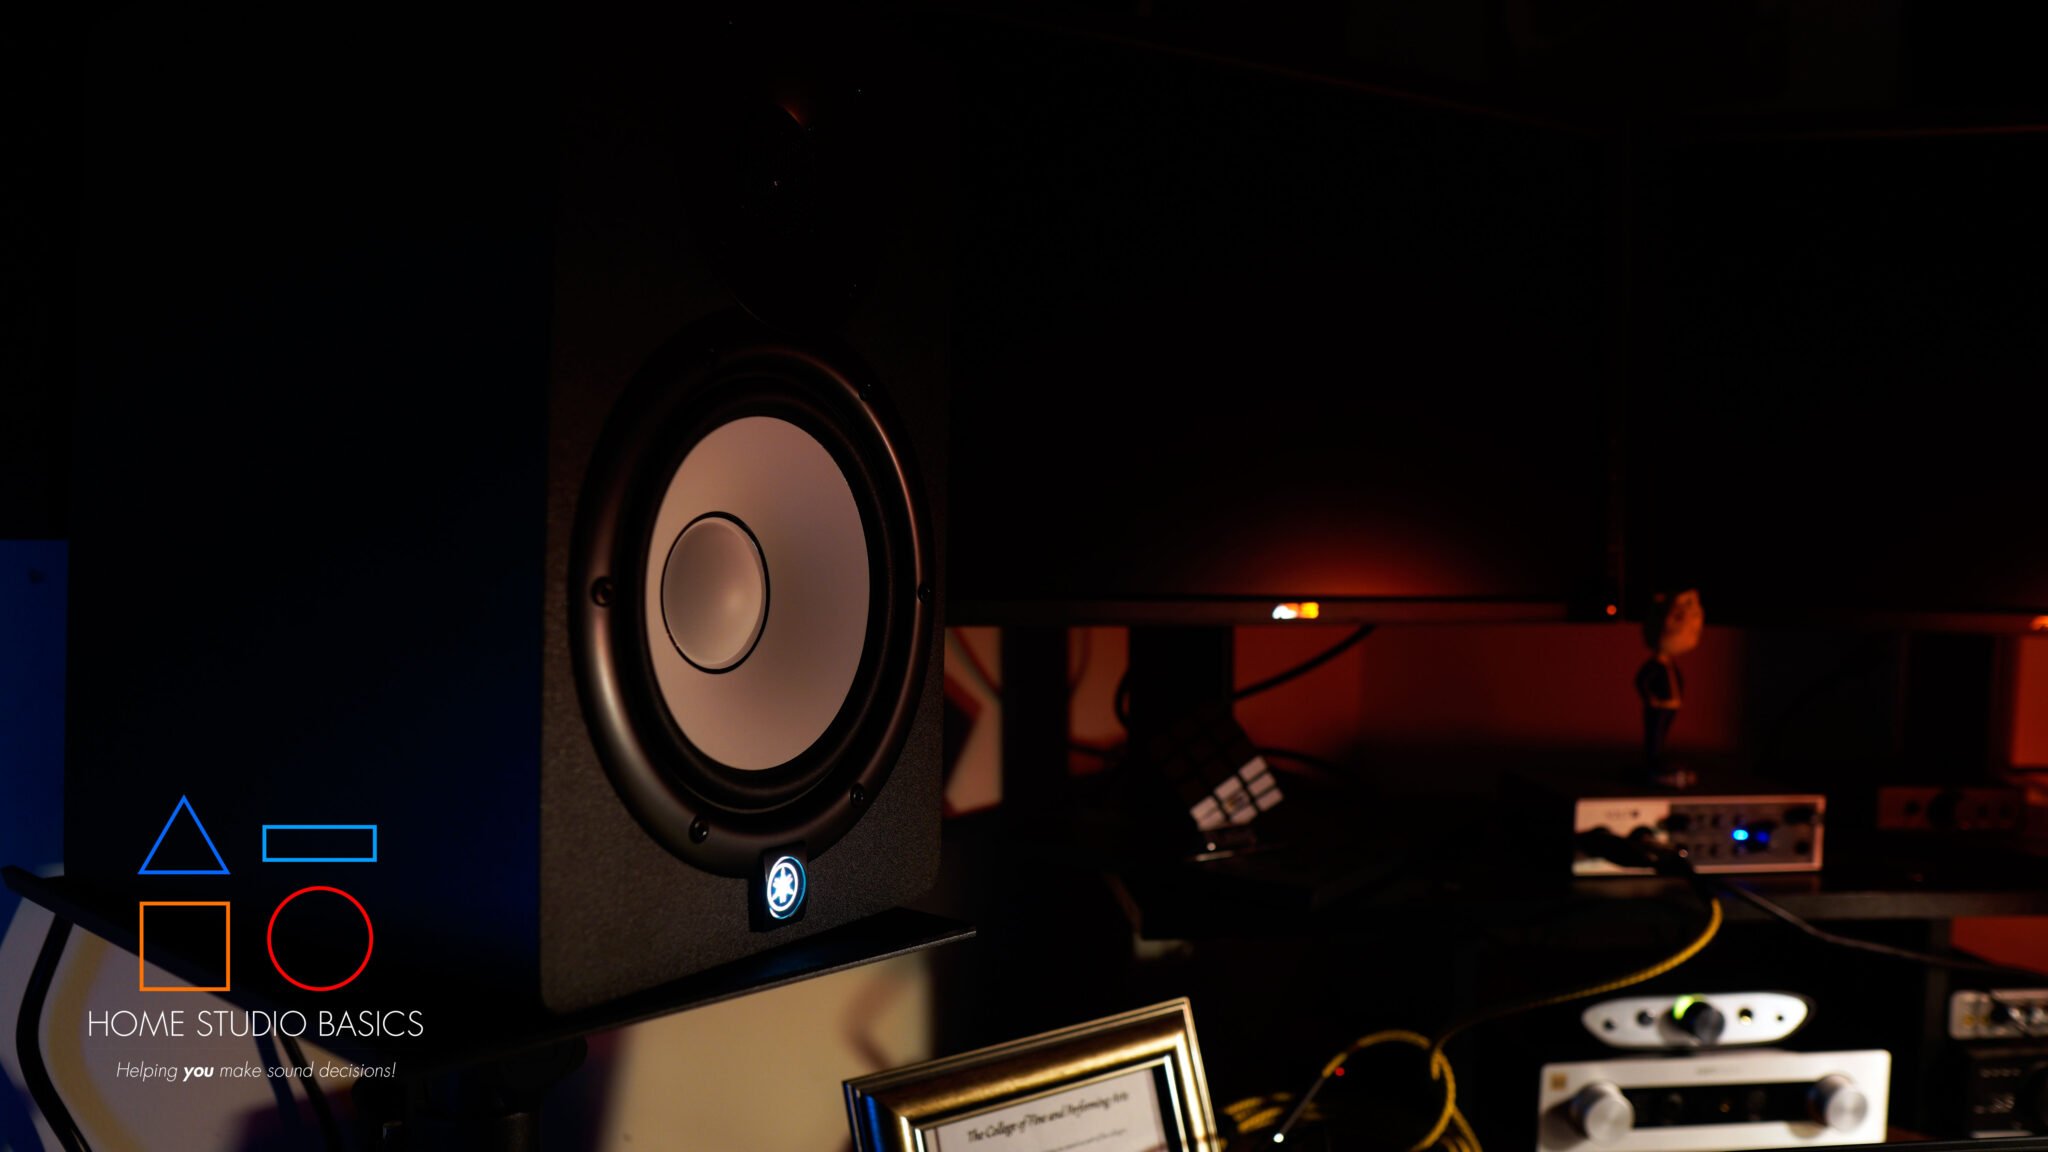
For my main monitors, I use the Yamaha HS7, and they’re worth every penny. You don’t have to invest in these right away, but eventually you’re going to want to primarily mix on monitors and use headphones secondarily.
Learn More: Yamaha HS7 Review: Unveiling Studio Precision
As a former college student who used headphones 99% of the time, I understand your situation.
Budget Home Recording Gear: Where to Spend and Where to Save
Students must make trade-offs. Here is a simple guide to help you spend your budget for the greatest effect.
Spend on:
- A clean audio interface (preamp quality matters).
- A microphone suitable for your primary source.
- Comfortable, revealing headphones.
Save on:
- Extra cables and every accessory (start with essentials).
- Outboard gear like compressors and EQs; software does most of this now.
- Over-the-top monitor setups before you understand mixing basics.
Inexpensive upgrades to think about right off the bat: a good mic stand and a pop filter when recording vocals. Both of these simplify your recording experience by a wide margin.
Simple Acoustic Treatment That Works

Most students record in tiny, reflective rooms. Full acoustic foam arrays are unnecessary. Start with small, targeted fixes.
- Move the mic away from walls and corners; reflections pile up there.
- Hang a heavy blanket or moving duvet behind the vocalist to absorb mid/high reflections.
- Place a bookshelf of mixed-size books as a simple diffuser.
- Put a rug on the floor under the chair or instrument.
- Use a low-cost foam reflection shield or build a DIY wooden frame with rockwool panels for critical vocal work.
Treat the “early reflection” points (the points on the wall where sound from the speaker or singer first bounces off) and the area immediately behind the mic first. These are small changes that will make the biggest impact on what you hear, for relatively little cost.
Software: Pick a DAW and Learn It Well

Your DAW is where you’ll record, edit, and mix. Good choices for students on a budget are:
- Reaper: inexpensive license, extremely capable.
- Cakewalk by BandLab: free and powerful on Windows.
- GarageBand (Mac): great for absolute beginners and surprisingly capable.
I use FL Studio when crafting beats and recording vocals. It’s incredibly intuitive and conducive to both rappers and producers.
Don’t think in terms of numbers of plugins, but rather a few good EQs, compressors, and reverb plugins. There are quite a few impressive plugins from the instruments themselves within some DAWs, in addition to some great free plugins available around the internet. These can be pretty useful in terms of saturation imaging and mastering later.
Workflow: Keep Sessions Short and Productive
A compact, efficient workflow is more attractive than long, disorganized sessions. Here is an efficient, reproducible template.
- Session preparation: Set up your instruments, charge your gear, and warm up. Prepare a simple session template in your DAW.
- Gain staging: Set your input levels so that the peaks are below clipping, but the signal is strong. Aim for an average of around -18 dBFS and peaks around -6 dBFS.
- Recording multiple takes: Take multiple takes and arrange them later. Don’t get caught up in the recording; focus on the performance.
- Label tracks immediately: Name each take and save a new project version. Chaos kills creativity.
- Quick mix: Do a rough balance after tracking so you can judge further takes in context.
- Backups: Save to an external drive or cloud backup after each session, in case hardware fails.
These habits distinguish someone who is good at one area from someone who consistently produces solid work.
Basic Mic Techniques That Make a Big Difference
Mic position is the most important consideration of the recording process.
For vocals, situate the mic 6 to 10 inches from the artist and use a pop screen. Place the mic slightly off-axis from the singer. If the room is reflective, move closer to the singer and use a cardioid pick-up pattern. For the acoustic guitar, position the mic on the 12th fret and make adjustments to taste.
Generally speaking, a mic near the soundhole of the guitar provides warmth while the neck is better for clarity.
For electric guitar amps, close-mic the speaker for attack on the amp. Position your mic a little bit away from the amp to pick up warmth, and mix your room mic to pick up a bit of room sound from the amp. Always close-mic your bass or your guitar for backup purposes.
Mixing Essentials Without Getting Overwhelmed
You can keep mixing simple and fun if you stick to a few basic rules.
- Subtract first: Cut problem frequencies before boosting. A narrow cut around 200–400 Hz often clears mud.
- Compress with purpose: Use compression to control dynamics or glue a bus, not just for loudness.
- Create space with panning and reverb: Don’t put every source in the center. Use subtle reverb to place instruments in a space.
- Reference often: Compare your mix to commercial tracks you like on multiple systems (phone, laptop, headphones, car stereo, etc.)
- Limit mastering to light touches: For demos, aim for clarity and balance rather than extreme loudness.
Remember: clarity and arrangement choices often improve a mix more than a plugin chain.
Practical Budget Setup Examples

These are three realistic builds that students can actually purchase, along with thoughts from the practical side.
Ultra-Basic (~$120–$200)
- USB Condenser Microphone: plug-and-play simplicity.
- Basic mic stand and pop filter.
- Free DAW (Audacity or GarageBand).
Great for podcasts, voiceovers, and straightforward solo vocal demos. Minimal learning curve.
Student Standard (~$350–$650)
- Two-input USB Audio Interface (XLR + instrument inputs).
- One XLR Mic (a versatile large-diaphragm condenser or a clean dynamic for untreated rooms).
- Closed-back headphones and a mic stand.
- Reaper or Cakewalk as a DAW.
This covers singer-songwriters and small multitrack projects and is the most common practical setup.
Small Project Studio (~$700–$1,400)
- Higher-quality two-channel or four-channel interface with robust preamps.
- A good large-diaphragm condenser and a dynamic mic as a backup.
- Entry-level nearfield monitors and acoustic treatment for the listening position.
- MIDI keyboard and external drive for backups.
This setup handles multiple sources and allows more reliable mixes that translate to other systems. A good starter set of monitors would be the Yamaha HS3 or PreSonus Eris e3.5.

- Packaging: Pair
- 2-way bass-refiex powered speaker with 3.5″ cone woofer and 0.75″ dome tweeter
- 70 Hz – 22 kHz frequency response (-10 dB)
- 26 W and above 26 W output power
- Room control and high trim response controls
Shop Smart: Used Gear and Bundles
Using second-hand gear from reputable resellers can save you actual cash.
Case and point: interfaces, mics, and monitors can last you many, many years as long as they’re properly cared for. Some of my gear is upwards of 12+ years old and shows no signs of stopping.
Opt to go with bundle sales, where the interface comes bundled with the DAW or plugins. Wherever possible, get some actual usage time in, as headphones and mics can act differently from person to person. Consult actual user reviews (this website is a great resource) and of course, pay close attention to the return policy.
Common Student Mistakes and How to Fix Them
- Skipping gain staging: How to fix it? You need to learn how to properly set the gain stages before you even record.
- Recording in noisy rooms: Try recording when it’s quieter, or attempt close miking and use a dynamic microphone.
- Collecting plugins rather than skills: Take your time. Master one EQ and one compressor.
- No backups: Create an automated backup routine; it’s a necessity. I routinely back up my beats twice after sessions. Have a couple of external hard drives handy for this; it’s especially important for older laptops and computers.
- Chasing loudness: The emphasis should be on clarity first, then loudness later.
Avoiding these mistakes can save time, money, and spare you a lot of stress.
Home Recording Tips for Students: Habits That Multiply Progress
- Record something weekly. The more repetition, the more skills are developed in quick succession rather than in a single marathon session.
- Keep a brief log of mic settings and preset names to easily reproduce successful settings. I use post it notes for easy access to important procedures.
- Collaborate and share sessions with fresh ears (friends, family), to speed the learning process.
- Use versioned saves: “song_v1”, “song_v1_mix1”. This prevents accidental data loss, and you can easily revert back to a prior version if needed.
- Learn basic music theory and arrangement; better arrangements make mixing easier.
These habits turn a small setup into a reliable creative machine.
When to Upgrade Your Setup
Upgrade when your current situation is holding you back.
Is the lack of quality in your vocals because of the quality of your microphone + the area it is picking up sound in?
If you’re trying to capture multiple sources, recruit more inputs rather than relying on lots of plugins. You shouldn’t upgrade unless you have a reason.
Think about the problem and what you’re trying to do. Try finding targeted solutions rather than getting something that may look cool but does not address the actual problem.
Final Practical Checklist
Before your first real session, make sure:
- Interface drivers are installed and tested.
- Mic, cable, stand, and pop filter assembled and working.
- Headphones plugged into the interface, direct monitoring on.
- DAW template ready and saved with sample rate and bit depth set. Backup drive connected.
A five-minute checklist saves you from hours of debugging.
Closing Thoughts
Building a beginner home recording setup isn’t expensive or complicated.
As long as you know what your goal is, you can make fantastic recordings!
If the audio interface is dependable, the microphone is right for the job, the headphones are reliable, and the space is treated, you’ll be well on your way.
Clean performances, basic microphone skills, and a system that allows for repeat performances always win out over the search for the “right” stuff.
Full Home Studio Guide
Interested in a full guide covering everything you’ll need, laid out in a simple-to-follow step-by-step plan?
Well, that’s about it for today my friend! I hope you’ve enjoyed this How to Build a Simple Home Recording Setup for Students on a Budget and came away with some valuable insight.
Questions? Comments? Requests? Did I miss the mark on something? Please leave them down below or Contact me!!
If you love what I do here and want to support the blog and channel in a more personal way, check me out on Patreon and discover all the value I have to offer you.
What is your biggest pain point, and how can I help? I would love to hear from you. Until next time…
All the best and God bless,
-Stu
[Xtr@Ba$eHitZ] > Now AudioFiles Anonymous