How To Record Vocals And Audio In FL Studio 21
Greetings mate and Welcome aboard!
Stuart Charles here, HomeStudioBasics.com helping YOU make sound decisions, so…
In this guide, we’ll dive directly into the process of recording vocals in FL Studio!
Later on, we’ll cover items needed, setting up your recording environment, configuring FL Studio for recording, a couple of nifty techniques, as well as a mic test with the SM57. couple of nift
By the end of this tutorial, you’ll have the knowledge to efficiently record vocals in FL Studio and improve your recording skills.
With that, let’s begin! If you hit a snag somewhere, don’t hesitate to leave a comment or contact me. I’d be happy to help!
Open A New Project/Assigning
Open FL Studio, head up to File > New From Template > Empty.
Next, we’ll assign an audio track.
Hit F9 to bring up your mixer, then right click Insert 1 > Assign to new audio track(s).

Now your audio track is assigned to the playlist and the mixer.
Assigning Through The Playlist
You can also assign it through the playlist.
For that, simply right click a track in the playlist > Track mode > Audio track > Insert 1 (or wherever you want it).

Selecting The Appropriate Mono Input
Now select your appropriate mono input by clicking on the small audio input source button.

Alternatively, you can go to the mixer and select it from the drop-down menu as well.

My SM57 is plugged into input 1 of my Universal Audio Volt 2, so I’d simply select Input 1.
From here, it will ask you if you want to switch to External input only to avoid recording internal audio on this track.
Click Yes, as this will ensure it records your vocals and nothing else.
Arming The Track
Now simply arm the track by hitting the Arm/Disarm recording button and speak into the mic.
You should see some green waveforms in the Insert 1 window on your mixer, indicating a signal.
You should also hear sound coming out of your studio monitors or speakers when lightly tapping or speaking into the mic.
If you’re using a condenser microphone but aren’t seeing anything, make sure your 48V phantom power switch/button is on.

Recording A Track
After all that’s done, simply hit the record button and you’ll see a dialog box pop up asking what you would like to record.

From here, you have a few options.
I personally use the top 2 and prefer recording into Edison as I’m really familiar with it and use it to sample for beats.
If you want to drag the recorded audio from Edison into the playlist, you can do that as well.
Just hover over the Drag / copy sample / selection button, click and drag to the playlist. It’s that simple.

You can also record straight into the playlist as an audio clip.
For this, just select that option (from the above pictured dialog box), and you’ll get a countdown before it starts.
Tips
In Edison, there’s an option for how long you’d like to record.
I simply set it to “Forever” just to be on the safe side.

In the past, when I was jamming on my Korg Volca Keys, I forgot to switch it from 5 minutes (the default) to Forever and got cut off while recording.
Not ideal. Lesson learned.
Even if you’re just recording a quick demo or something, it’s good practice to set it to Forever as it will become habit over time and you won’t forget when recording longer passages with instruments, vocal takes, etc.
Recording
You can also right-click the record button for a few added options.
One is “Recording Starts On Playback.”

This means when you press record, it will give you a countdown in the song position window. Click to also enable the metronome as a sound indicator if you’d like.
The Metronome is right next to the Tempo indicator at the top.
The second nifty feature is “Disarm on Stop.”
With this checked, as soon as you’re done recording your vocals and hit the space bar to stop, the record button will be turned off, which is incredibly helpful.
This ensures you’re not recording a bunch of useless ambient sound that you’ll have to delete after finishing up a take.
Deleting a Take
After you’ve recorded something and either dragged it into the Playlist or simply recorded straight into the playlist, you’ll see it appear next to insert 1.
If you’re not satisfied with it, simply right-click and delete it.
This may seem kind of obvious until you realize that all of your takes start piling up in the playlist window (as well as the step sequencer area) if they aren’t deleted.
So deleting a take inside Edison doesn’t completely get rid of it as you’ll need to use the method above.

Hearing yourself while recording
For many people including myself, hearing my voice as it’s being recorded not only throws off my timing (due to a tiny bit of latency) but it’s also just incredibly annoying.
To turn this off, simply click the “Disable send from insert 1 to REC” button.

You do have to re-enable it to hear what you just recorded, so keep that in mind.
And with that, you’re ready to lay some sweet vocals down! (or whatever you want to record)
Purchase List
Mic: Shure SM57
Price: Check Amazon! | Check Sweetwater! | Check B&H! | Check eBay! | Official Review: Here!

At only $99, the SM57 is an all-purpose mic that works incredibly well for vocals . In addition to being built like a jet engine, it has a crisp, clean sound and responds well to EQ. I like a simple hi-pass filter and some presence in the highs for added sparkle, though you can use it as is if you wish. It really depends on your voice.
Another bonus is that dynamic mics like the SM57 typically reject background noise incredibly well and work perfectly in untreated rooms. In other words, you don’t need to go crazy with acoustic sound treatment, although employing some is still recommended and best practice, especially once you invest in some studio monitors.
Windscreen: Shure A81WS
Price: Check Amazon! | Check Sweetwater!
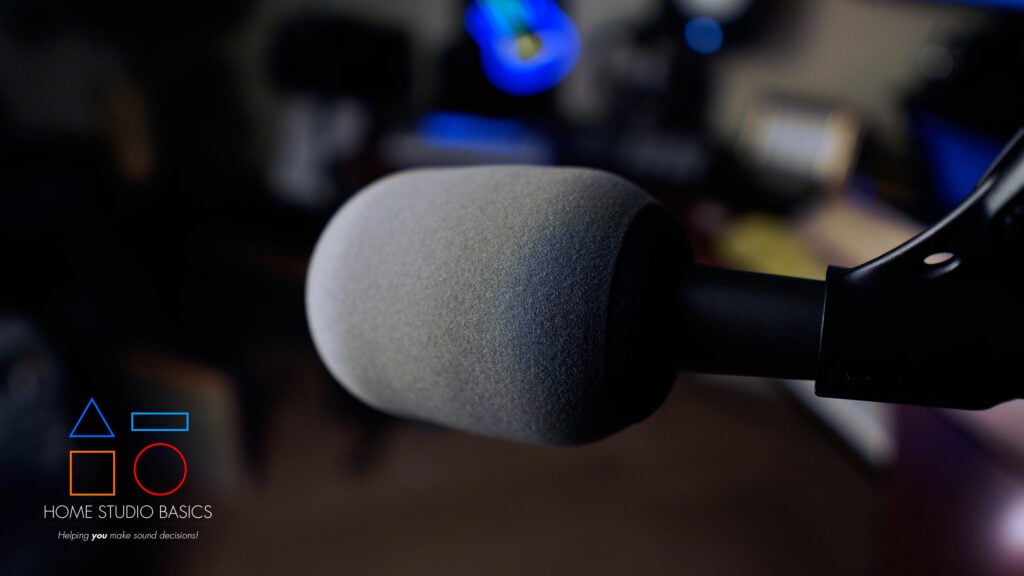
As mentioned in the video short (coming soon) and also in the SM57 Review, you can achieve a pretty much identical sound to an SM7B with the A81WS Windscreen.
Why pay over $400 for the SM7B when you can have the entire setup for around that much? This is a perfect budget rap mic for vocalists using Audacity, FL Studio, etc.
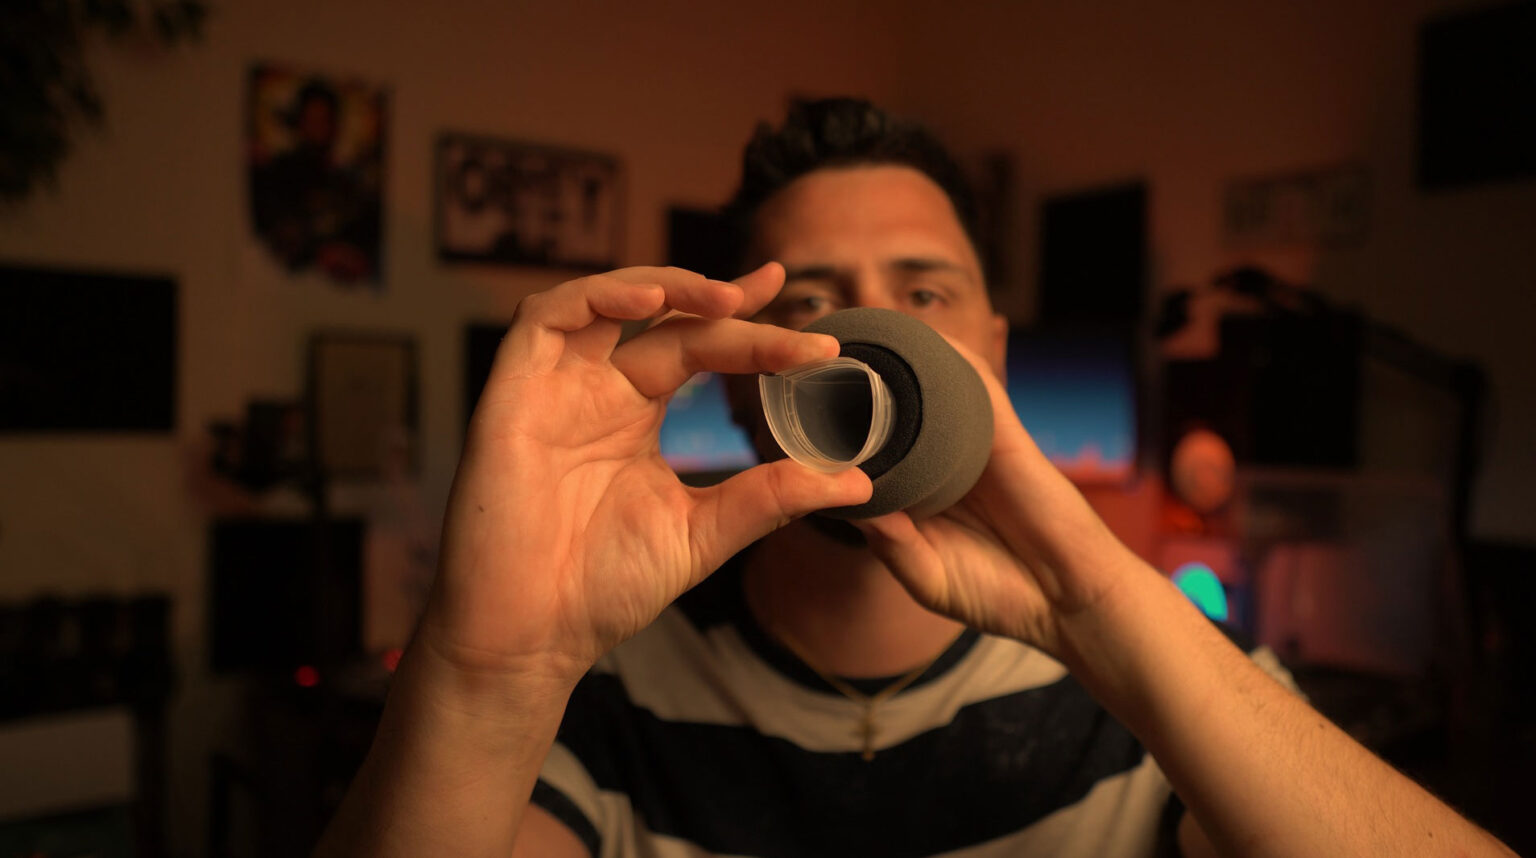
To make the process of getting the SM57 inside the Windscreen easier, use a piece of hard plastic that can be rolled up. I cut to size one of those plastic bowls you get at a Chinese restaurant. It’s good! You like!

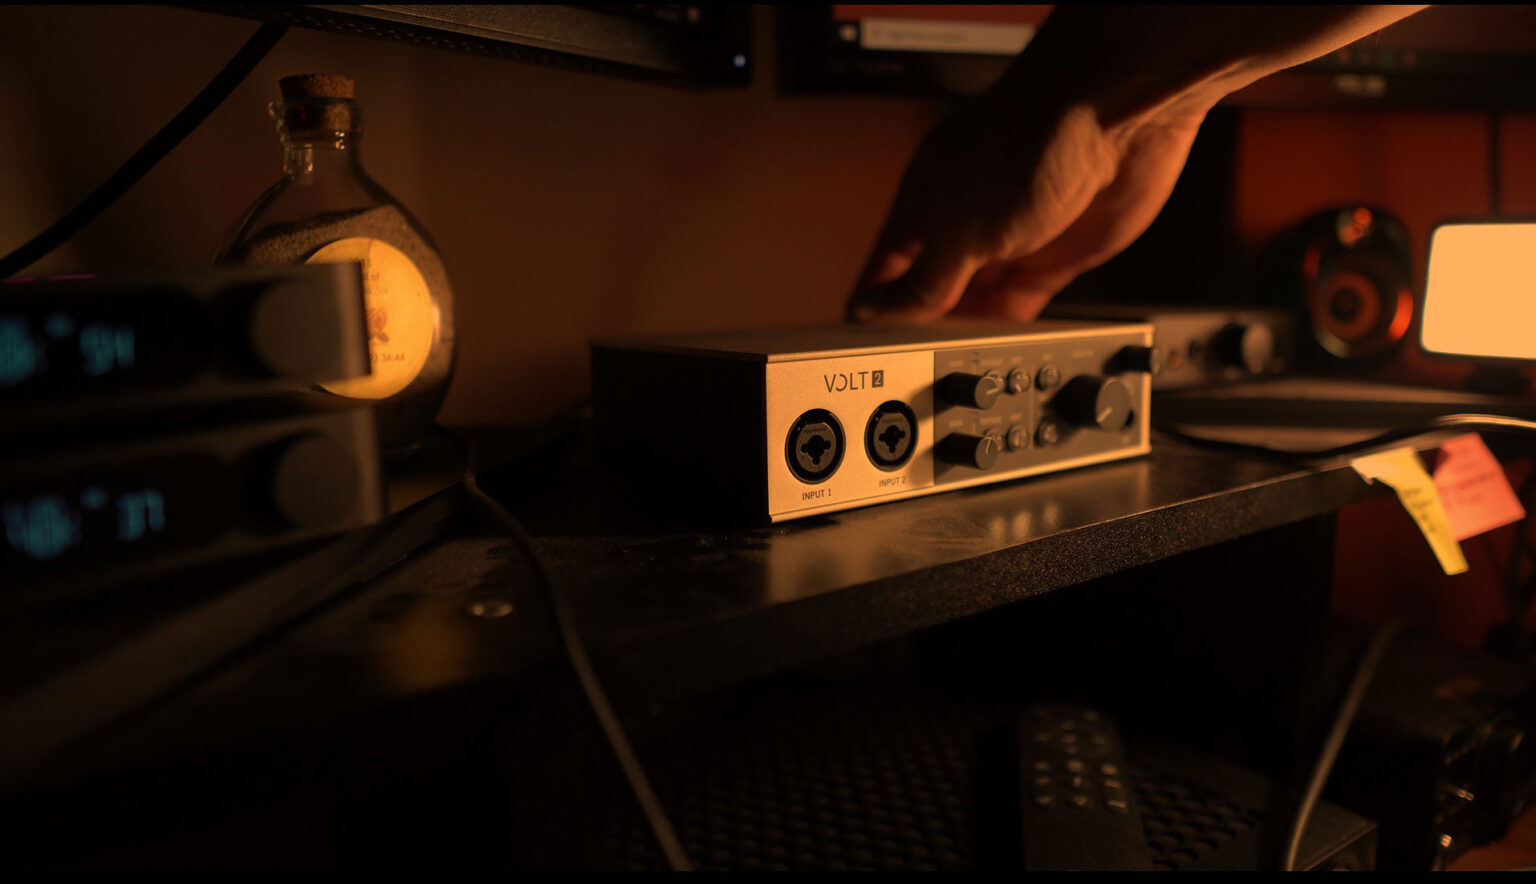
Interface: Universal Audio Volt 2
Price: Check Amazon! | Check Sweetwater! | Check B&H! | Official Review: Here!

Can’t do much of anything without an audio interface, as this small box acts as both a DAC (Digital-to-analog converter) and ADC (Analog-to-digital converter).
- Required Reading: What is a USB DAC?
This means it converts the 1’s and 0’s your computer understands as binary language into analog for you to hear when you’re playing your tracks, but it also converts your voice (analog) into those same 1’s and 0’s for your computer to process after you’ve recorded a take.
The Volt 2 comes equipped with a couple of combo TRS/XLR inputs on the front for your mic, instrument, etc., and 2 balanced outputs on the back if you want to connect some studio monitors like the Yamaha HS7 at a later date. If you need help with anything, just leave a comment below or contact me!
There’s a large volume knob on the right for use with monitors, and a smaller 1/4″ output for use with headphones. The Volt 2 makes it easy to switch between them. If you want to hear sound from only headphones, just turn down the volume on the monitor, raise the headphone volume, and vice versa.
Preamp: Triton Audio Fethead
Price: Check Amazon | Check Sweetwater! | Check B&H | Official Review: Here!

This little preamp provides around 25dB of clean gain for use with dynamic mics like the SM57, ensuring you won’t have to jack up the volume on your interface to get a loud enough signal. In addition to convenience, it’s extremely cost-effective and sounds excellent.
Stand: InnoGear Heavy Duty Scissor Arm
Price: Check Amazon! | Official Review: Here!

I’ve experimented with Boom Arms and Desktop Stands, but the Scissor Arm is by far the most versatile and hassle-free way to record vocals and even instruments, too.
Not only does it easily adjust to nearly any height, but setting up takes all of 5 seconds, and I simply push it out of the way when I’m finished recording.
Lastly, don’t forget an XLR cable!
How To Setup The SM57
Step 1
Situate the SM57’s supplied thread mount on the Scissor Arm:

Step 2
Slide the mic in:

Step 3
Attach the Fethead:

Step 4
Connect the XLR cable:

Step 5
Slide the Windscreen on using the piece of plastic from earlier:


Step 6
Plug the Volt 2 into your laptop via the supplied USB cable:

Step 7
Plug in the mic and turn the interface on:

Play with the gain amount until you hit a point where you can comfortably rap into the mic and get a decent level. From here, you can raise the gain inside FL Studio if needed. It’s always better to err on the side of recording a bit lower.
This is important because recording too hot can lead to unwanted distortion and clipping, which is difficult or impossible to fix in post. By keeping your input gain conservative, you preserve headroom and ensure a cleaner, more professional-sounding vocal take.
Now that we’ve got the gear and set it up, let’s take it to FL Studio and arm a track for recording. If you get stuck at any point in the article, just leave a comment or contact me!
Quick Demo
As promised, here’s a small snippet of how the SM57 sounds with the above gear and some EQ + Reverb:
Rap Snippet: “Romans 3:11” (Full track coming soon)
Well that’s about it for today my friend! I hope you’ve enjoyed this discussion on how to record vocals and audio in FL Studio and came away with some valuable insight.
Questions? Comments? Requests? Did I miss the mark on something? Please let me know down below or Contact me!!
What are you trying to record? I would love to hear from you. Until next time..
All the best and God bless,
-Stu
Can’t decide which headphones to purchase? Interested in a complete buyers guide outlining over 40 of the best options on the market? Click on over to the best audiophile headphones to learn more!!
Be sure to also check out my Reviews and Resources page for more helpful and informative articles!


![What is VST in audio? [Beginner’s Guide]](https://homestudiobasics.com/wp-content/uploads/2014/12/DSC_0044-768x511.jpg)