
How to Upgrade Your Home Studio Gear Without Breaking the Bank
Greetings mate and Welcome aboard!
Stuart Charles here, HomeStudioBasics.com helping YOU make sound decisions, so…
Almost every musician is familiar with the irresistible desire for new equipment, a condition known as Gear Acquisition Syndrome (GAS). This manifests as a perpetual urge to acquire that shiny new compressor or vintage synthesizer, promising to deliver a “professional sound.”
However, the pursuit of higher-quality recordings often collides with the harsh reality of expensive studio equipment. One could spend a fortune chasing an elusive ideal without getting any closer to it.
- Required Reading: The Law of Diminishing Returns
This article presents an alternative approach, a strategy of smart, targeted improvements that can significantly elevate your home studio without necessitating a bank withdrawal of catastrophic proportions.
How to Improve Quality While Saving Money
The core concept is to invest money in addressing actual obstacles in your creative process rather than trendy new products.
Frequently, the most significant improvements come not from purchasing the most expensive microphone, but from optimizing existing components. From replacing a logic board MacBook to acoustically treating a room, there are dozens of ways to maximize value from every dollar invested. This approach conserves resources and helps develop a more in-depth understanding of your workflow and what truly affects the result.
Identify Your Weakest Link
Before opening your wallet, conduct an honest assessment of your current studio setup.
Impulse purchases rarely solve fundamental problems. You need to precisely identify what currently hinders your ability to work efficiently or limits sound quality. This requires an analytical rather than emotional approach. Try to track moments of frustration during project work. Perhaps you consistently encounter crackling when recording vocals, or mixing takes forever due to slow effect rendering.
These bottlenecks are primary candidates for upgrades.
Slow DAW performance, indicating insufficient RAM or processor power, is a clear signal for action. Muddy and unclear mixes that sound good in headphones but fall apart on other systems indicate monitoring or room acoustic issues. Noisy vocal or guitar recordings may result from a low-quality microphone or preamp in your audio interface.

Creating a list of such problems in order of importance will help formulate a clear action plan.
What constitutes an urgent necessity versus a fleeting desire? The answer to this question is key to sensible budget allocation.
This diagnostic approach saves not only money but time as well.
Instead of buying a new plugin that won’t solve latency issues, funds are directed toward a RAM upgrade.
Rather than acquiring another microphone, the budget might be spent on several acoustic panels that will dramatically improve the sound of all existing microphones.
- Related: 8 XLR Microphones Under $500, Ranked
Focusing on eliminating the weakest link in the recording chain ensures that each investment yields maximum benefit and noticeably enhances overall work quality.
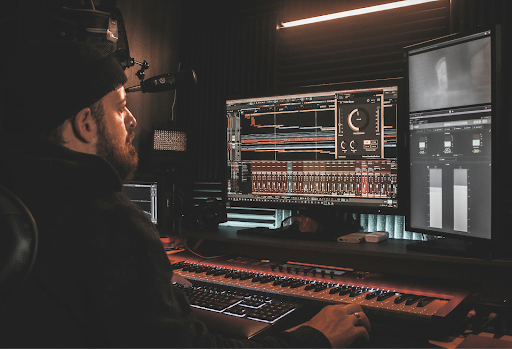
The Foundation of Your Studio: The Computer

The computer serves as the central element of a modern home studio, where most of the process is concentrated. Everything depends directly on its performance, from the number of simultaneous tracks and plugins to the speed and convenience of operation.
As projects become more complex and plugins more demanding, the computer is typically the first component to show distress signals in the form of clicks, latency, and freezes.
Therefore, optimizing your workstation should be an absolute priority. Before considering external equipment, ensure that the digital core of your studio operates flawlessly.
Completely replacing your computer is an extreme and costly measure.
In most cases, targeted and much more budget-friendly improvements can provide tangible performance gains. Upgrading internal components often proves to be the most effective investment.
This approach extends the life of your current machine and adapts it to growing demands.
Let’s consider three primary paths for improving computer performance without purchasing an entirely new device:
- Random Access Memory (RAM): Increasing RAM capacity is the simplest and quickest way to boost performance. More memory allows you to run larger projects with dozens of virtual instruments and resource-intensive plugins without crashes or errors.
- Solid State Drive (SSD): Replacing an old hard disk drive (HDD) with an SSD dramatically changes the user experience. Your system, projects, and sample libraries load significantly faster, substantially reducing wait times and making work more fluid.
- Replacing the Logic Board on a MacBook: This is a more complex but highly effective upgrade for Apple laptop owners. Since the processor and RAM in MacBooks are typically soldered to the board, they cannot be replaced separately. However, you can find a motherboard from a more powerful model of the same generation and install it in your case. This is significantly less expensive than buying a new laptop but requires professional intervention, so such an operation is best entrusted to specialists at a reputable service center.
If upgrading is impossible or impractical, and purchasing a new computer is inevitable, there are ways to economize. Consider certified refurbished models sold by Apple with significant discounts and official warranties. Another option is buying previous-generation models, which are frequently sold at reduced prices after new releases.
Computer performance is the foundation upon which the entire studio is built. Smart investments in its modernization pay dividends many times over, ensuring stable and comfortable operation for years to come.
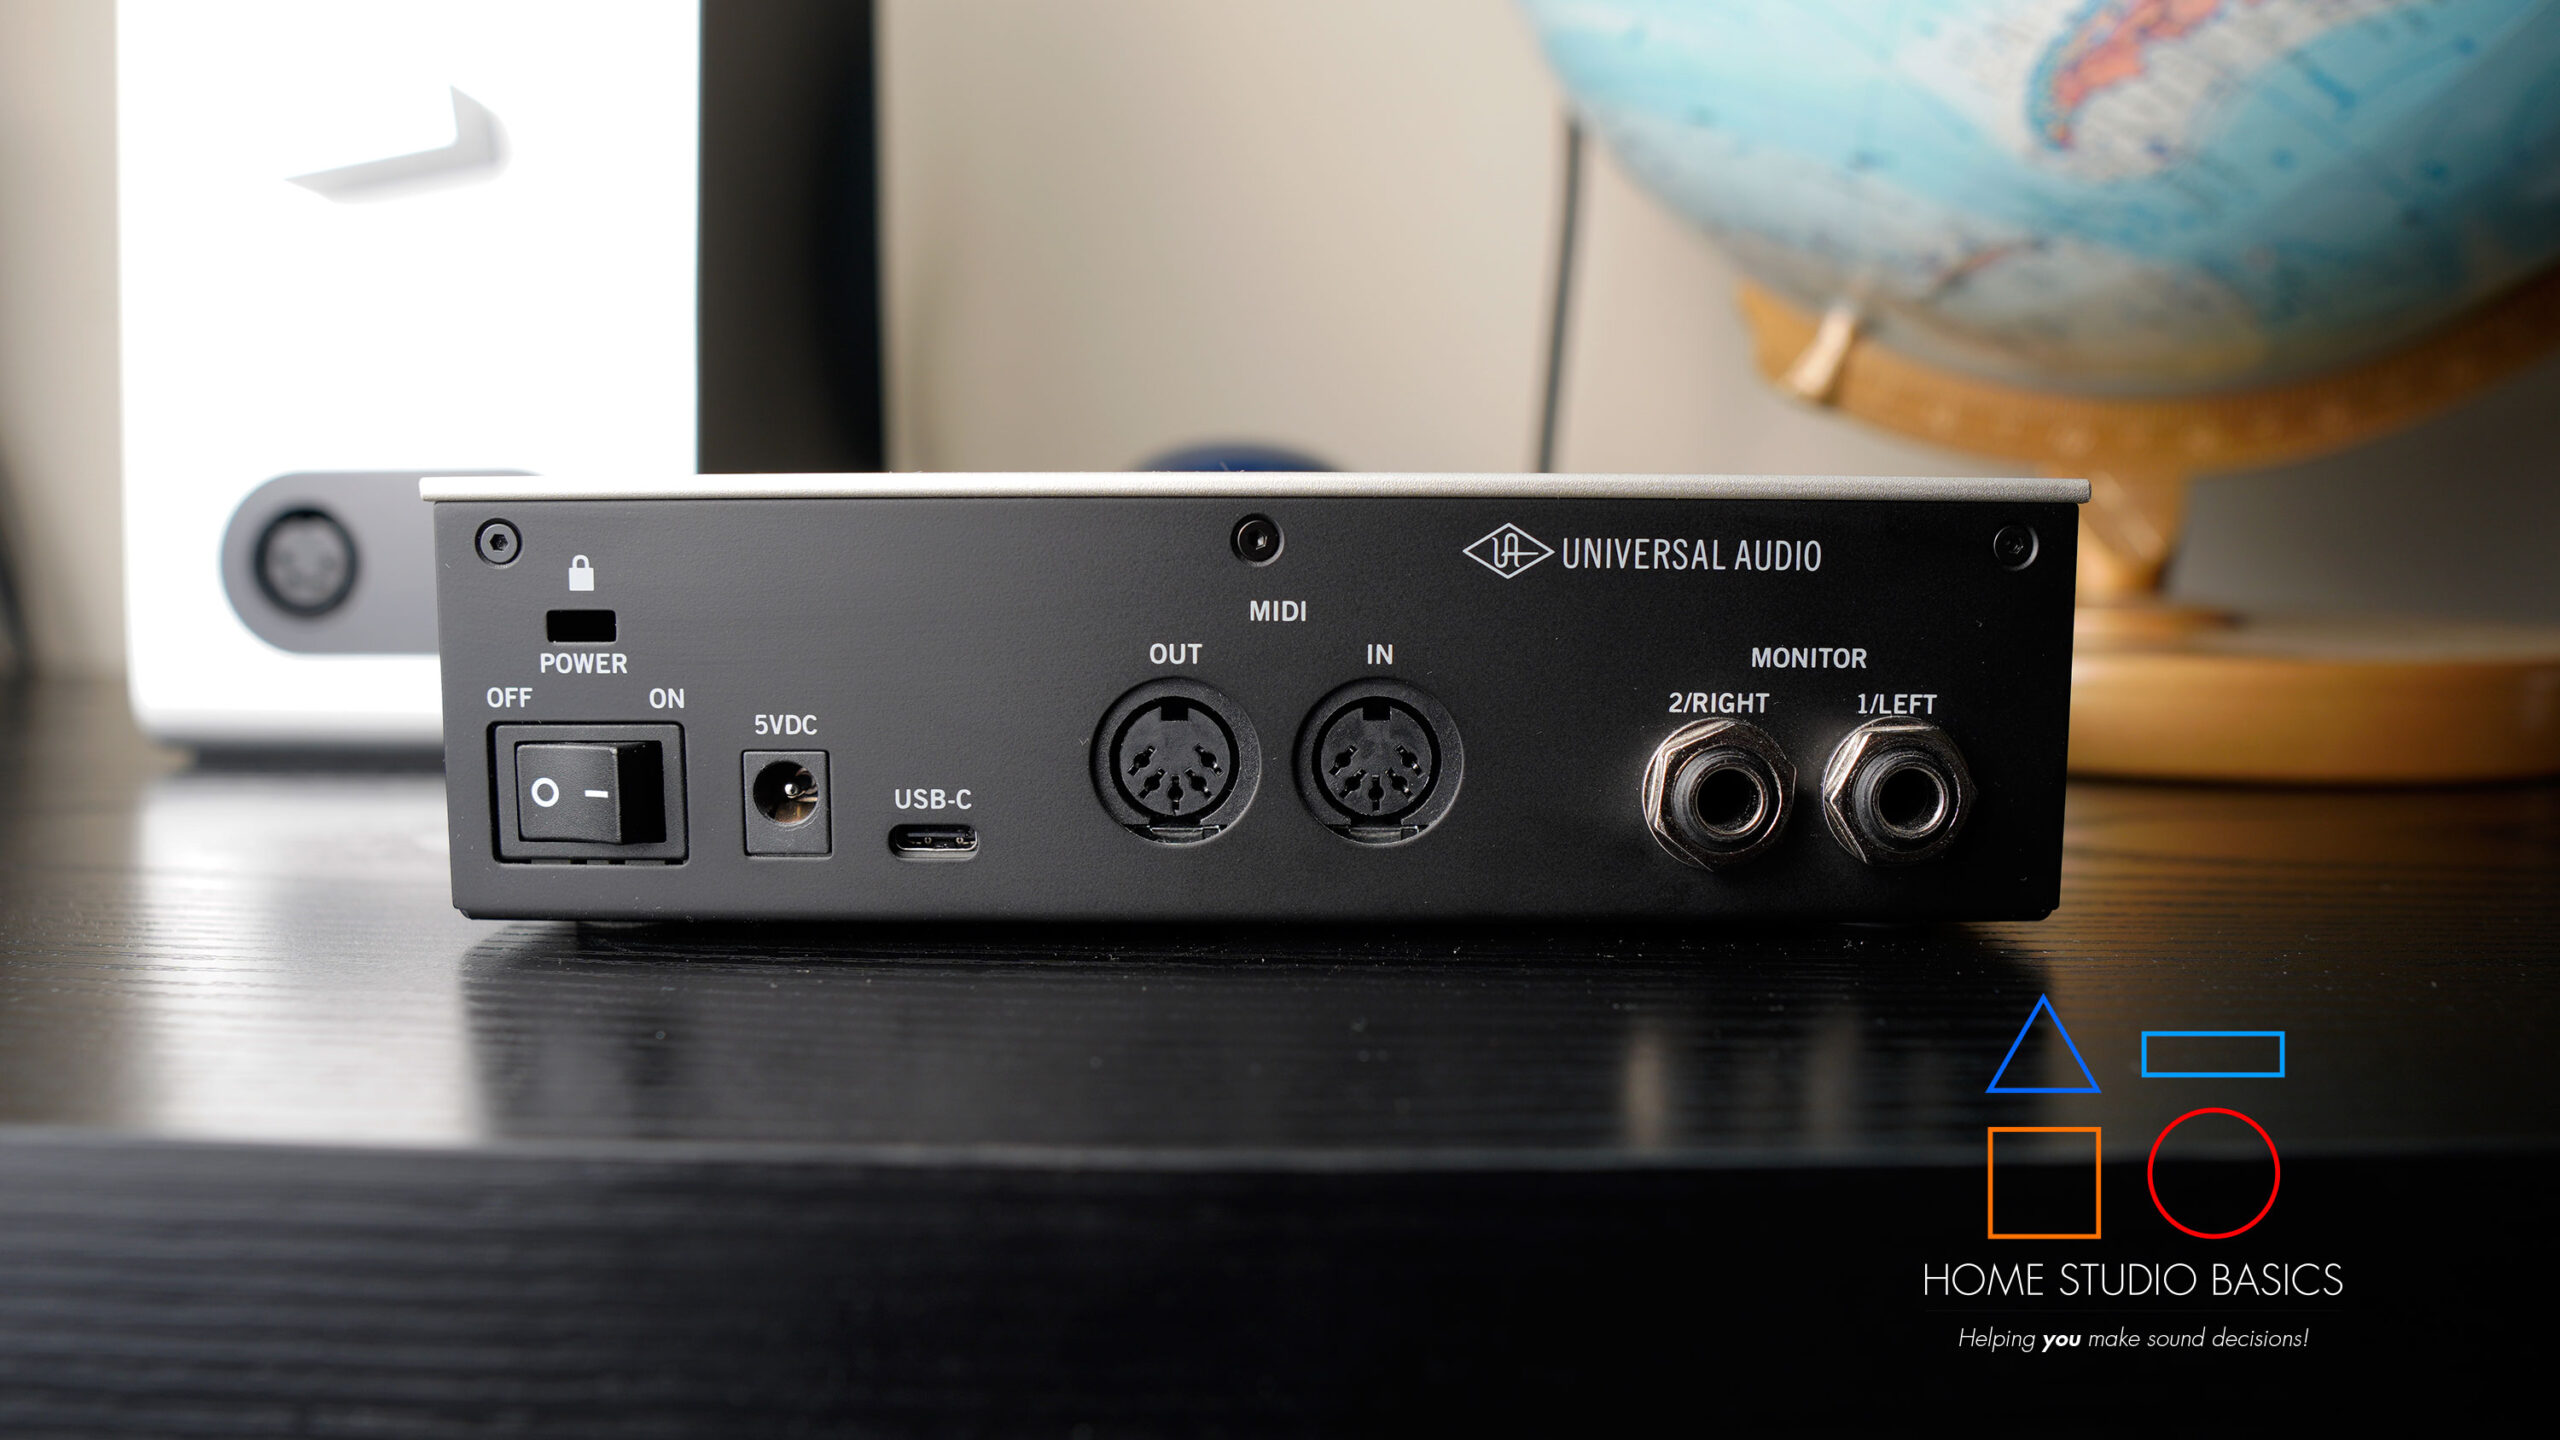
Recording and Playback: Audio Interface and Microphones

After optimizing the digital heart of your studio, it’s time to address the audio interface and microphones.
These devices are responsible for converting analog signals to digital and back, and their quality directly affects the clarity and detail of your recordings.
Required Reading: Beginners Guide: What is a USB DAC? (Digital to Analog Converter)
Many beginning musicians make the mistake of focusing on the number of inputs and outputs on an audio interface, overlooking more important parameters. The key factors in an interface are the quality of its preamps and analog-to-digital converters. These determine how cleanly and accurately your voice or instrument will be recorded.
For most home studios, a quality two-channel interface is entirely sufficient. A good preamp will provide a low noise floor and adequate gain, while quality converters will preserve all the nuances of the performance.
The market offers numerous proven budget brands with excellent price-to-performance ratios. Companies like Focusrite with their Scarlett line, PreSonus with their Studio devices, or Audient with the iD series have established themselves as manufacturers of reliable, good-sounding interfaces that make an exceptional starting point.
Regarding microphones, the principle “quality over quantity” applies.
Rather than amassing a collection of several inexpensive, mediocre microphones, it’s much more sensible to invest in a single truly good and versatile one. For most tasks, from recording vocals to acoustic guitar, a large-diaphragm condenser microphone is ideal. It can capture the finest sound details and provide professional-quality recordings.
- Required Reading: Comparing Large-Diaphragm vs. Small-Diaphragm Microphones: Sensitivity, Sound, And Applications
Here are several time-tested workhorses that deliver professional quality at an accessible price:
- Rode NT1: this microphone is renowned for its extremely low self-noise and flat frequency response, making it ideal for clean vocal recording.
- Audio-Technica AT2020: one of the most popular budget condenser microphones, offering remarkable quality for its price and excellent for beginners.
- Shure SM57: a legendary dynamic microphone found in virtually every studio worldwide. It’s indispensable for recording guitar cabinets, snare drums, and certain vocal types.

- Required Reading: Shure SM57 Review: Identical To An SM7B?
Purchasing equipment on the secondary market can yield higher-end models at quite affordable prices. One quality microphone paired with a reliable interface can address 90% of home studio needs, ensuring clean, professional recordings that will be pleasant to process and mix.
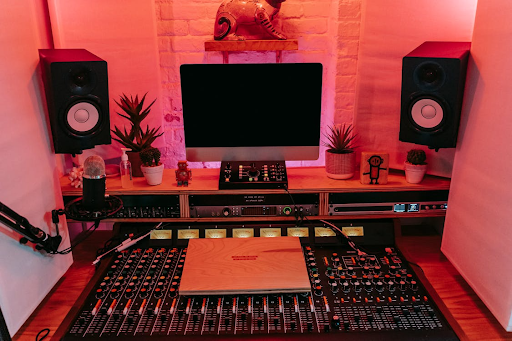
Monitoring: Can You Trust Your Ears

Imagine you’ve recorded crystal-clear vocals through an exceptional microphone and interface on a powerful computer.
What’s the point if you cannot adequately evaluate the result?
Accurate monitoring is not a luxury but an absolute necessity. Without it, the mixing process becomes like navigating in the darkness.
The purpose of studio monitors is not to embellish sound, making it more “pleasant,” but to present it as it is, with all its strengths and weaknesses. “Accuracy,” not “beauty,” of sound is the main criterion when selecting monitors.
- Required Reading: The Best Budget Home Studio Monitors For Mixing
The market offers many budget-friendly but well-regarded studio monitor models.
Brands such as KRK with their recognizable Rokit series, Yamaha with their legendary white-cone HS series, or JBL with their 305P MkII models offer precise and balanced sound that helps make correct decisions during mixing.
However, even the best monitors will be useless in an unprepared room. Sound reflecting off bare walls, ceilings, and floors creates a chaotic sonic picture full of unwanted resonances and frequency dips.
This is where acoustic treatment comes in—an often overlooked but incredibly powerful upgrade for any studio.
Simple sound-absorbing panels, handmade from mineral wool and wooden frames, can radically change the sound in a room. Placed at first reflection points (to the sides, behind, and above the mixing position), they remove excess echo and allow you to hear the direct sound from the monitors rather than room reverberations. Bass traps installed in corners help manage low-frequency buildup, which is the main problem in small spaces.

For those working in a limited space or with budget constraints, quality studio headphones become an excellent alternative, eliminating room influence on sound.
- Required Reading: The Best Studio Headphones For Mixing, Mastering, And Music Production
It’s important to distinguish between closed-back headphones, which are ideal for recording due to good sound isolation, and open-back types, which are preferable for mixing thanks to more natural and spacious sound.
Models such as the Audio-Technica ATH-M50x (closed), Beyerdynamic DT 770 Pro (closed), and Sennheiser HD 600 (open) have long been industry standards. Accurate monitoring is a three-part challenge: adequate monitors, good acoustic room treatment, and quality headphones for additional control.
Smart Purchasing Strategies
After determining upgrade priorities and selecting specific equipment models, one question remains: how to acquire everything with maximum benefit?
The answer lies in a savvy approach to shopping. Buying new equipment at full retail price is the simplest but most expensive route. Many more sensible strategies allow savings of up to 50% or more without sacrificing quality. The keywords here are “patience” and “information.”
The most powerful tool for the economic musician is the secondary market. Musical equipment, especially at the professional level, is often built with considerable durability and can serve for decades. Many musicians constantly update their studios, selling old equipment in excellent condition. Several key online platforms exist for finding used equipment:
- Reverb.com: this is a specialized marketplace for musicians, a sort of eBay for musical equipment. Here you can find everything from rare vintage synthesizers to nearly-new audio interfaces at significant discounts. The rating system and buyer protection make transactions relatively safe.
- Craigslist and Facebook Marketplace: these platforms are exceptional for finding local offers. The advantage is that you can arrange meetings, personally check equipment before purchasing, and avoid shipping costs. However, more caution is required here.
Beyond the secondary market, don’t neglect sales and promotions from major retailers.
Major annual events such as Black Friday and Cyber Monday are golden opportunities for purchasing new equipment with substantial discounts.
Additionally, consider subscribing to newsletters from industry giants such as Sweetwater, Guitar Center, and Musician’s Friend. They regularly run promotions like “Stupid Deal of the Day” or “DealZone,” where specific items can be purchased with considerable discounts for a limited time.

The most effective approach combines these two strategies with careful monitoring of the secondary market and ongoing sales tracking.
It requires patience but rewards with significant savings.
Remember that equipment purchasing is a marathon, not a sprint. By timing your purchases—whether waiting for a deal on a used microphone or a discount on an audio interface—you can build a professional-quality studio at a fraction of the retail price.
Closing Thoughts

The path to improving a home studio doesn’t necessarily need to be paved with exorbitant receipts.
- Required Reading: How To Build A Home Studio: Part I
A sensible and deliberate approach to upgrades allows for impressive results while preserving your budget. It all begins with an honest analysis of your needs and identifying that “weakest link” constraining your creative potential. Whether it’s a slow computer, inaccurate monitoring, or a noisy microphone, addressing specific problems rather than chasing trendy new products brings the greatest benefit.
Targeted investments in additional RAM, a fast SSD, a quality audio interface, or homemade acoustic panels pay for themselves many times over. They remove technical obstacles, make the workflow smoother, and allow focus on what’s most important: the music. Ultimately, it’s not equipment that creates hits, but people. Technology’s role is to be an invisible and reliable tool in the creator’s hands. By following the strategy of smart upgrades, you can build exactly that kind of studio, efficient, convenient, and inspiring, without depleting your financial resources.
Well, that’s about it for today my friend! I hope you’ve enjoyed this guide on How to Upgrade Your Home Studio Gear Without Breaking the Bank and came away with some valuable insight.
Questions? Comments? Requests? Did I miss the mark on something? Please leave them down below or Contact me!!
If you love what I do here and want to support the blog and channel in a more personal way, check me out on Patreon and discover all the value I have to offer you.
Which of these strategies most resonated with you? What are your biggest challenges in upgrading your home studio? I would love to hear from you. Until next time…
All the best and God bless,
-Stu
[Xtr@Ba$eHitZ] > Now AudioFiles Anonymous
![How to Sample In FL Studio – A Complete Guide [Part IV/BPM, Piano Roll, Step Sequencer, & Playlist]](https://homestudiobasics.com/wp-content/uploads/2026/02/How_To_Sample_In_FL_Studio_4_Redo-768x432.jpg)


