Hey there friend!

Navigate the Site!
- Headphone Reviews & Comparisons
- Microphone Reviews & Comparisons
- Amps, DACs, and Audio Interfaces
- The Budget Kings Series
- Studio Monitors
- Beats, Production, & Turntables
- Gaming, Movies, & Pop Culture
- Build a Home Studio Guide (You Are Here)
- Best Of
- Resources
Table of Contents
Part I: Intro & Setup (You are here)
Part III: Microphones & Accessories
Part V: Headphones & Monitoring
Part VII: Turntables & Sampling
Building a home studio can seem like a daunting task.
Whether you’re a vocalist, a beatmaker, or a musician, you’ve probably thought about what it would be like to have your own equipment.
A studio to call your own.
I too dreamed of having my own space filled with all of the musical things that make me tick.
Over the years, I have accumulated a lot of stuff. Some of it I still have, some of it I sold because either I upgraded or didn’t need it anymore.
The setup I have now suits me very well and is meant to show beginners that you don’t need any fancy pants state-of-the-art equipment. You can derive great sound from affordable products.
Never before has it been easier to get up and running, and today I’ll show you how.
How To Set Up A Home Studio For Beginners
First things first.
You’ll want to choose a comfy, yet still ideal place to record your sounds or craft your beats.
Back in the day, I was in my old bedroom at my folks’ house. When I moved out, I still used my bedroom in my apartment until 2023, when I decided there was an even better spot in the dining room:

- My Studio in different stages!
It’s super important to choose the best possible area inside of wherever your dwelling place is. That could be a house, apartment, condo, shack, mansion, townhouse, co-op, single-family home, cave, under a rock, and so forth.
The dining room above is a super irregularly shaped area with lots of room for the sound to travel. The kitchen overlooks, so there’s great space to the right, and there’s even more room all the way to the living room that goes to the back porch.

No space is ever going to be perfect, but some preparation can make all the difference.
Strategically placing acoustic foam panels on the walls and even bass traps in the corners ensures the sound isn’t bouncing all over the place and causing a ruckus.
If you have to be close-ish to the wall, make sure to put some foam panels right behind the bass ports (if your monitors are rear ported).
Mine are, and it helps quite a bit with the overall accuracy of the bass response in my mixes.
- Related – My Music: AudioFiles Anonymous
Be careful not to go overboard, as an overly dampened sound isn’t ideal either. This can make everything sound almost completely dead, and we don’t want that.
A nice happy middle ground is what we’re looking for, so use your intuition and place the panels in the spots that you think are most likely to need some sort of absorption.
Your Studio Desk & Chair
Take it from me, there’s nothing worse than being uncomfortable in your studio space. I’ve experienced some of the worst seating in the business.
The feeling you get from sitting in a crappy chair for 6 hours is like sleeping on concrete inside a jail cell.
I’ve had many chairs over the years; some awful, others amazing.
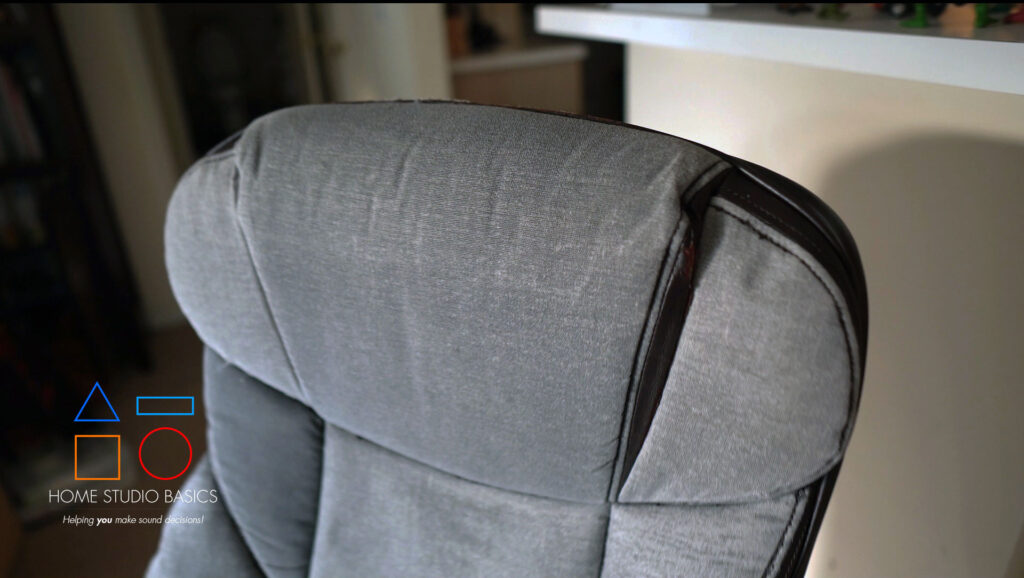
Because you’re probably brand new to all of this, I’d recommend NOT getting any chair with a Faux Leather coating. Please, for the love of God, don’t do it unless you want to be in a world of pain like Smokey from the grand lebowski.
You can imagine how badly these things peel over time and with lots of butt mileage. It’s awful. Here’s a picture of a chair my mom gifted me. It was fine at first, but after awhile it started peeling. When I tell you these little specks show up everywhere, I mean it.
Your butt crack? Yep.
Behind your ear? Si, amigo.
In your mouth? Yup.
Under your eyelid? Oh yeah you betcha.
Here, looking to channel my frustration, I decided to obsessively peel the entire chair:
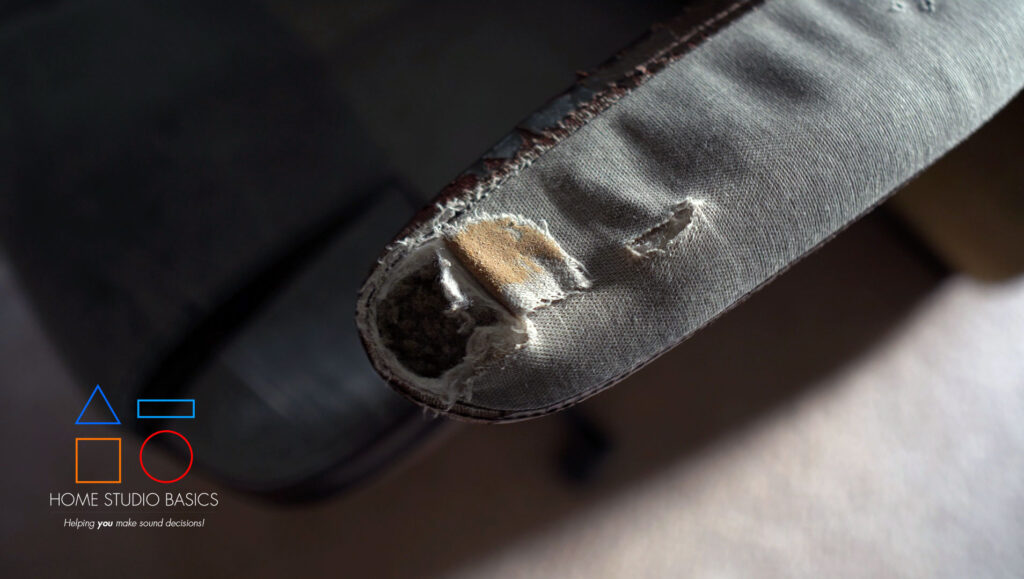
Yes, you’re looking at that correctly.
My first chair from around 2014 suffered the same fate. Here it is in all its glory, pre “peel gate”:
Though La-Z-Boy makes incredibly comfortable seating, it’s not worth your money when they eventually start to break down, especially considering those exorbitant prices, which will leave you whoring your local street corners for more dough.
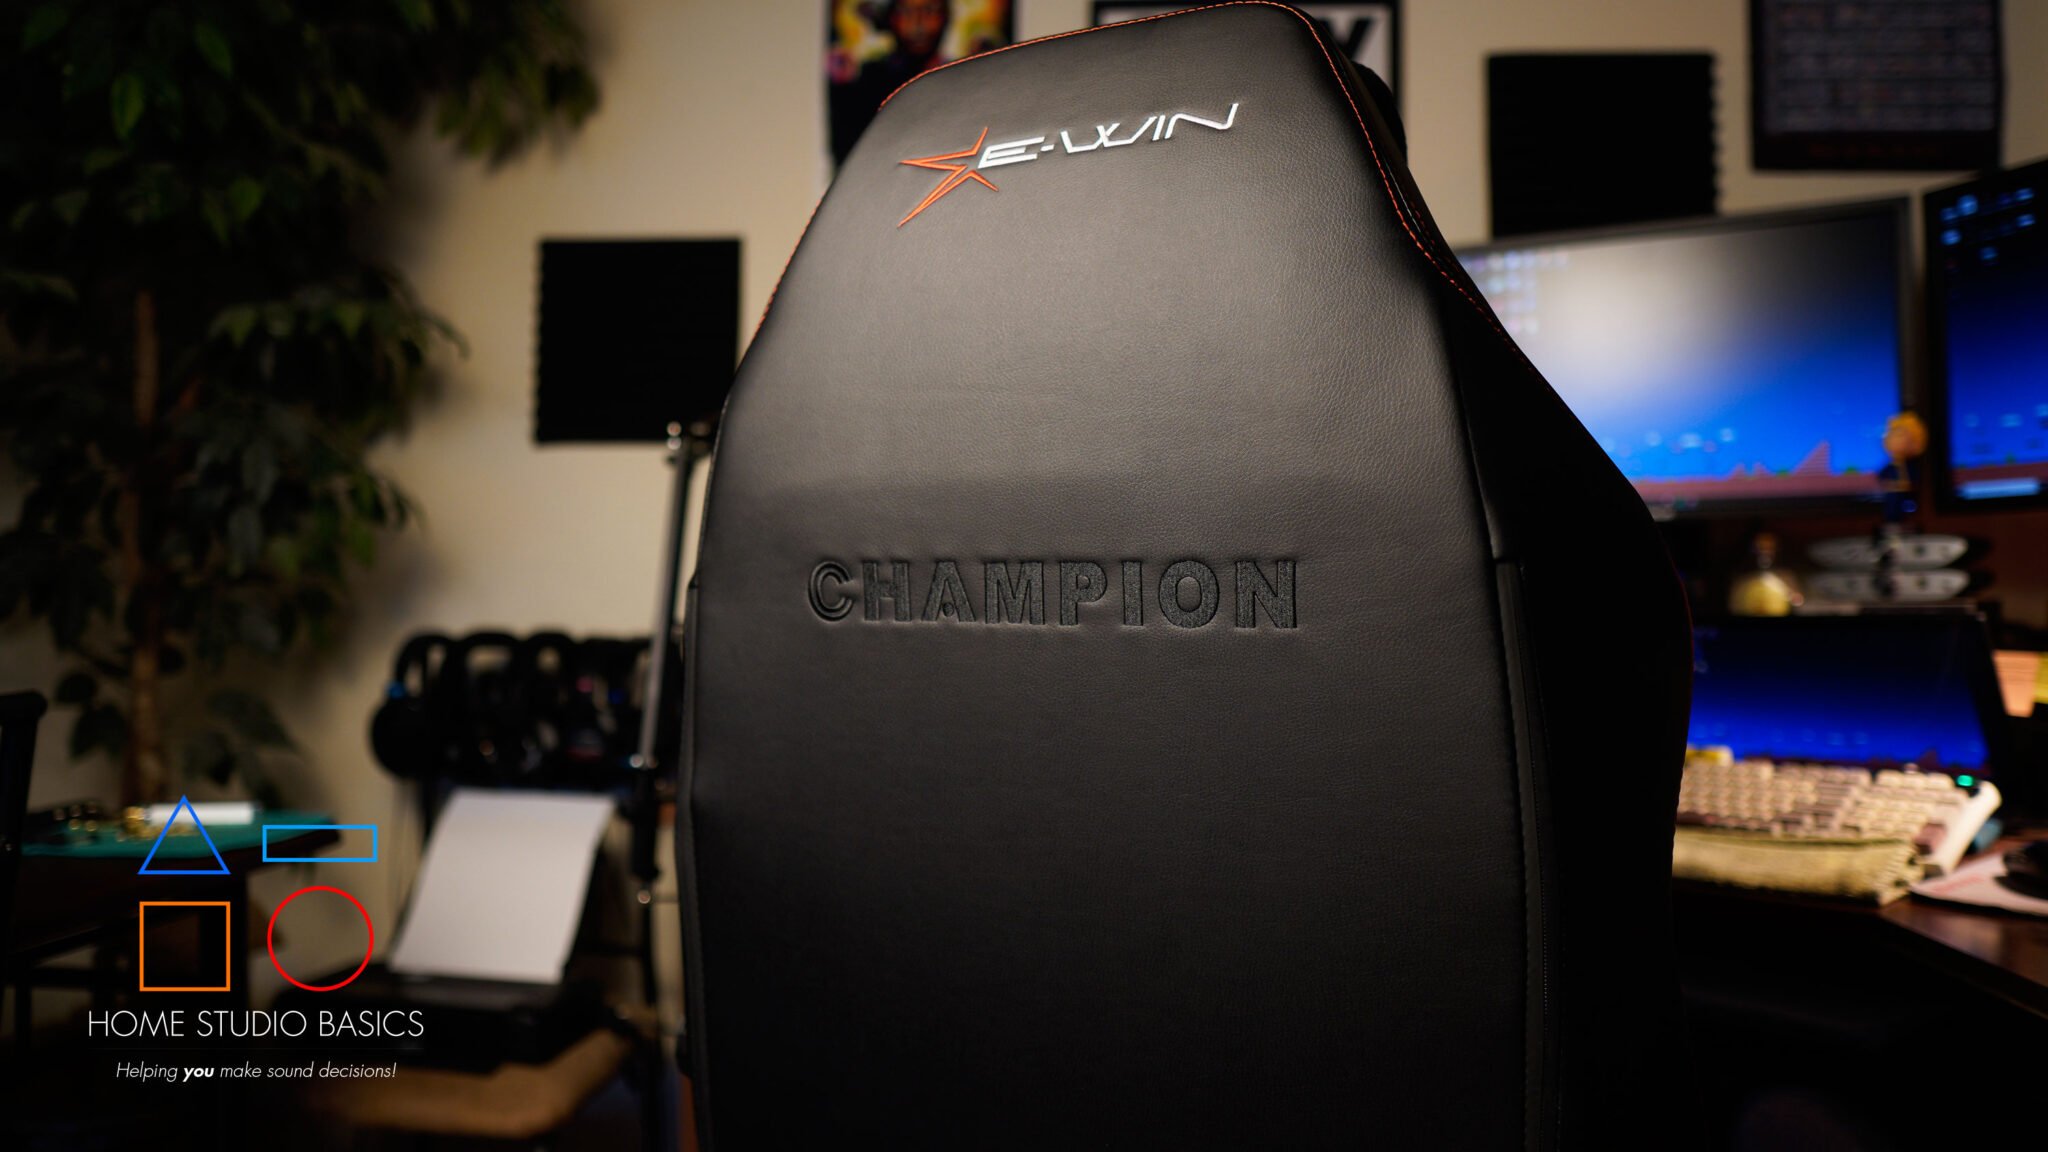
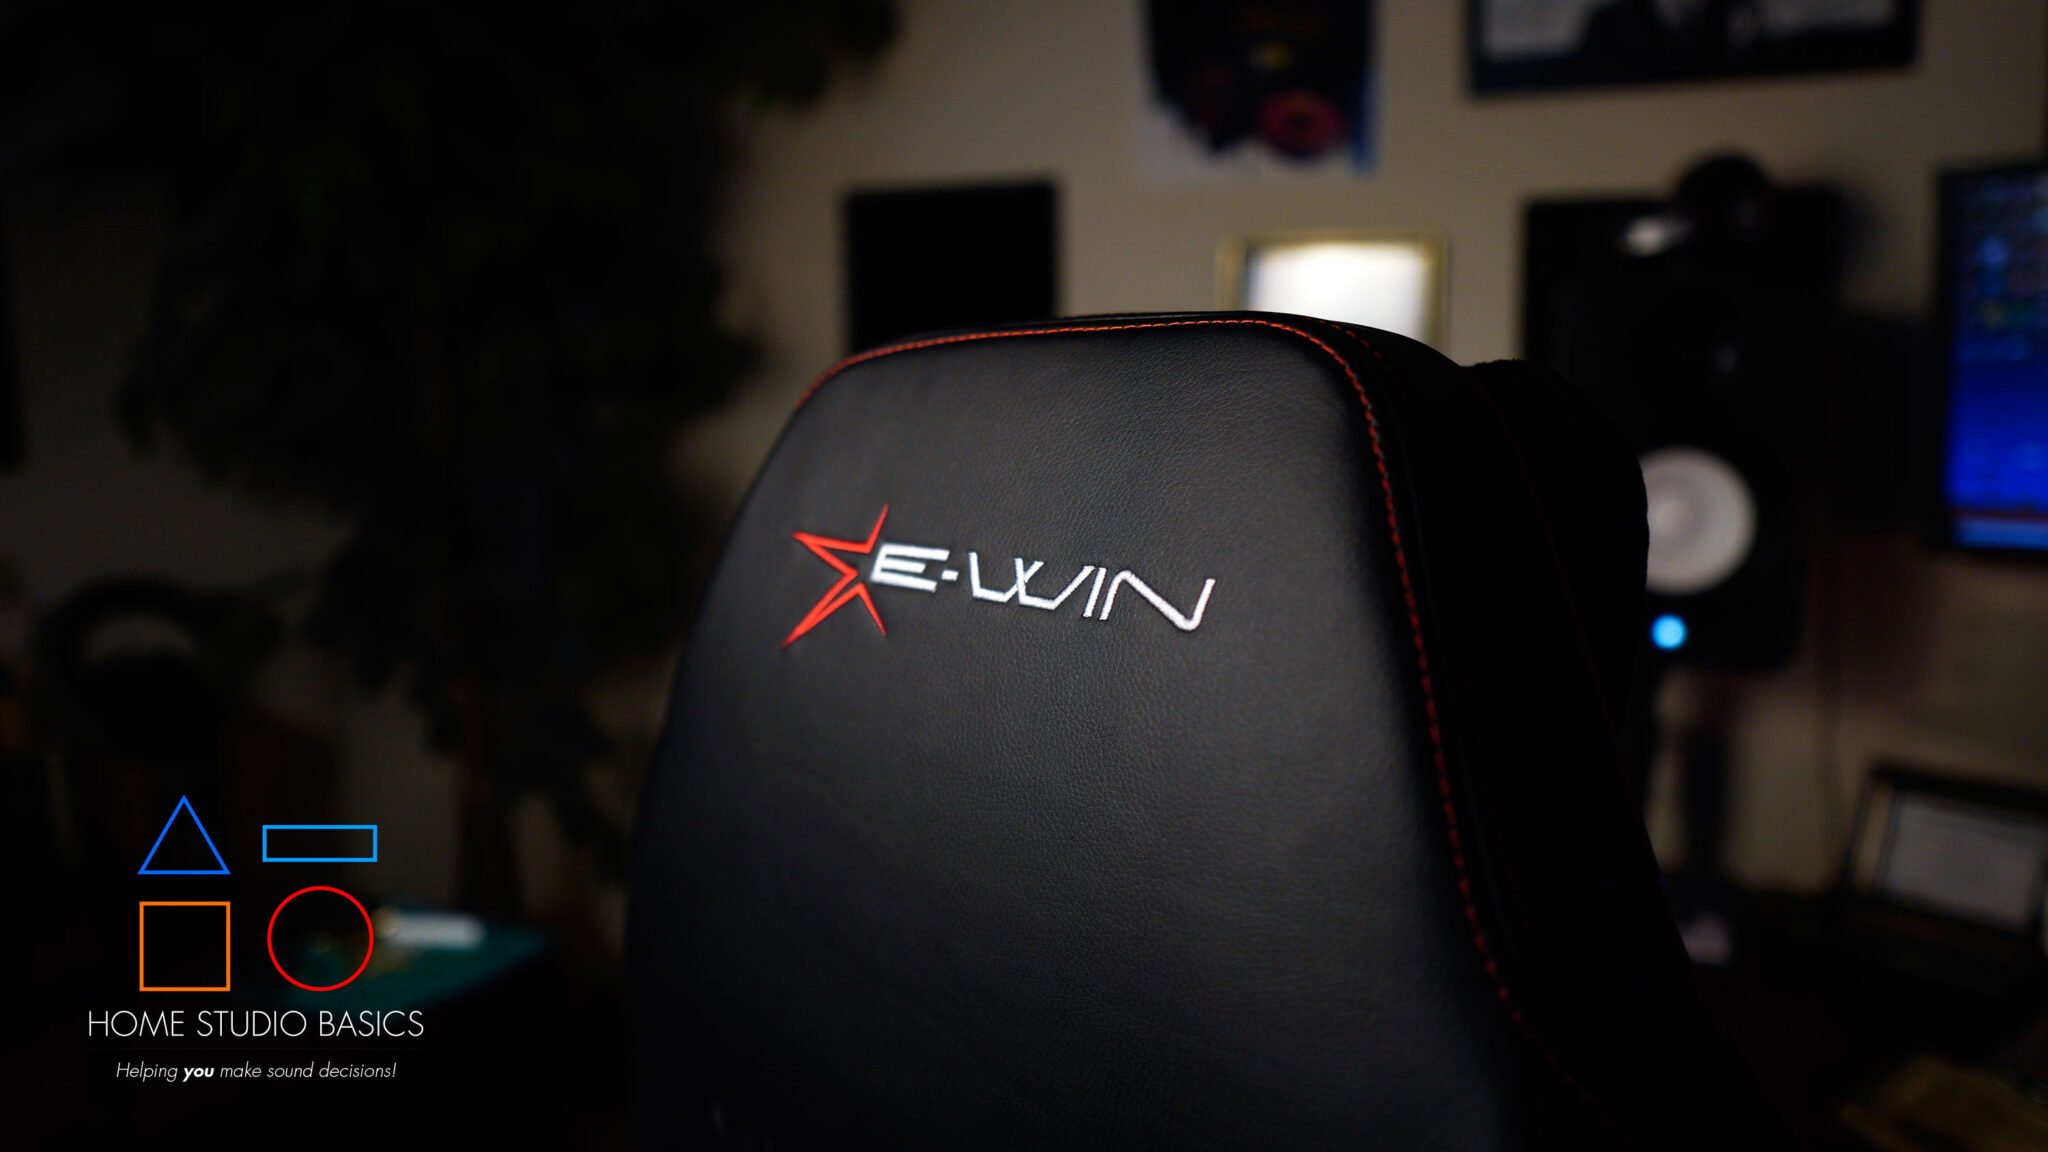
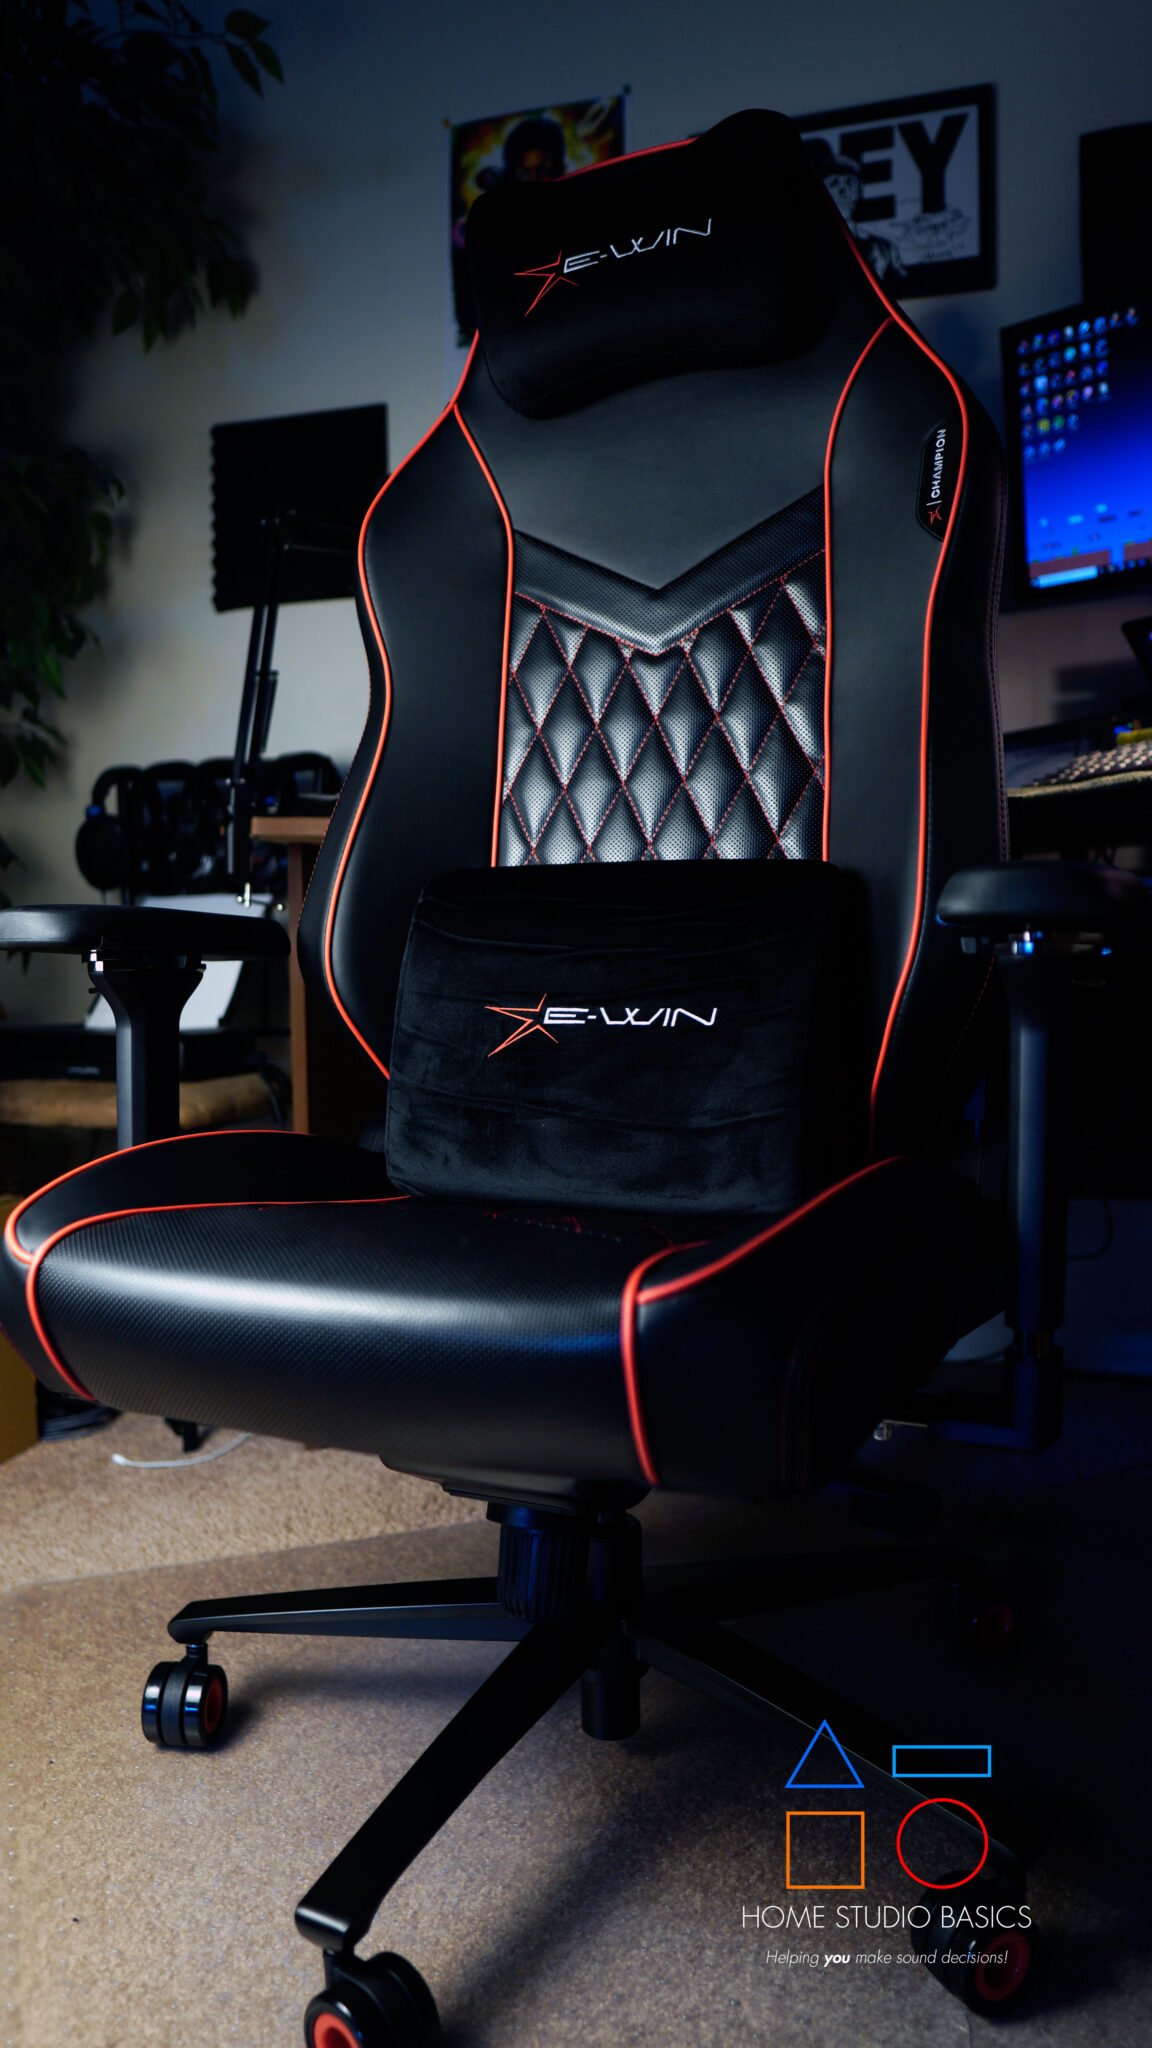
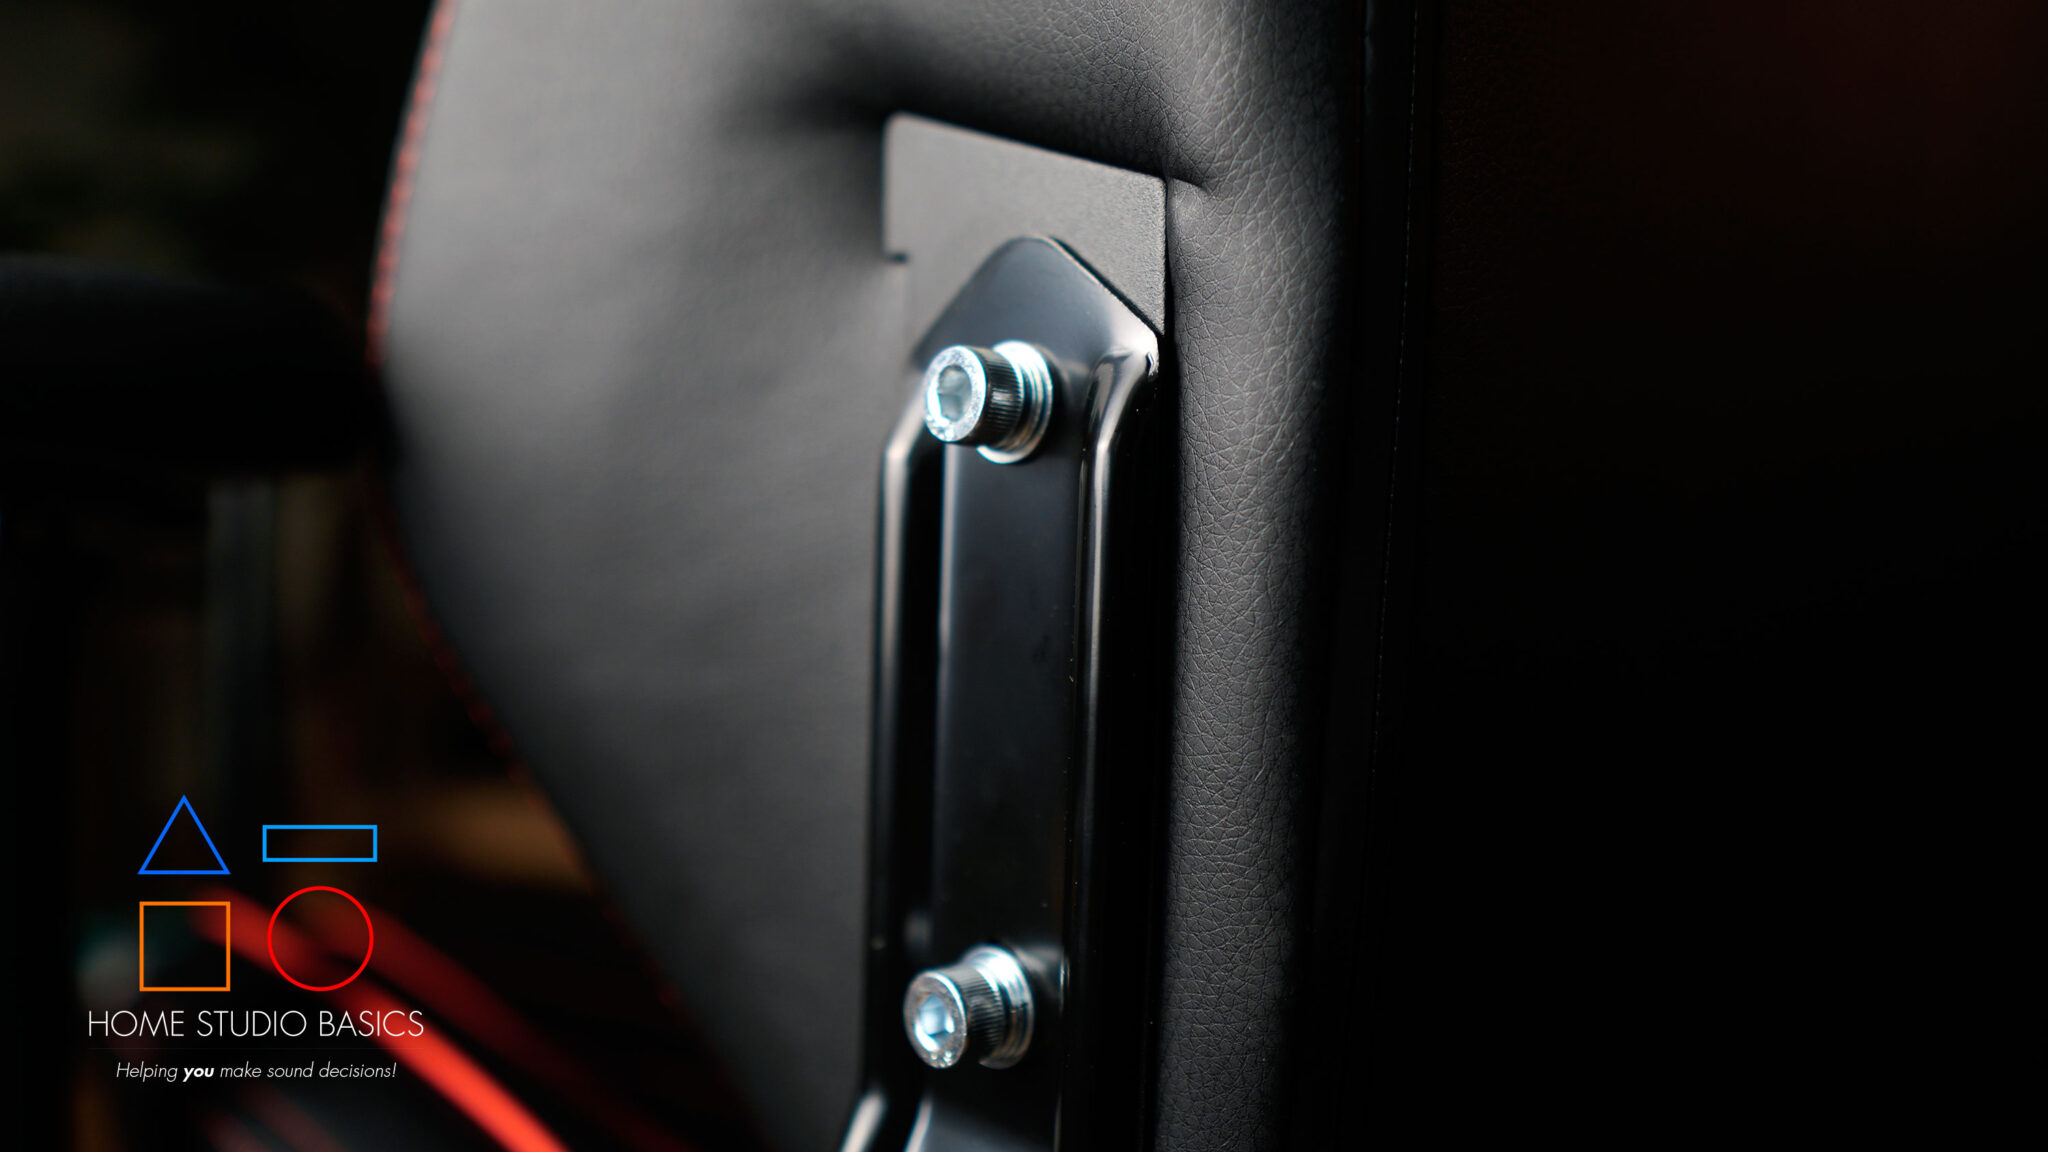
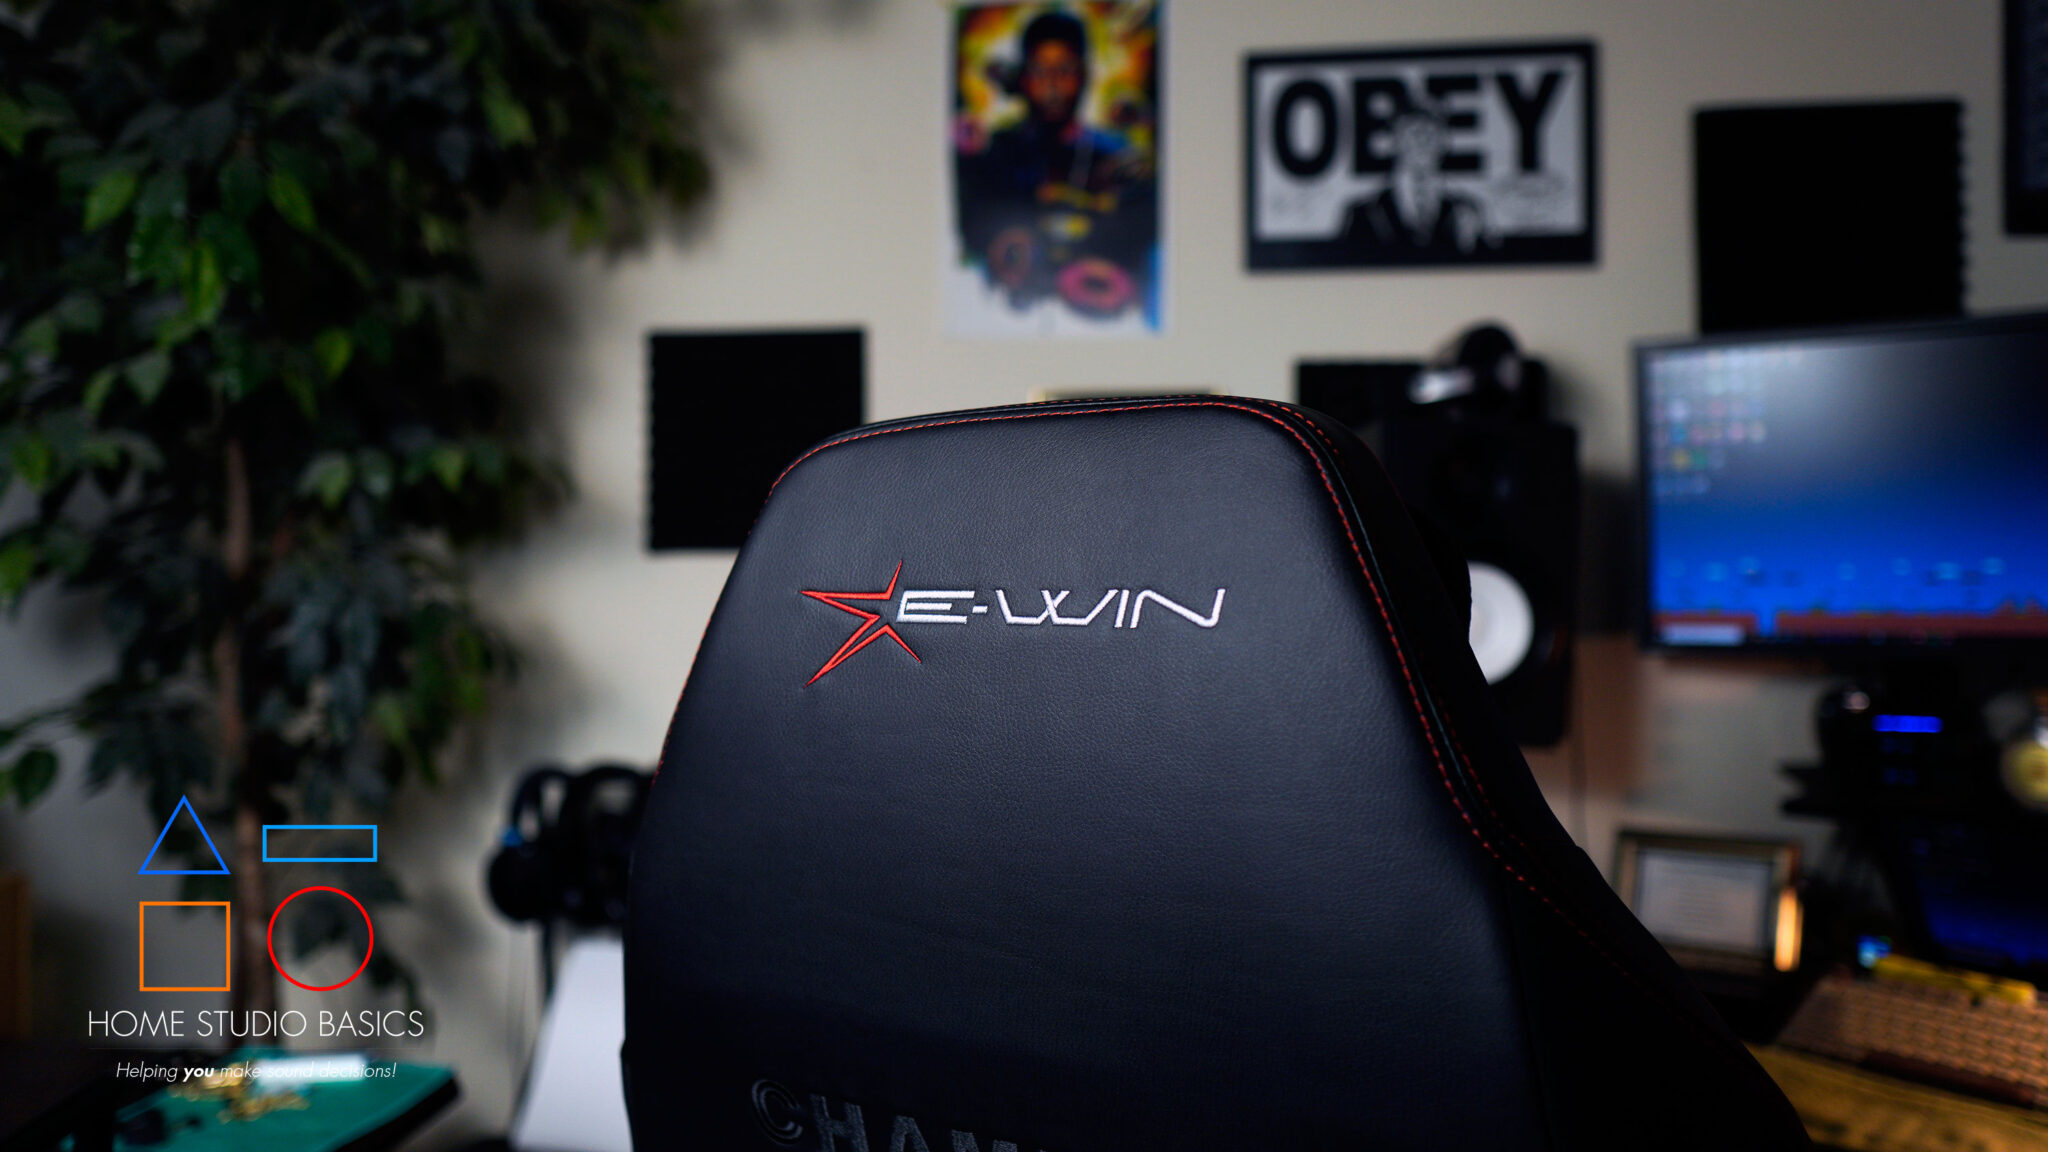
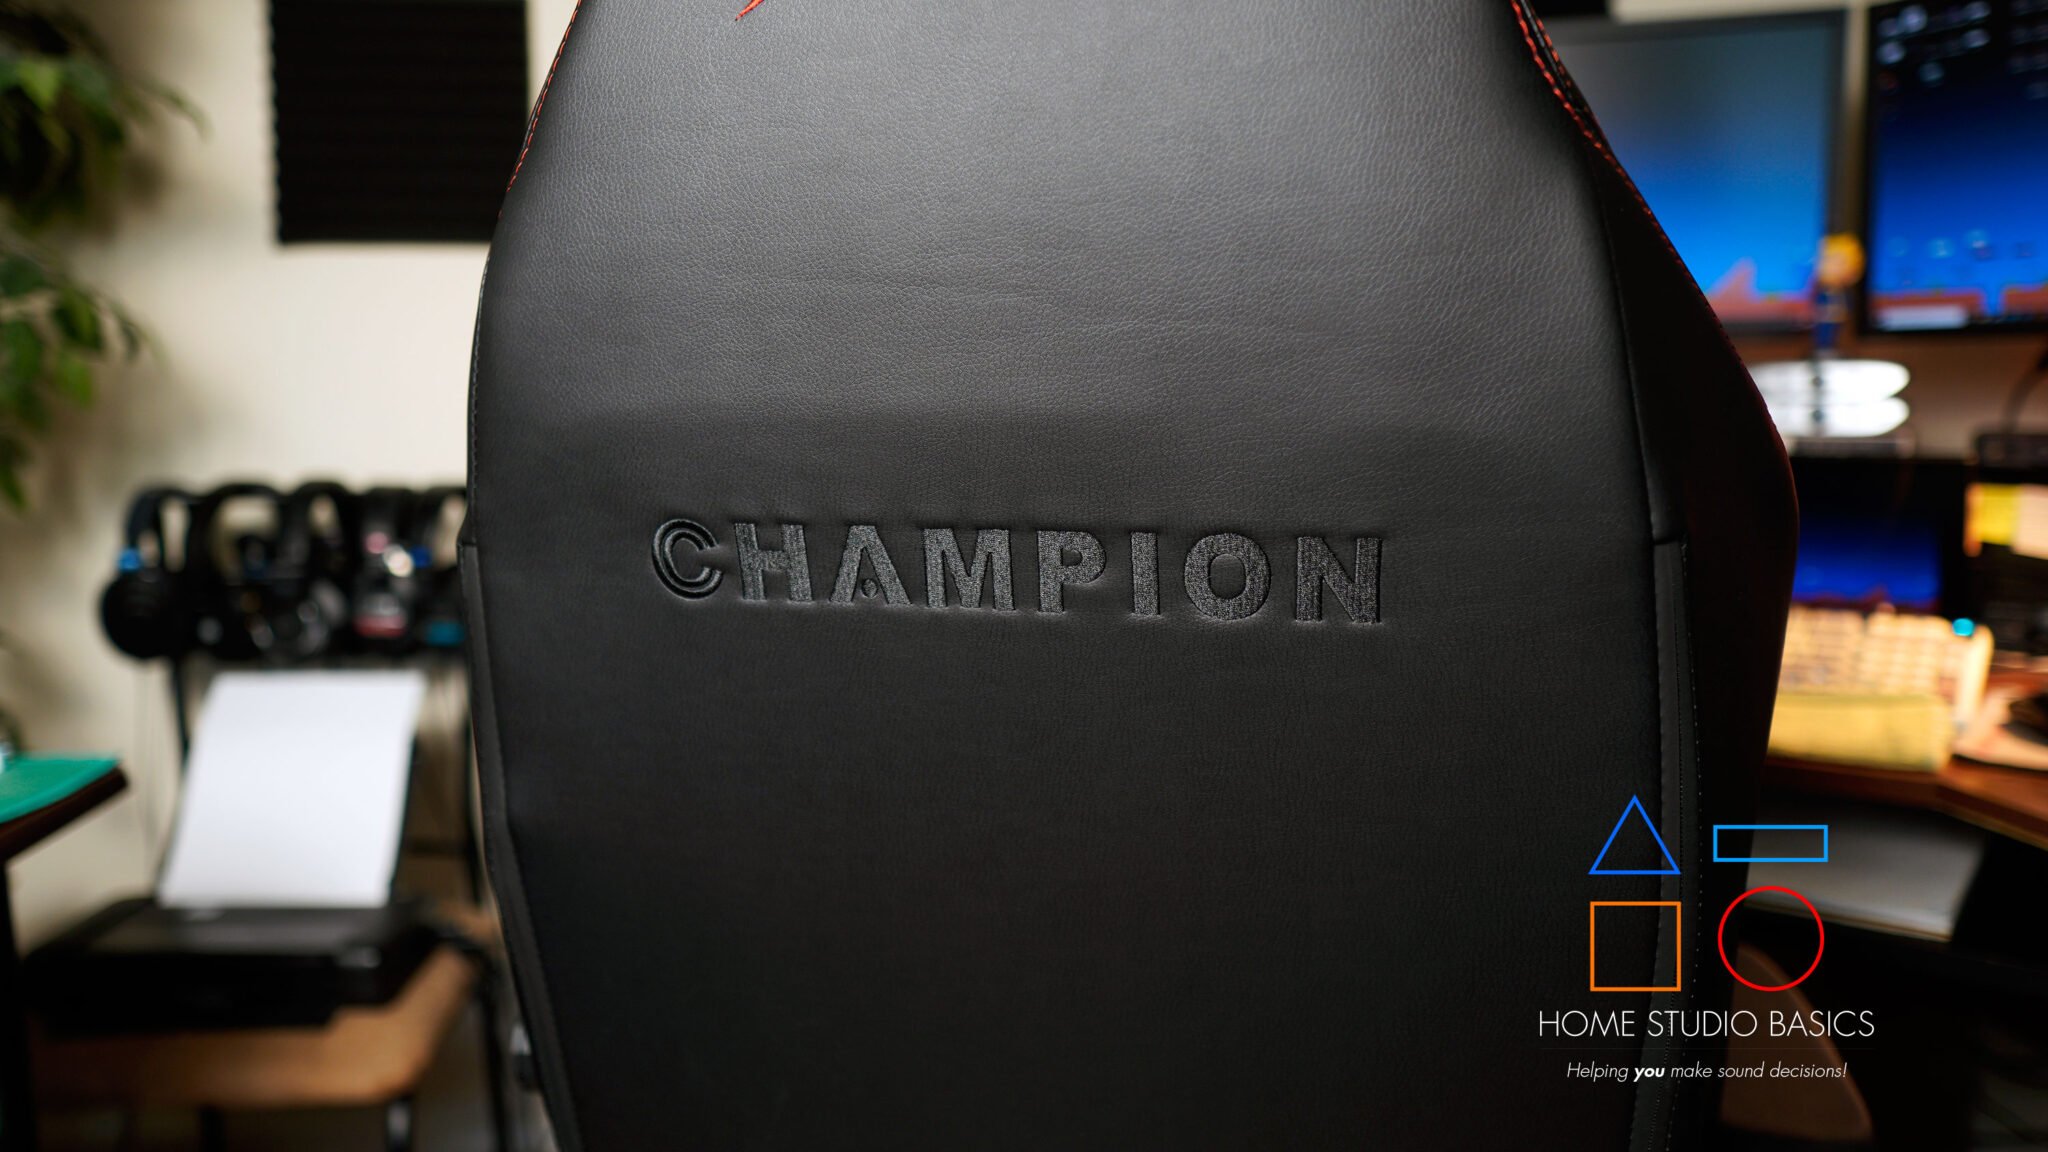
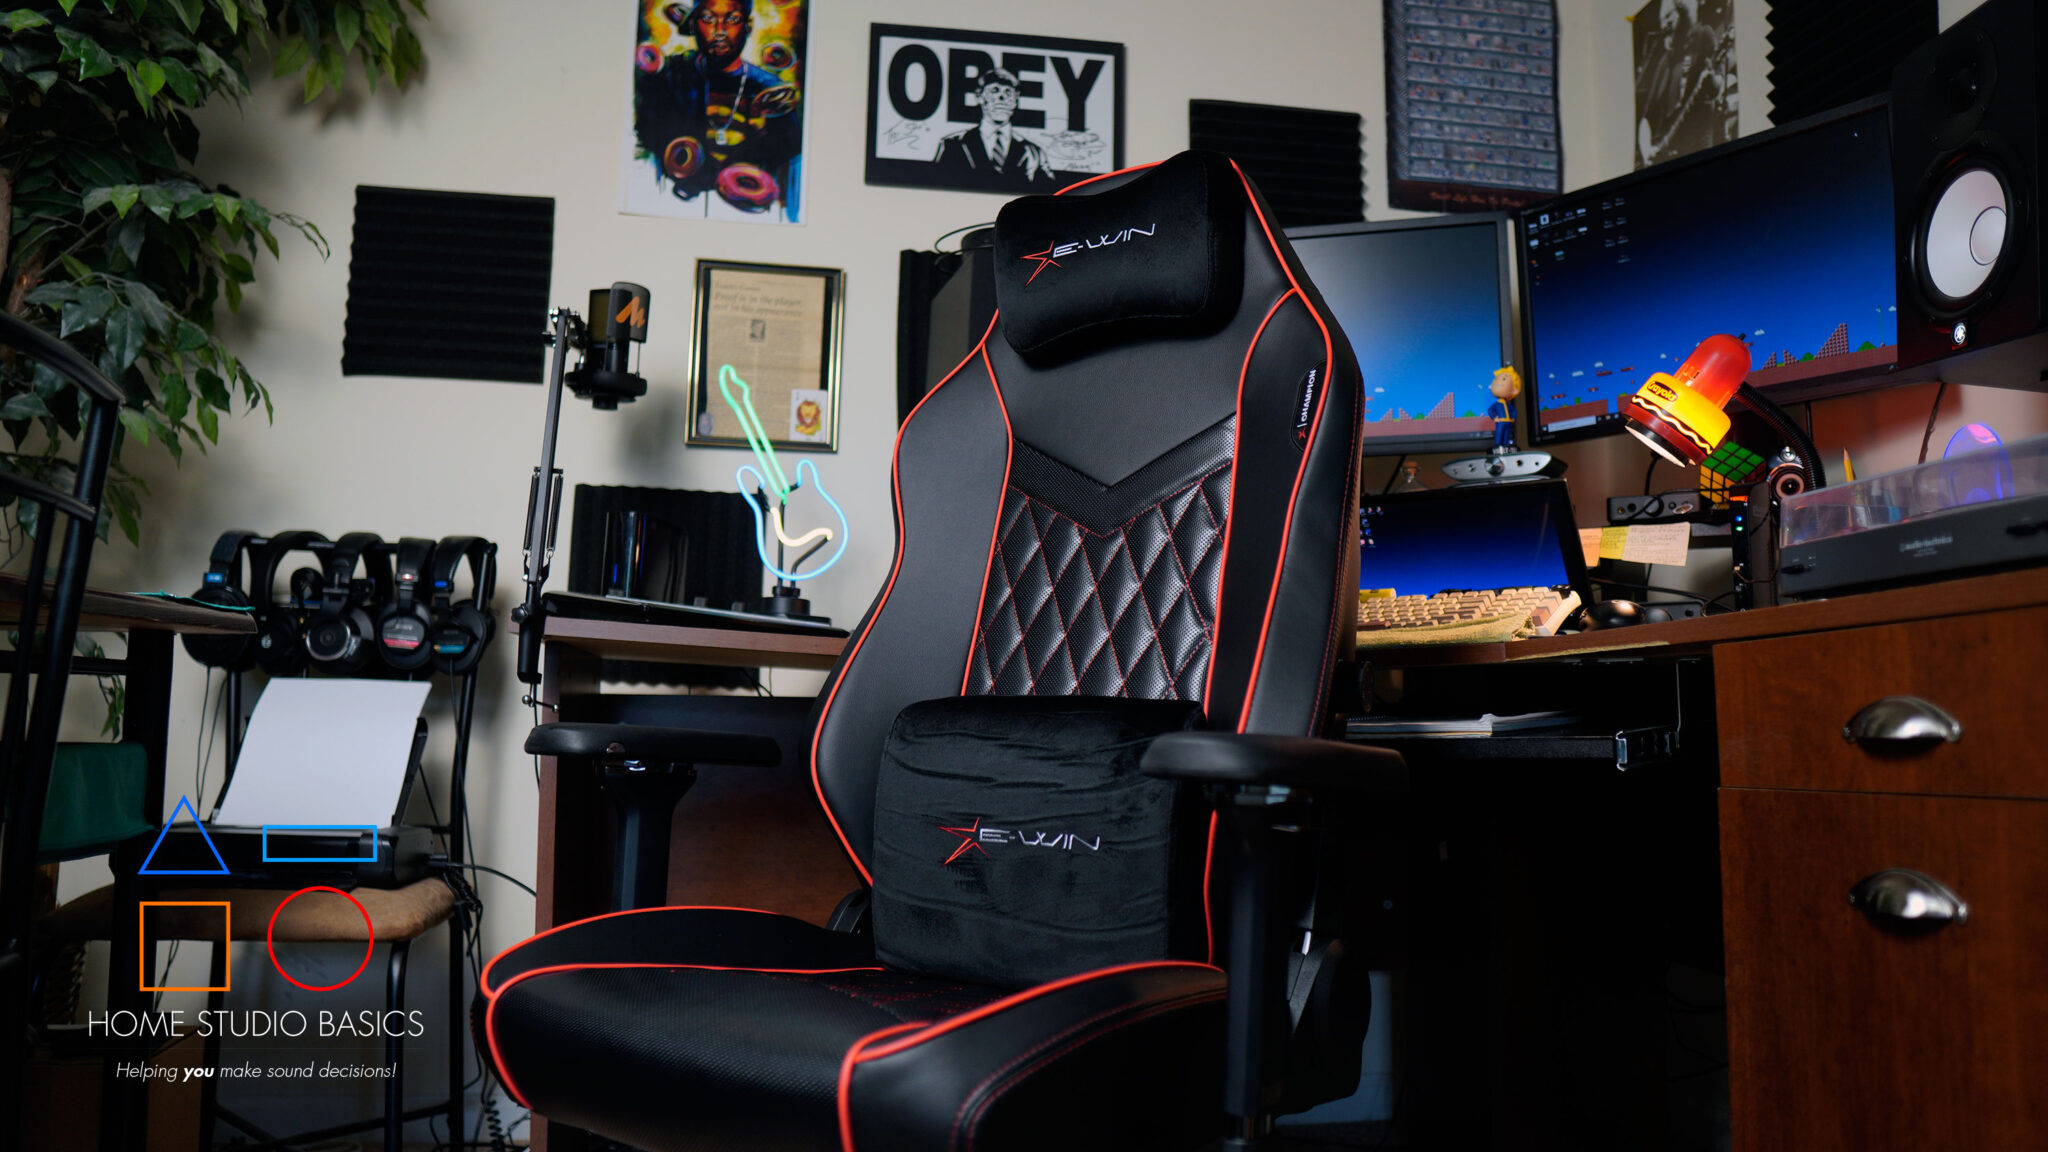
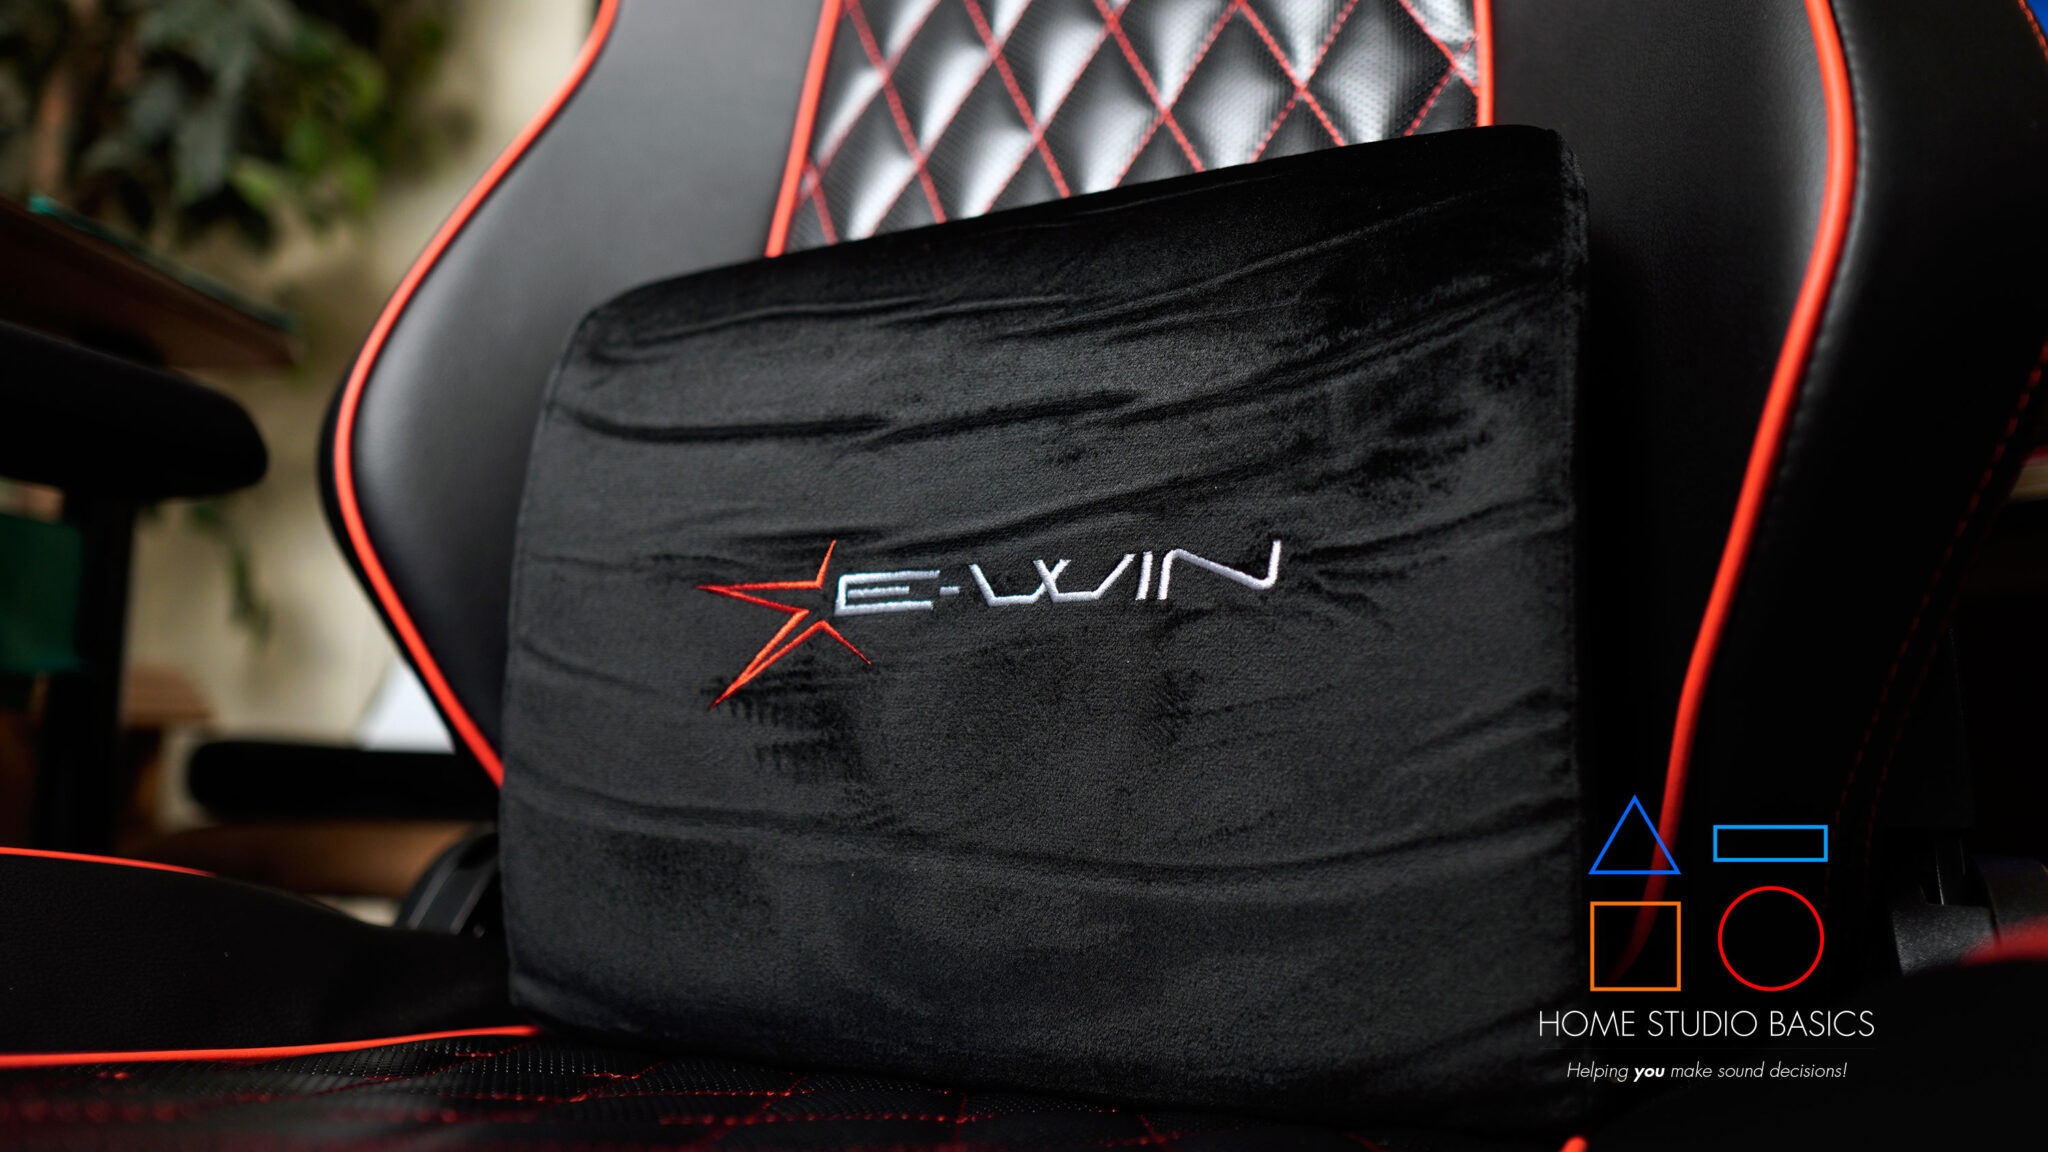
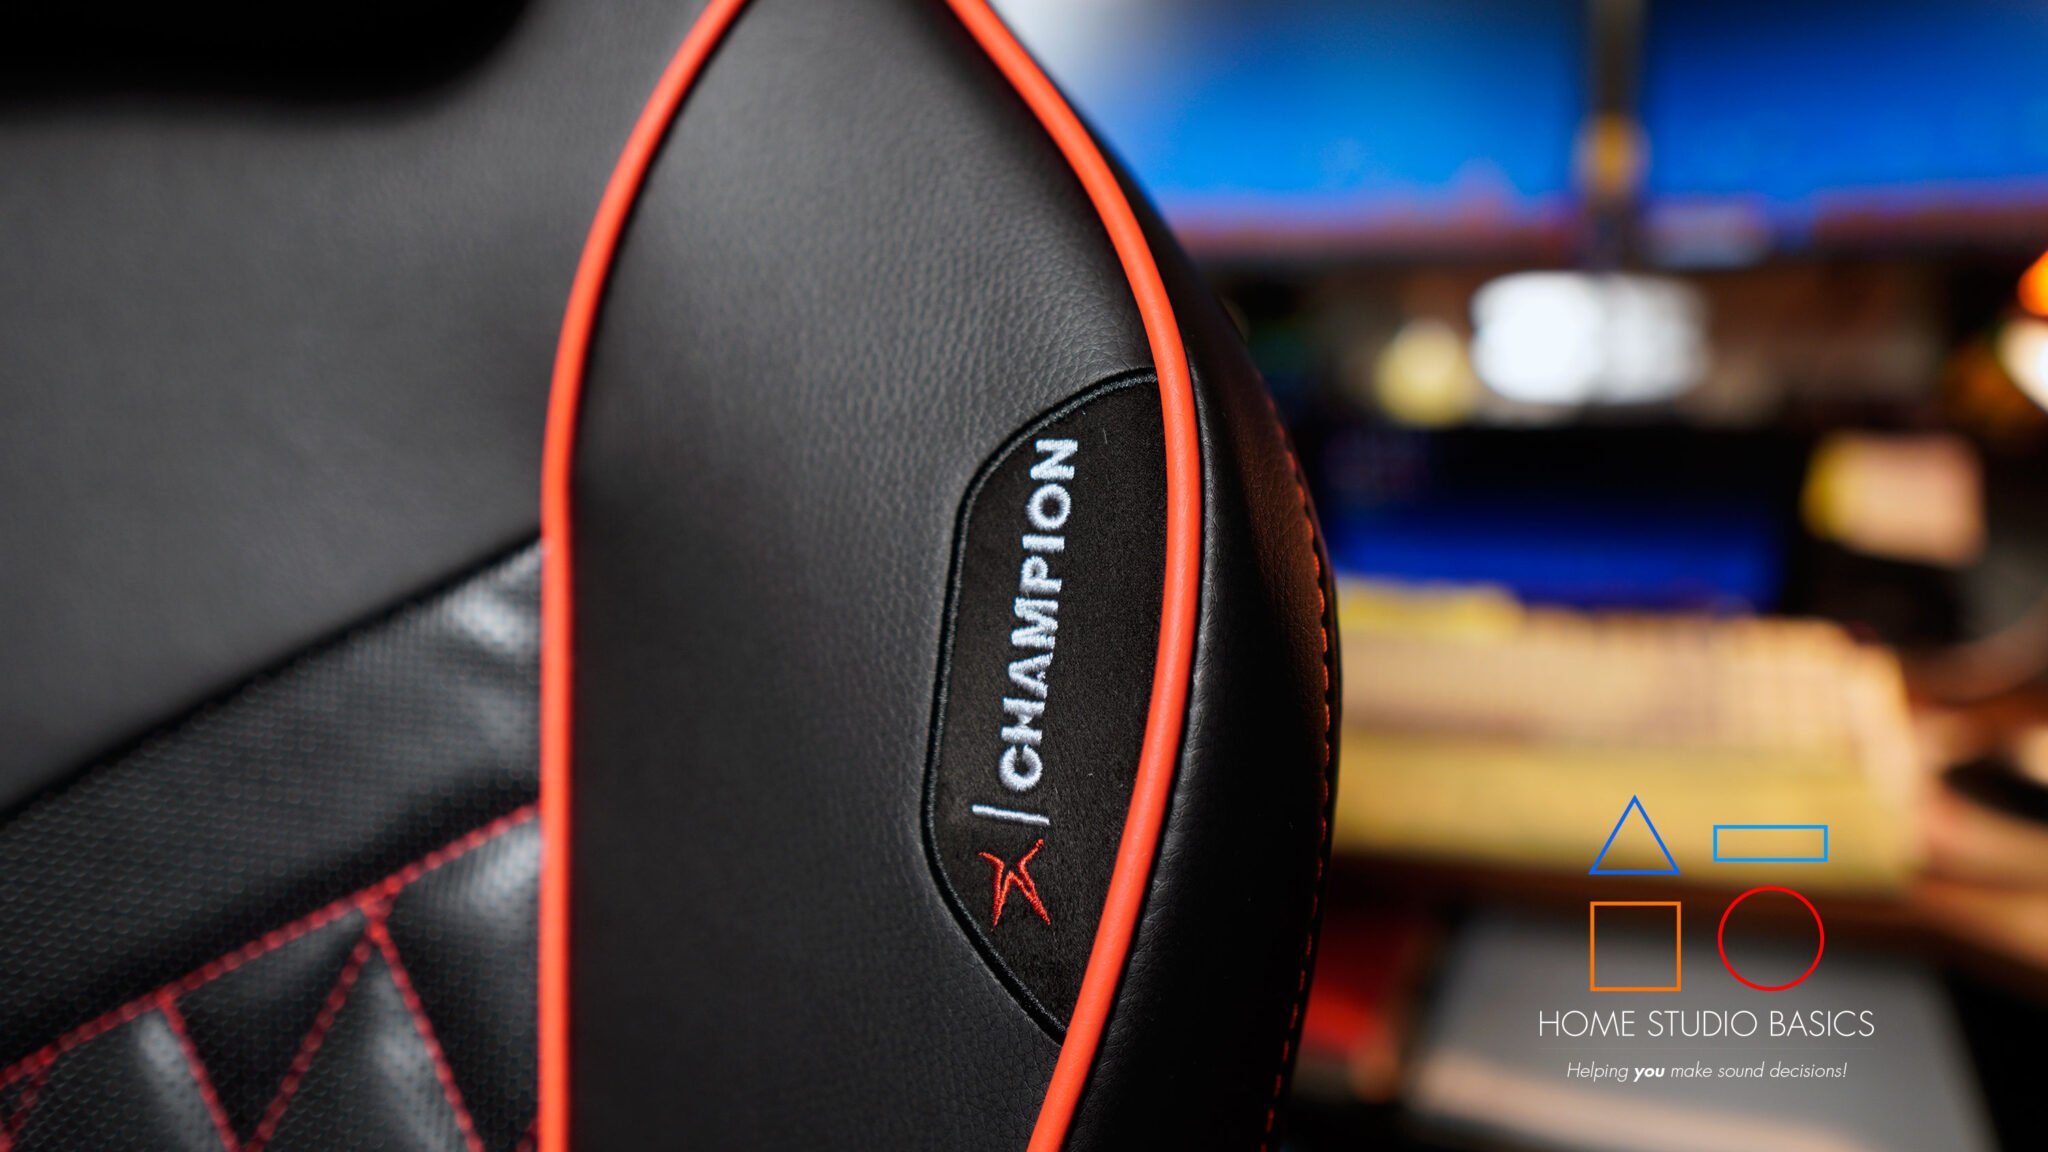
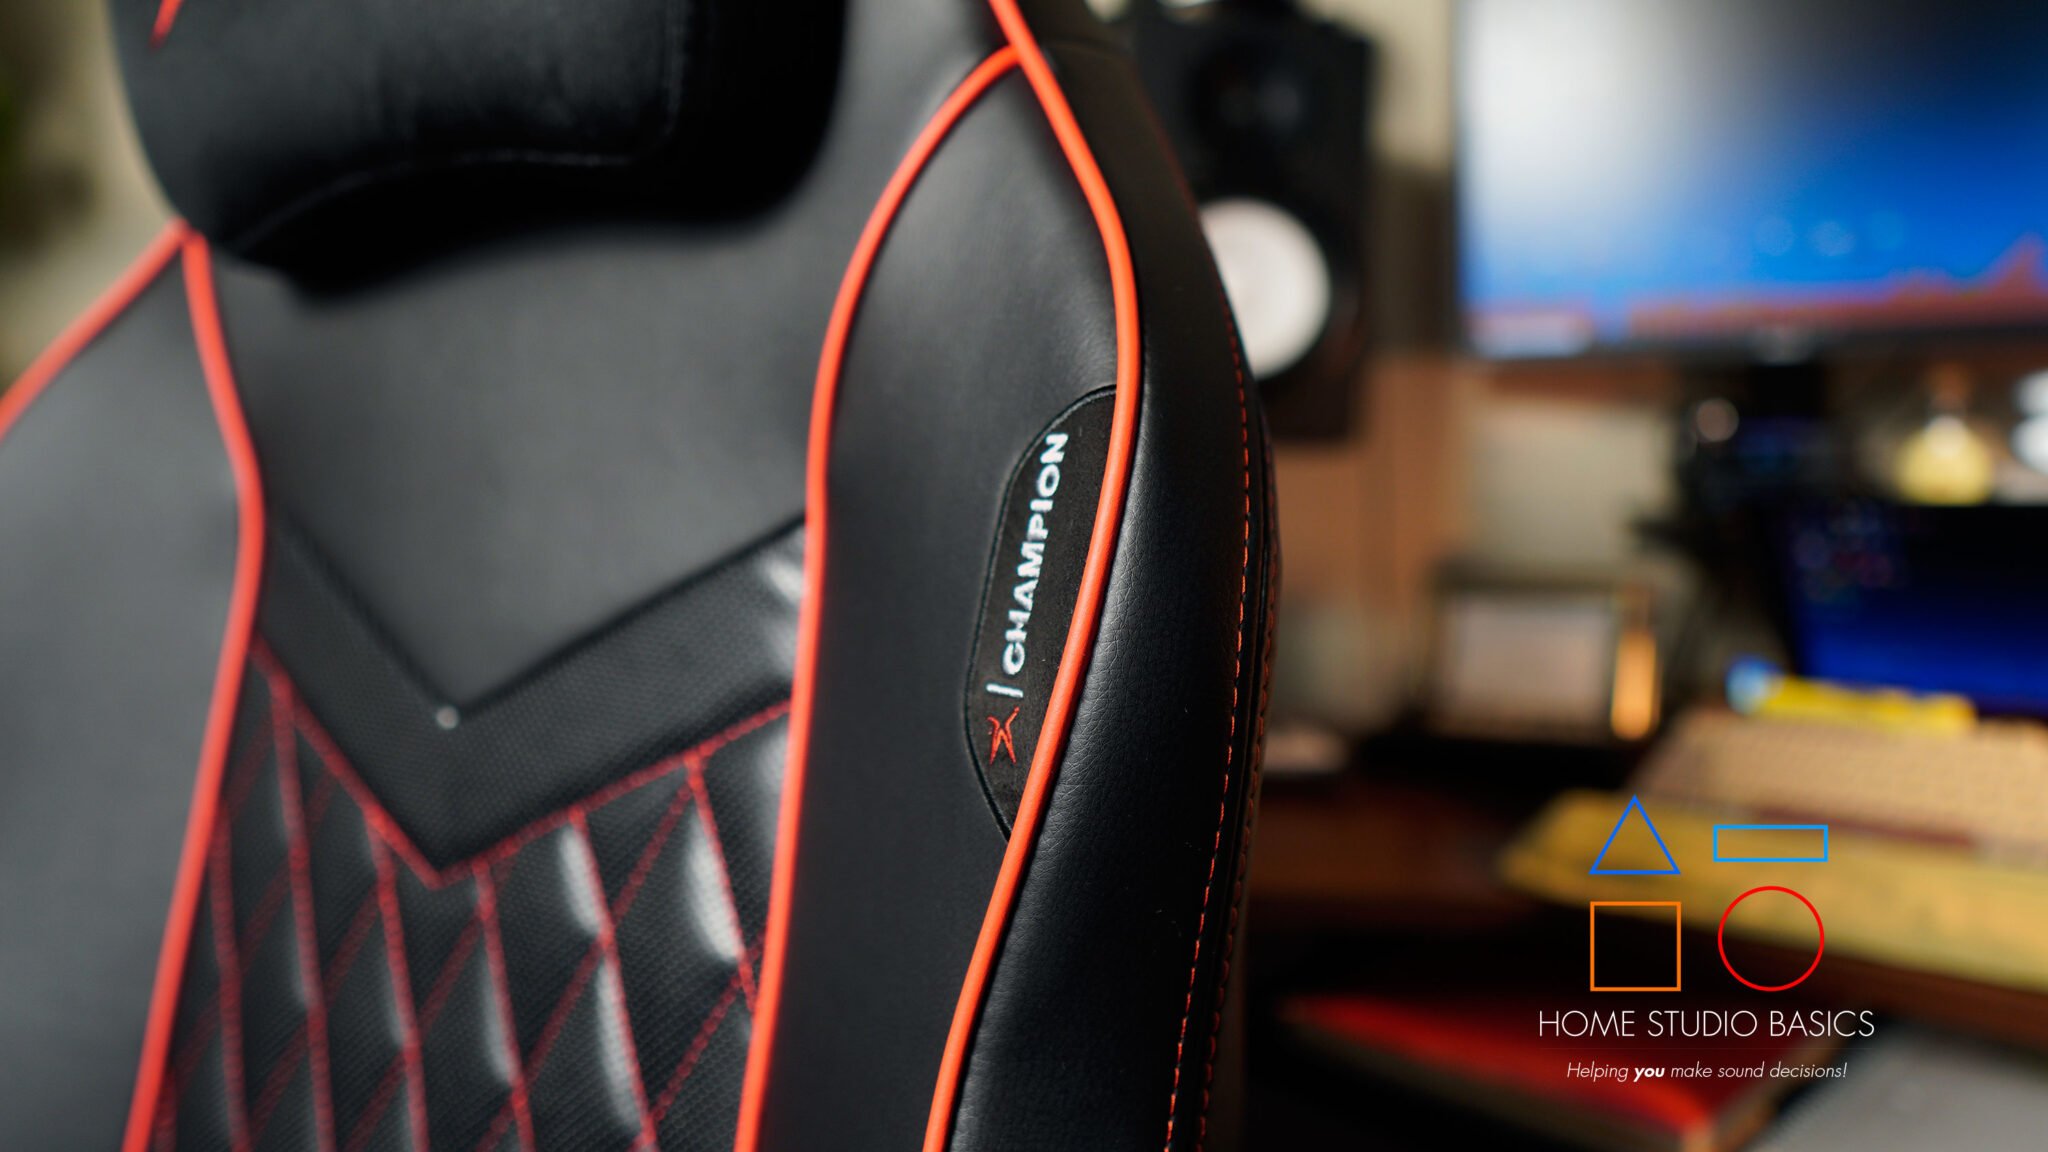
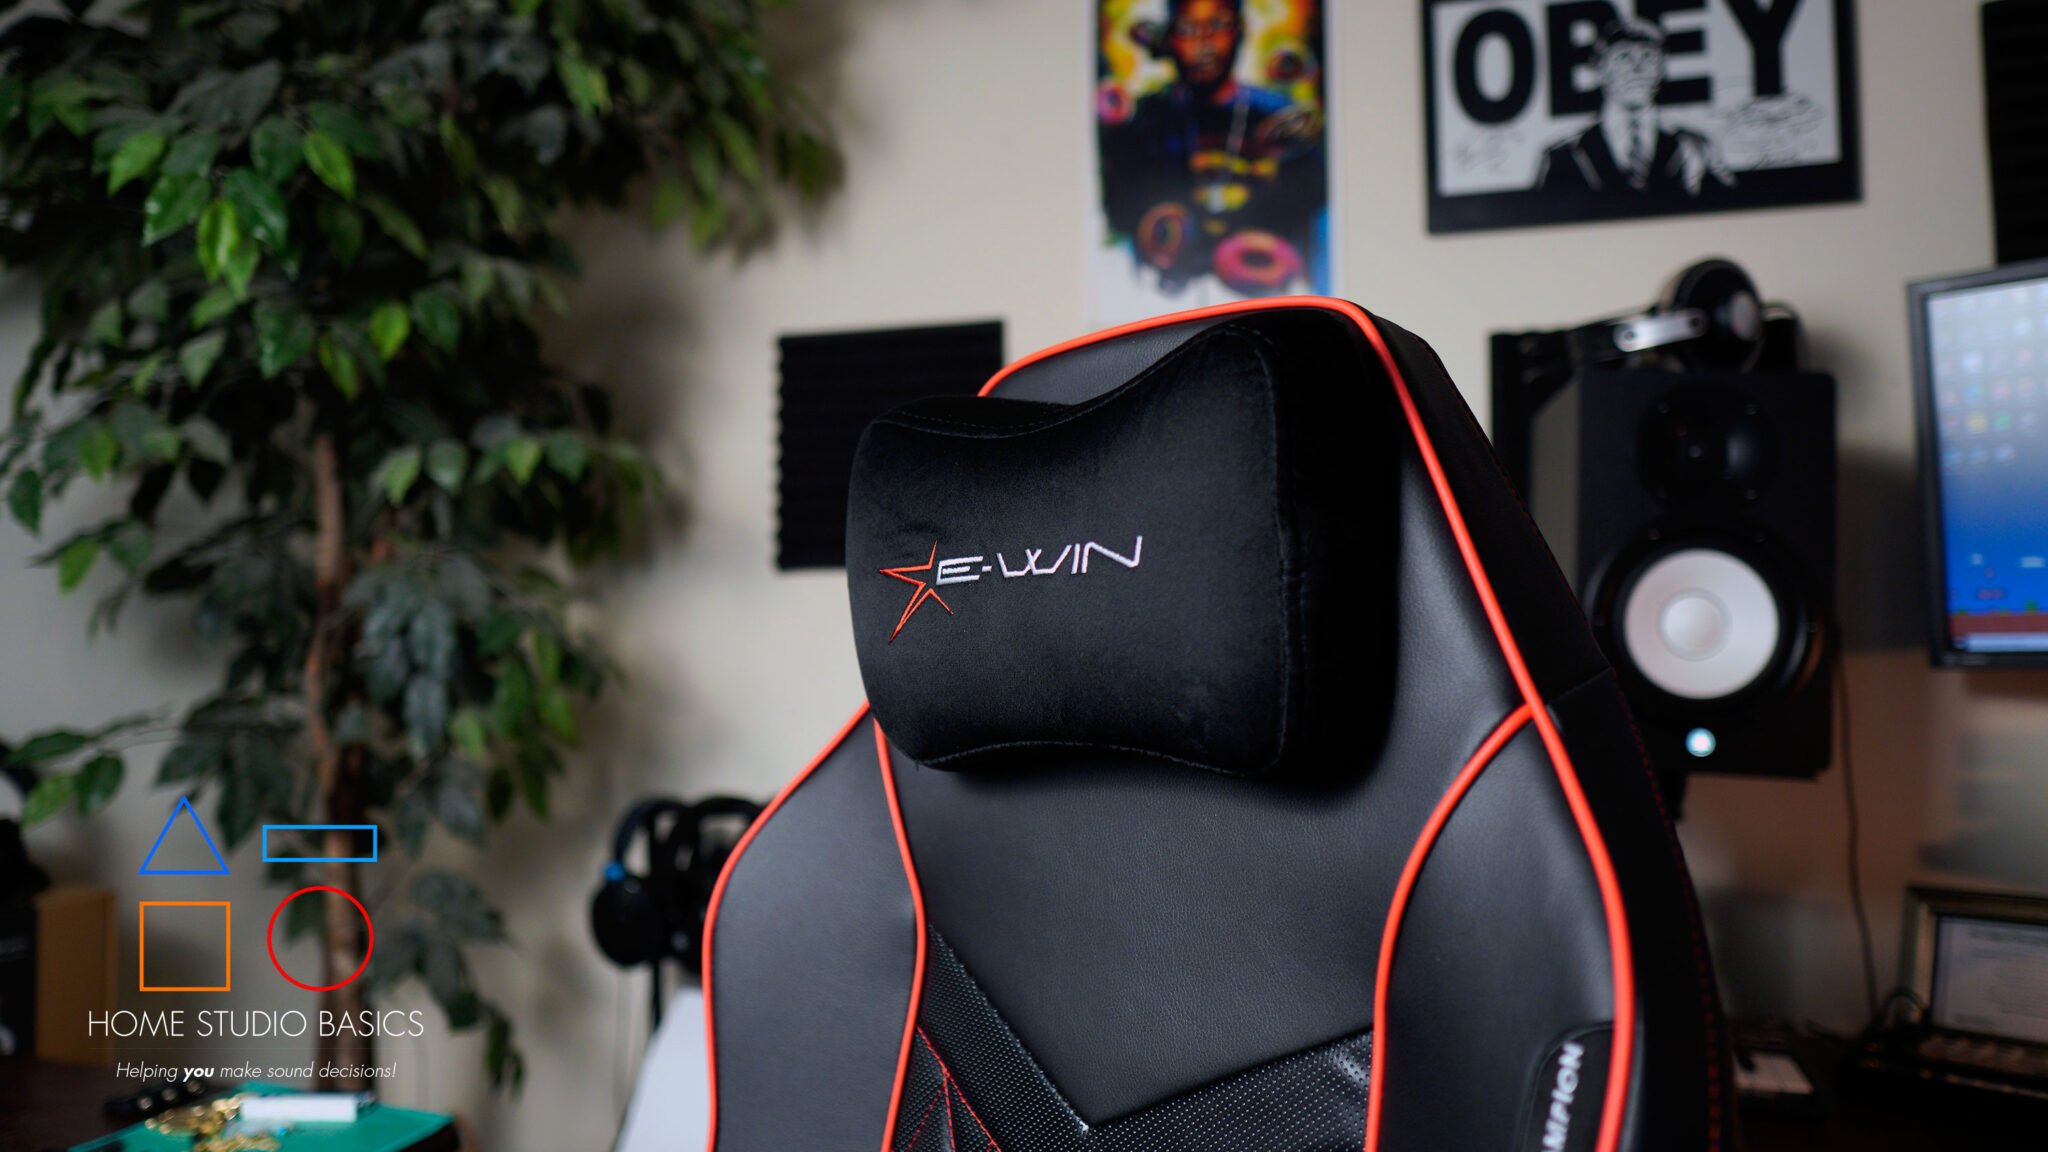
I’d instead recommend something like the Odin Lake O2 Ergo Max, E-Win Champion, or a chair from Titan Labs.
These are super easy to assemble, and won’t peel. The Ergo Max is made of mesh, while the Champion boasts Brisa Ultra PU Leather, which is engineered to withstand wear over time and maintain its appearance even with frequent use.
Have a look at some pictures of the Champion, a chair I’m currently using when I sit down to make beats:


In addition to a good chair, you’ll also need a workstation/desk.
I’ve had an L-shaped desk for a long time, and it’s still going strong (ish). I do plan on building a custom L-shaped workstation at some point.

You could also opt for a regular desk with tiers. I’ve been thinking of trying one out, but the corner spot is just so damn cozy. xD
De-Fi is a great source for custom-built tiered desks. These are excellent for organization, and they look awesome as well.
If I ever try a different seat, it’ll most certainly be a Titan Labs; fantastic studio/gaming chairs that get rave reviews everywhere you look.
Regardless of what you go with, when you plop down to make a beat, you should feel like a king.
I can’t recommend my own desk since I got it so long ago, but you should definitely go with something that makes sense for your particular setup.
Always keep in mind the type of room that you will be using.
Storage
I have a desk with drawers, but if I didn’t, I would probably invest in some plastic storage containers. I currently just use cardboard boxes for all of my miscellaneous wires and cords.
They’re a great way to keep things organized and can be had for cheap. In addition, you may want to add an over-the-door coat hook.
I can’t even begin to tell you how much time was wasted in the past untangling chords and trying to figure out what’s what. Save yourself the trouble.
Before we get into Part II, let’s go over what you’ll learn:
What you’ll learn In The Next Section
- ✅ Understanding a DAW – What a DAW (Digital Audio Workstation) is and its essential components
- ✅ Computer Specs – Key computer specifications for music production, including RAM, hard drive space, and processing power
- ✅ Soundcards vs. Audio Interfaces – The role of soundcards and audio interfaces in recording and playback
- ✅ 48V Phantom Power – What 48V phantom power is and why it’s important for microphones
- ✅ DACs & A/D Converters – The difference between soundcards, audio interfaces, and DACs + The importance of A/D converters, microphone preamps, and phantom power in an audio interface
- ✅ MIDI Cables – When and why MIDI cables are still useful in modern music production
- ✅ Choosing an Audio Interface – How to choose the right audio interface based on inputs, power output, and compatibility
- ✅ Direct Boxes – The function of direct boxes for recording guitars
- ✅ Studio Monitors & Headphones – How to properly connect and power studio monitors and headphones
- ✅ Recording Software (DAW) – The importance of selecting the right recording software (DAW) and popular options
- ✅ Hardware Mixers – The role of hardware mixers in home studio setups and how to connect them